Reason
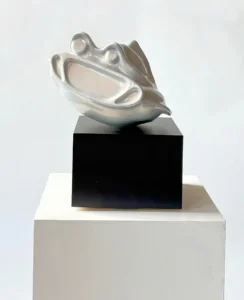
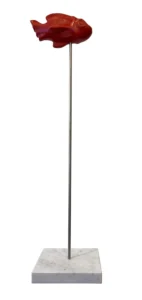
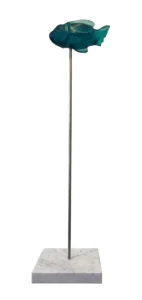
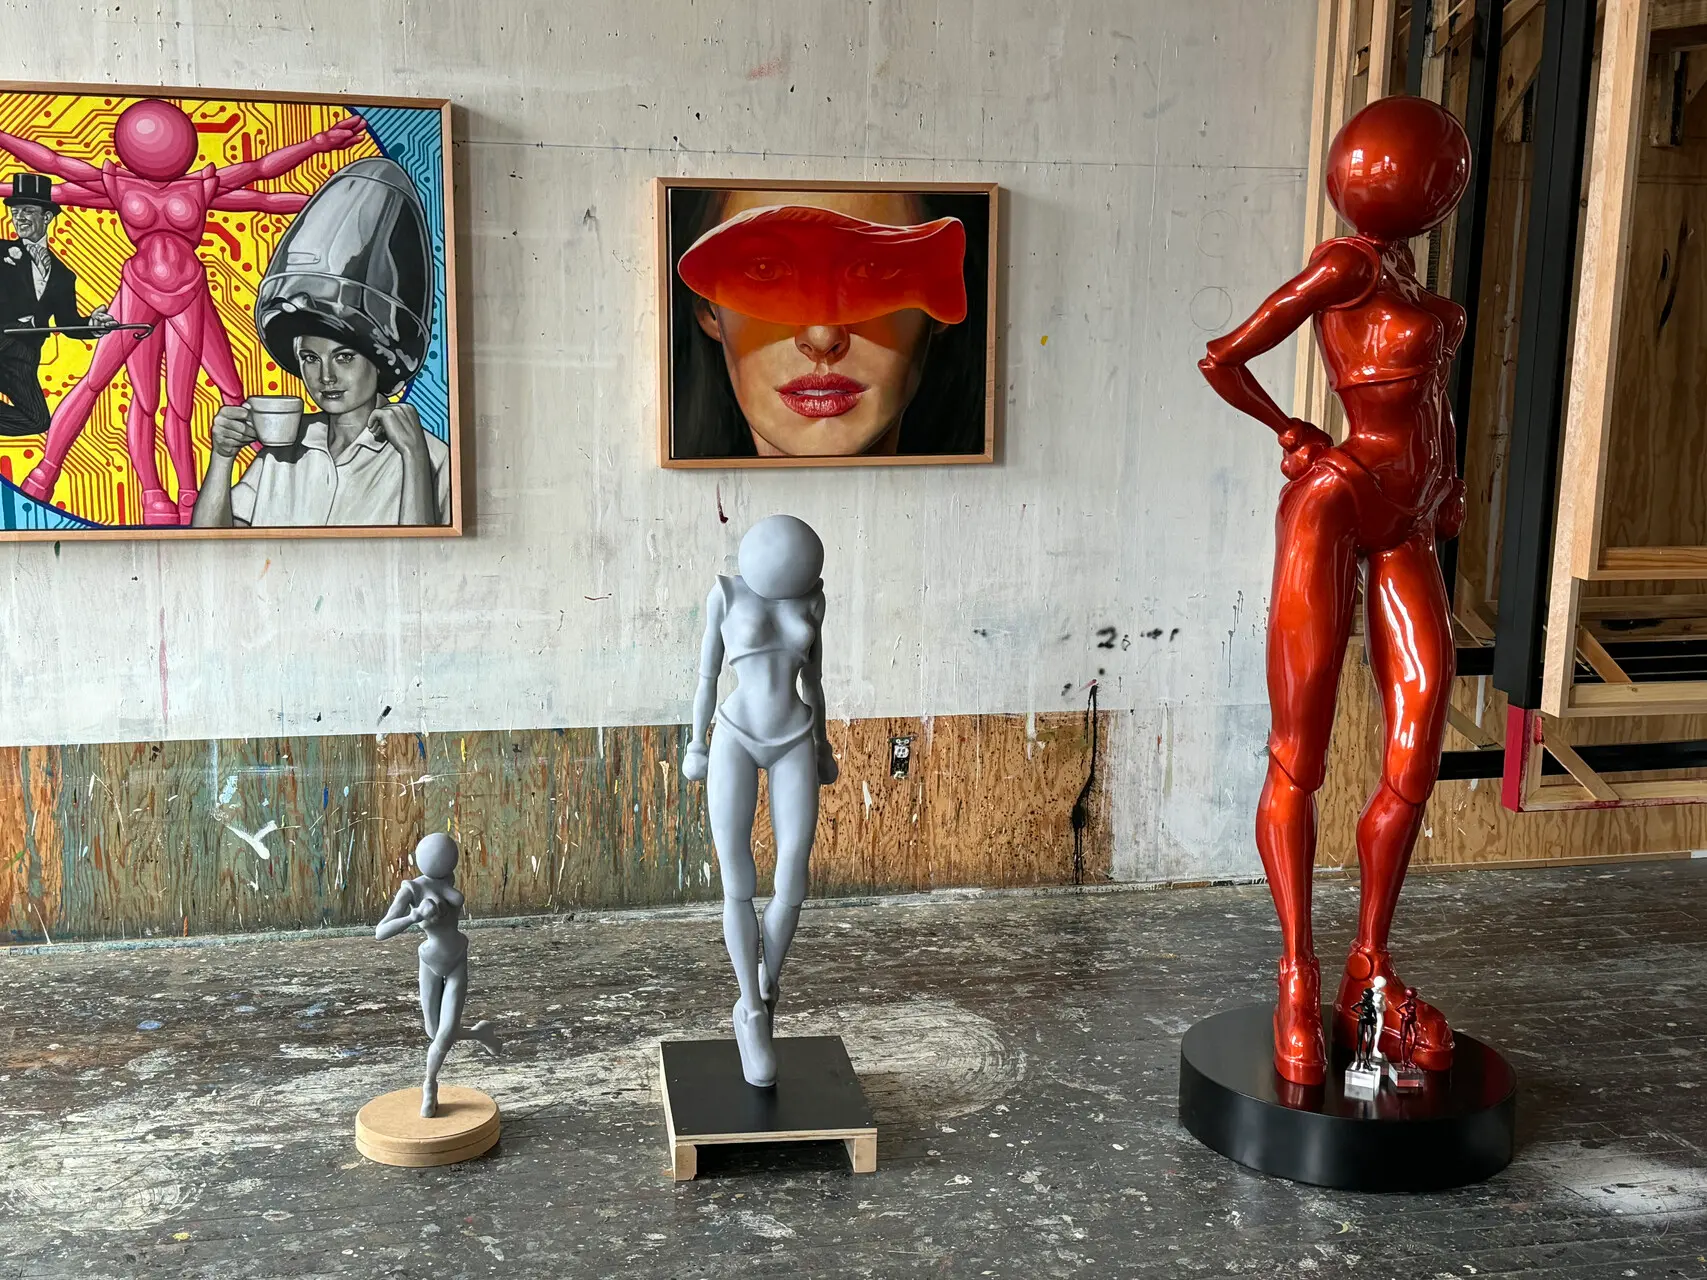
The Reason series called for translating William Nelson’s original clay sculptures into finished, displayable works using Kemperle Industries’ full scan-to-fabrication pipeline. The project moved through structured light 3D scanning, CAD conversion, structural engineering, and several different fabrication processes including multi-part 3D printing, and resin-casting. Each stage was built around the same priority: preserve the artist’s vision while making the pieces structurally sound enough to stand, ship, and display long-term.
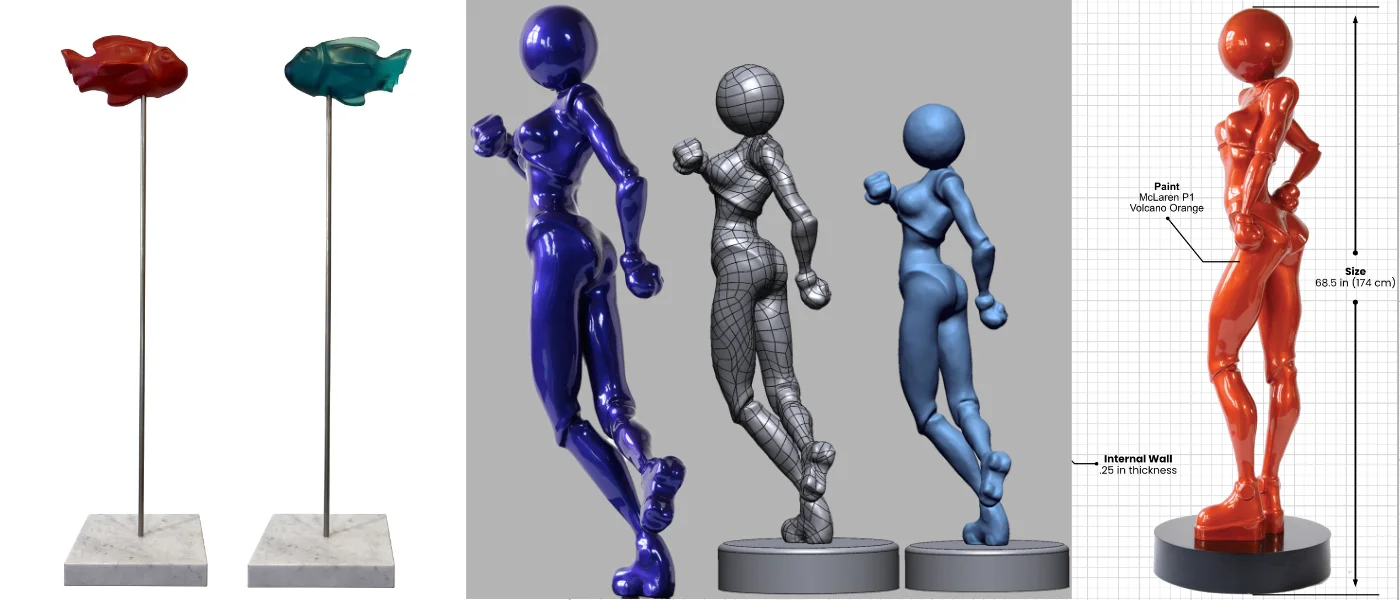
Structured light scanning captured the clay original's geometry and surface texture to within 0.050 mm.
The cleaned scan was rebuilt as a solid CAD model, hollowed to an industry-standard 0.25 inch wall thickness.
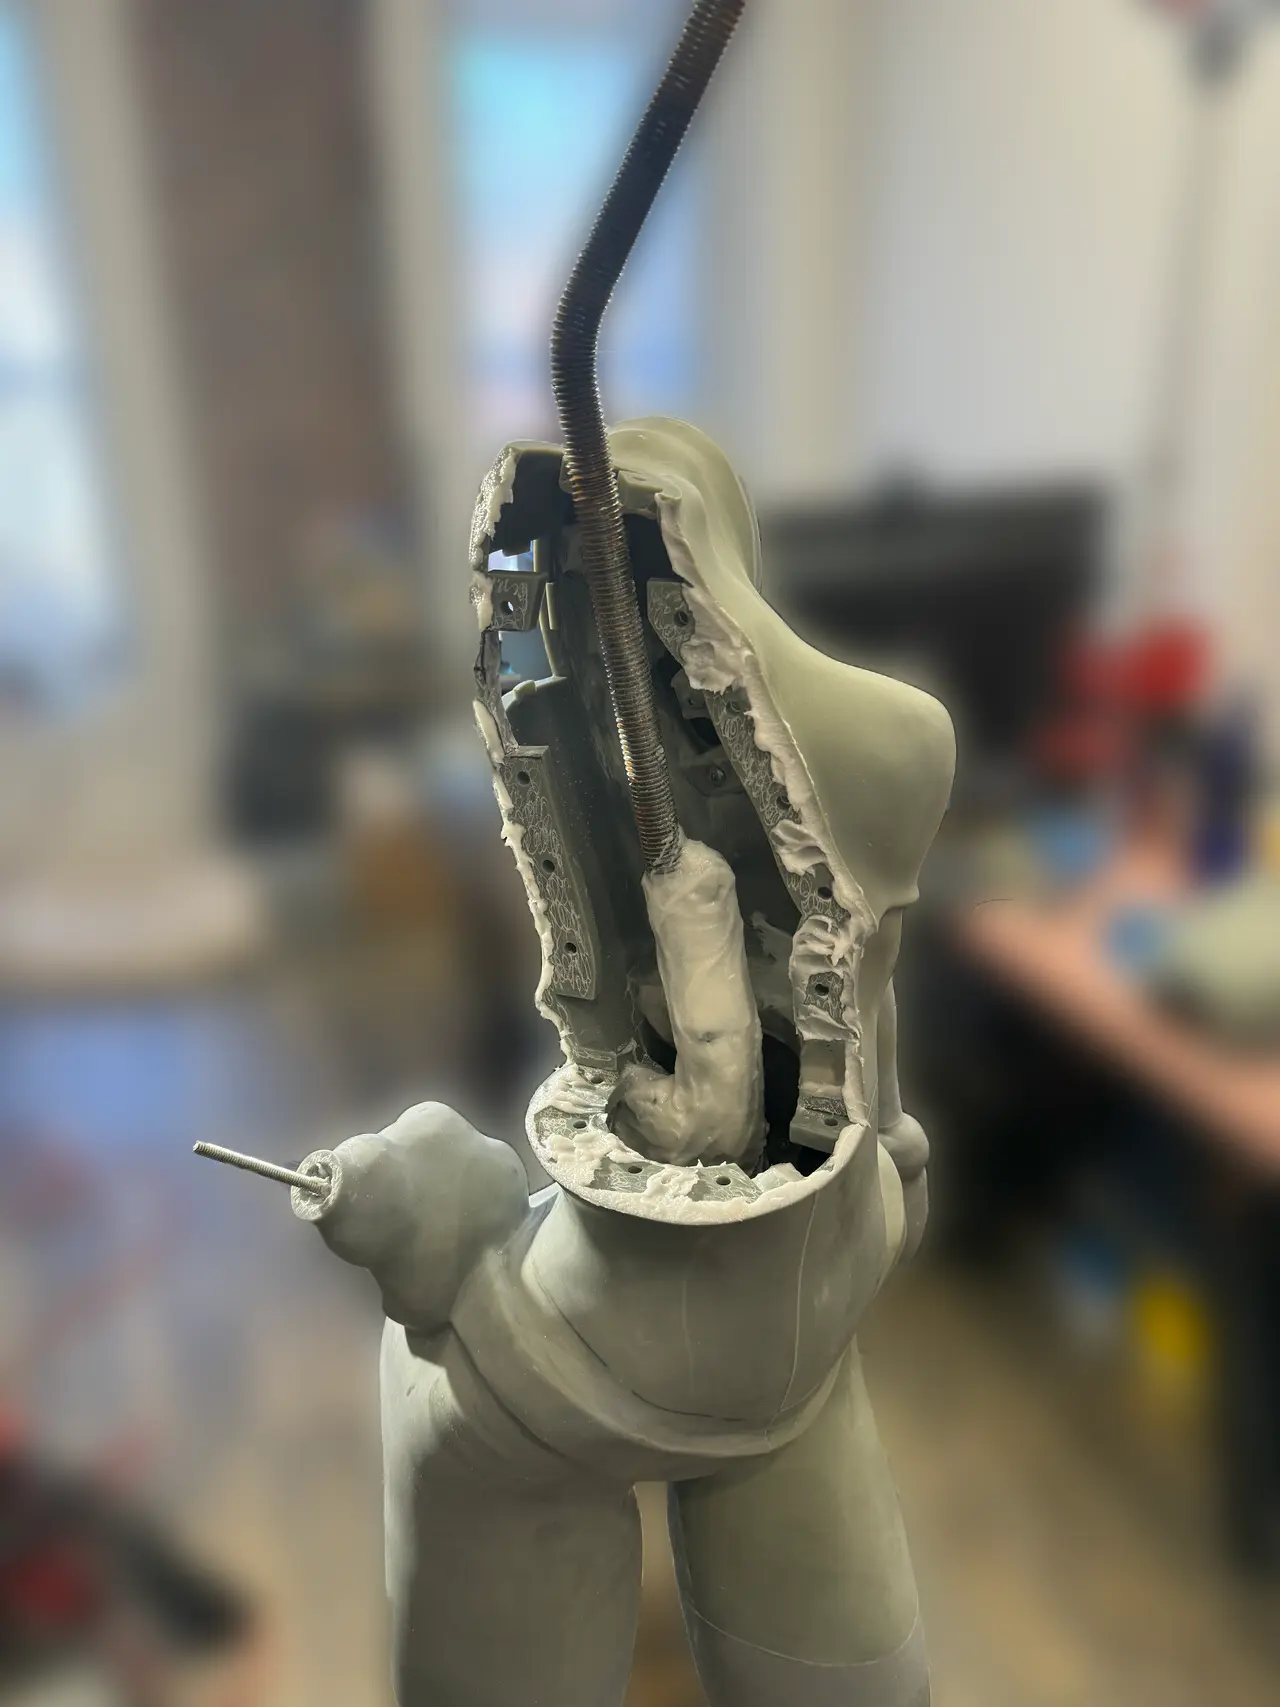
Figures were mapped into sections and sized for fabrication, with seams placed to be least visible and reinforced with mechanical fastening points for long-term durability.
Select pieces were 3D printed in sections, then joined, sanded, and finished.
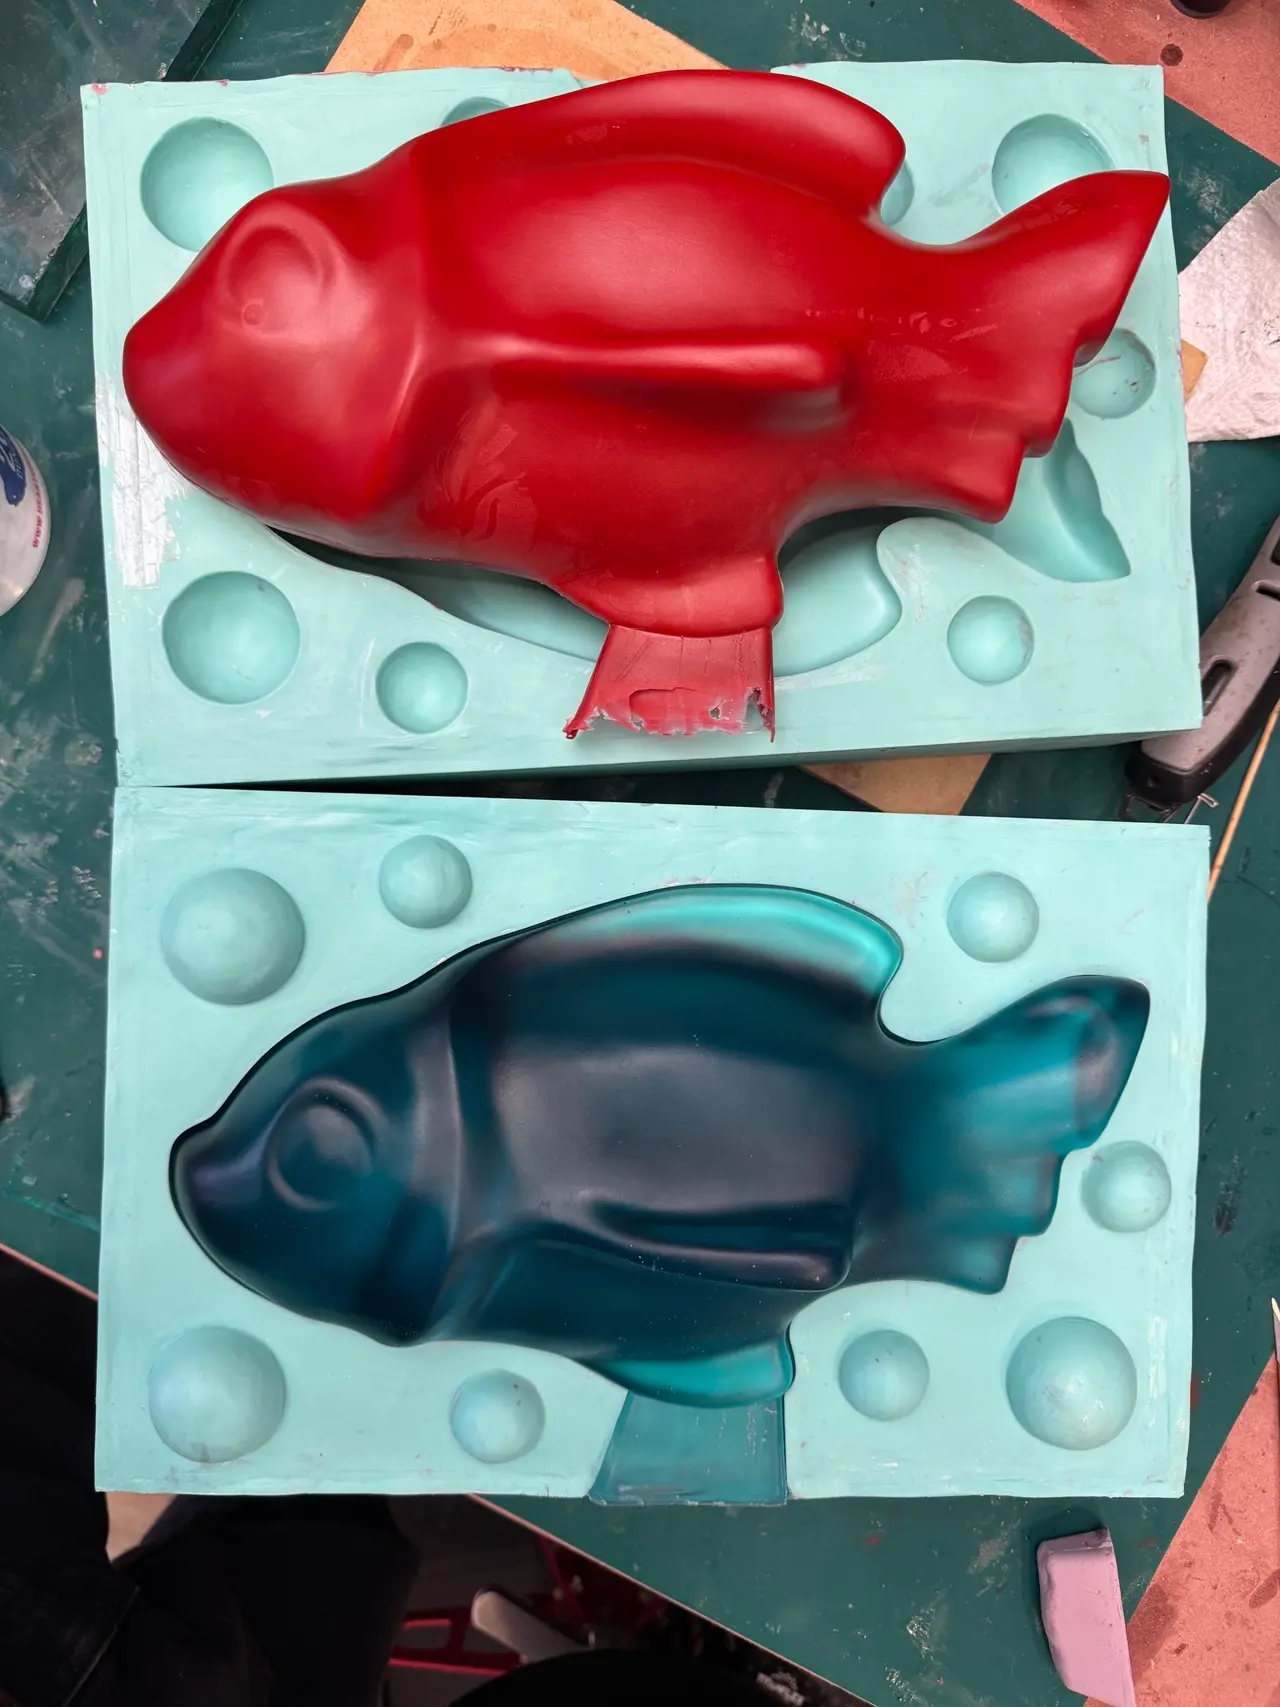
Other pieces followed a mold-and-cast path, producing the finished form in resin.
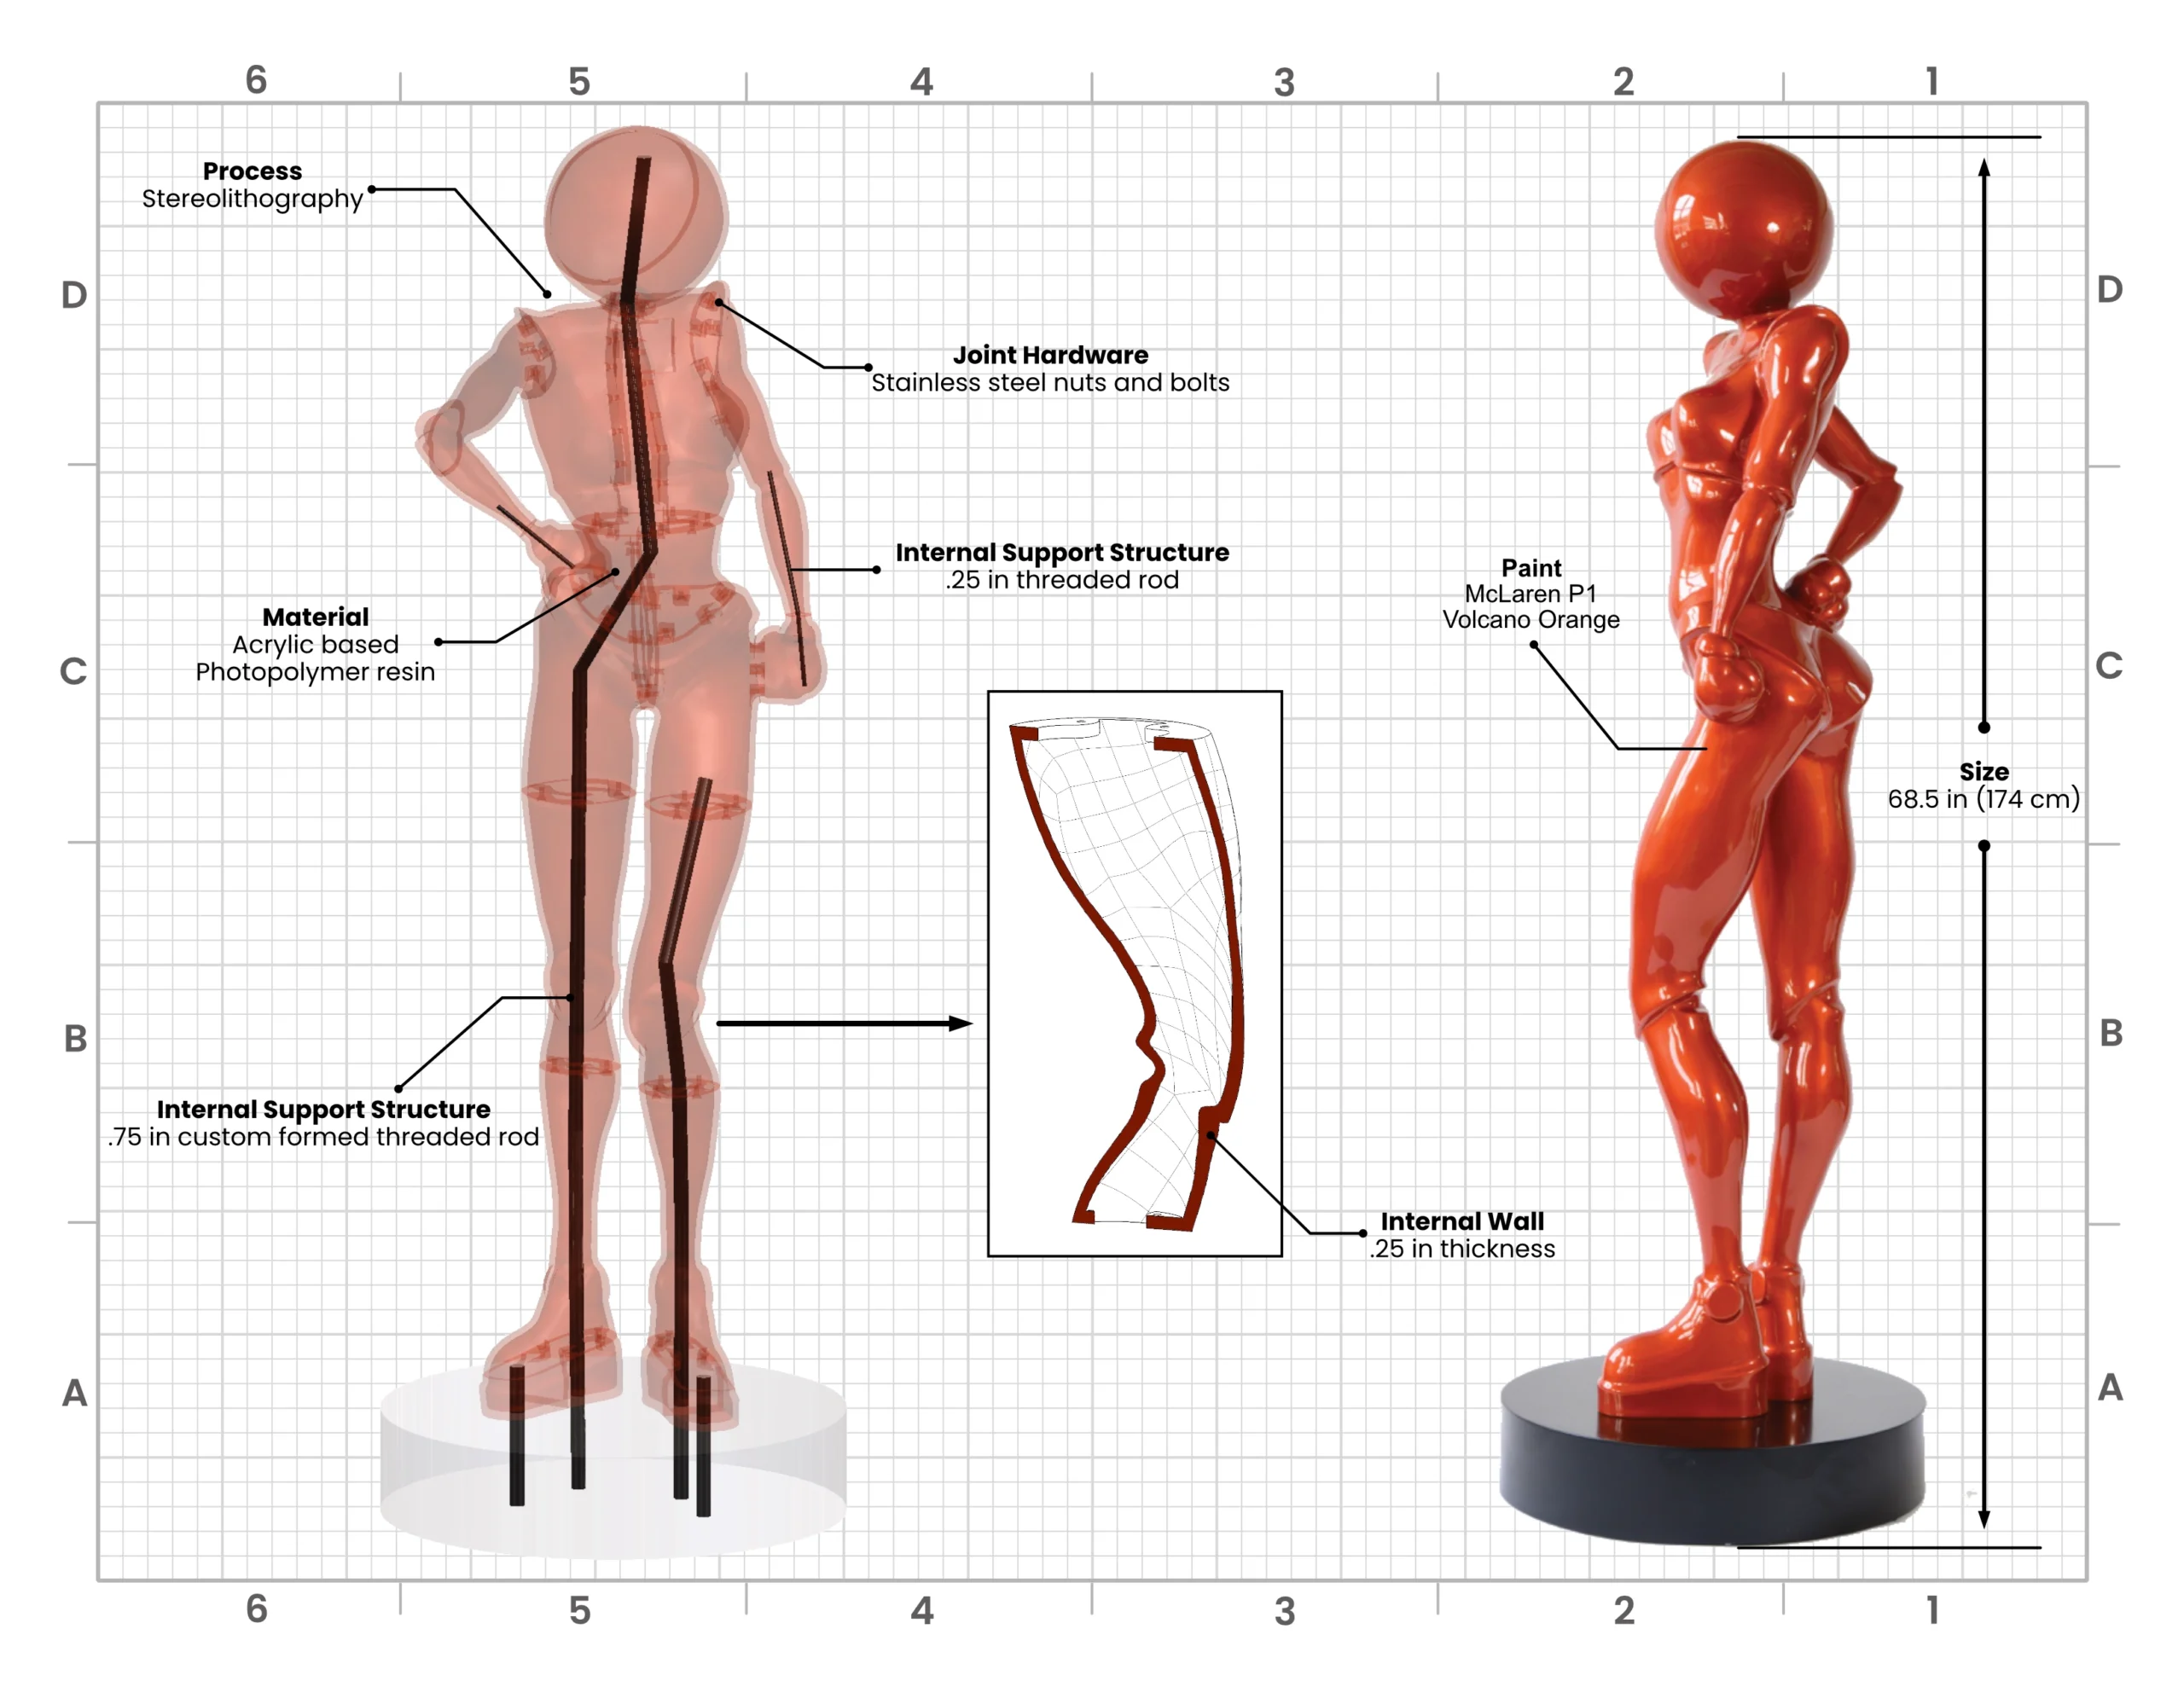
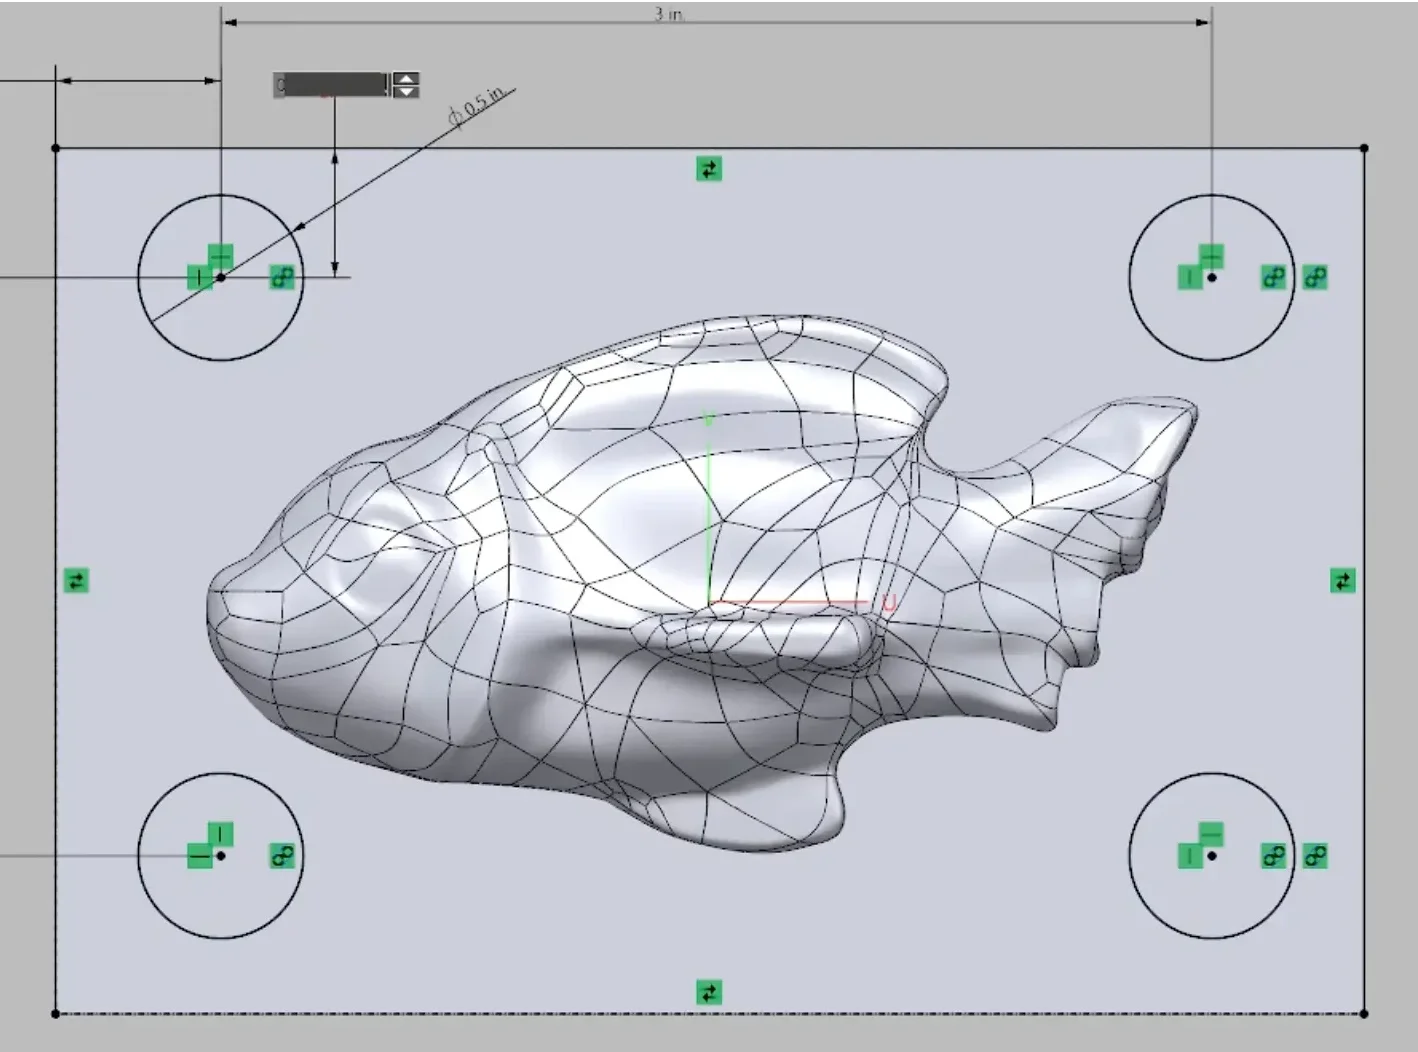
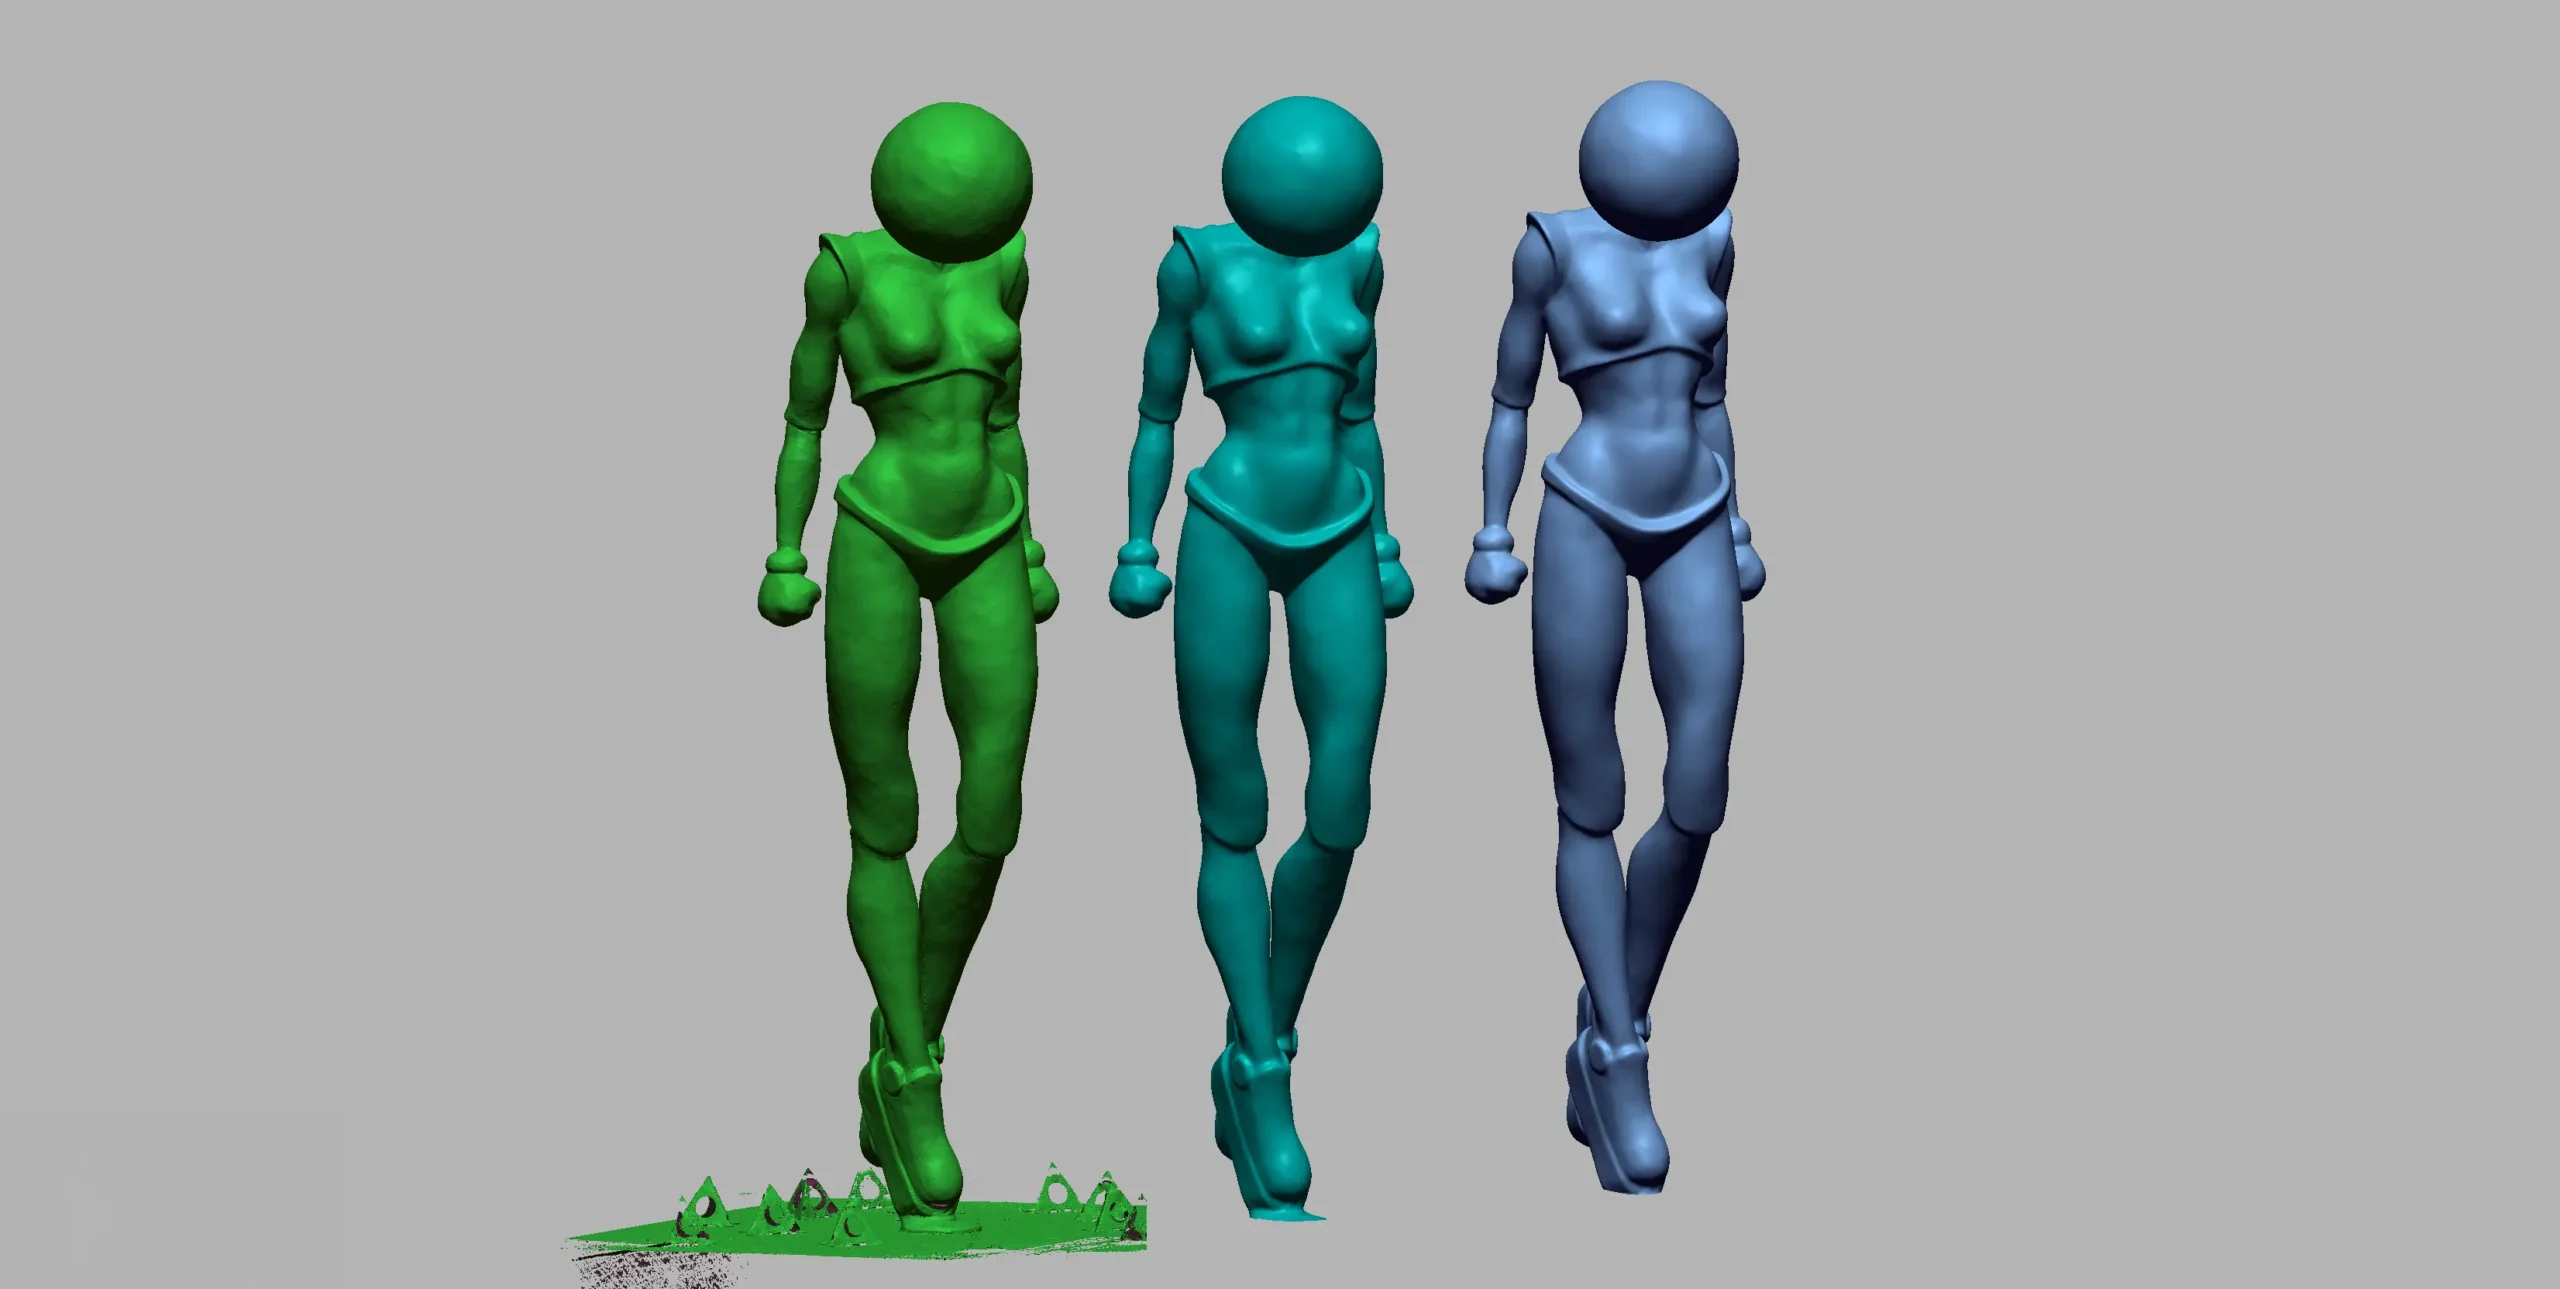
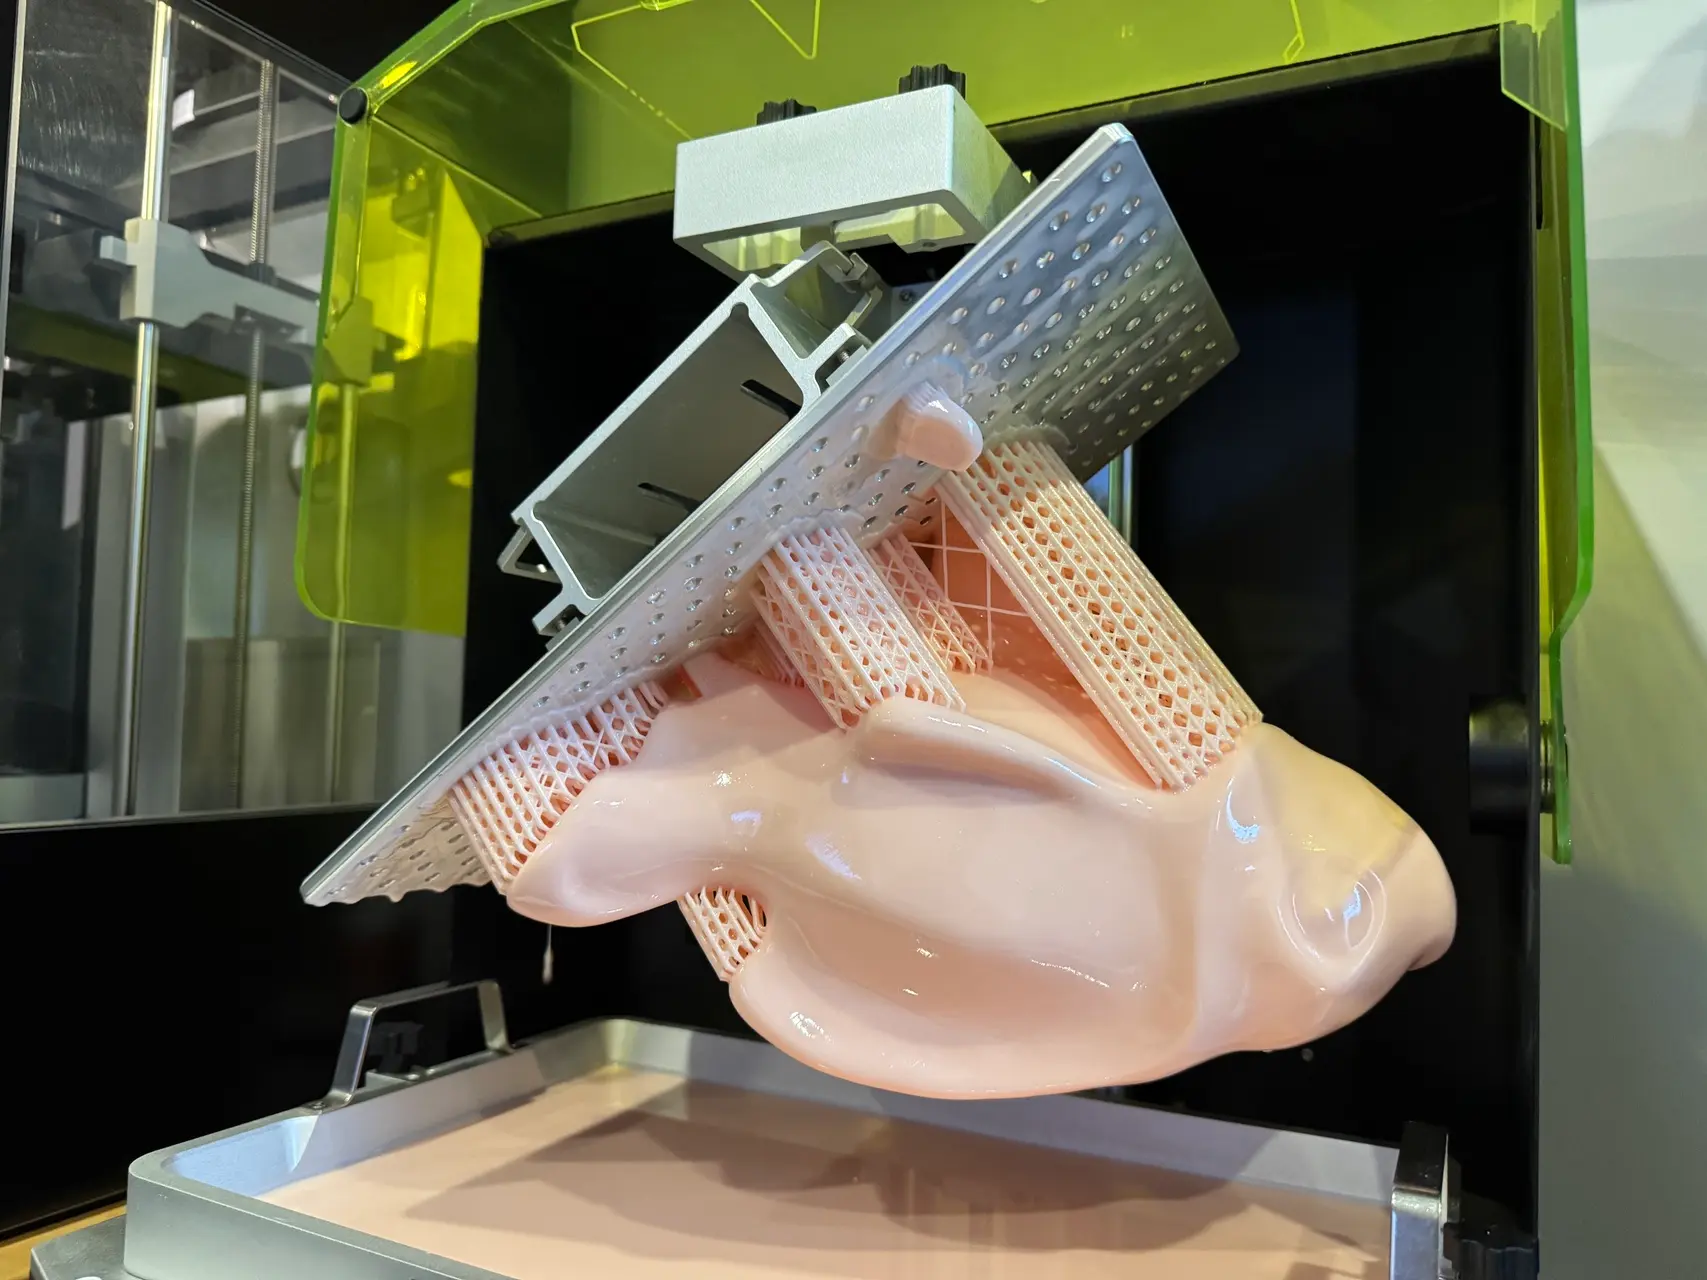
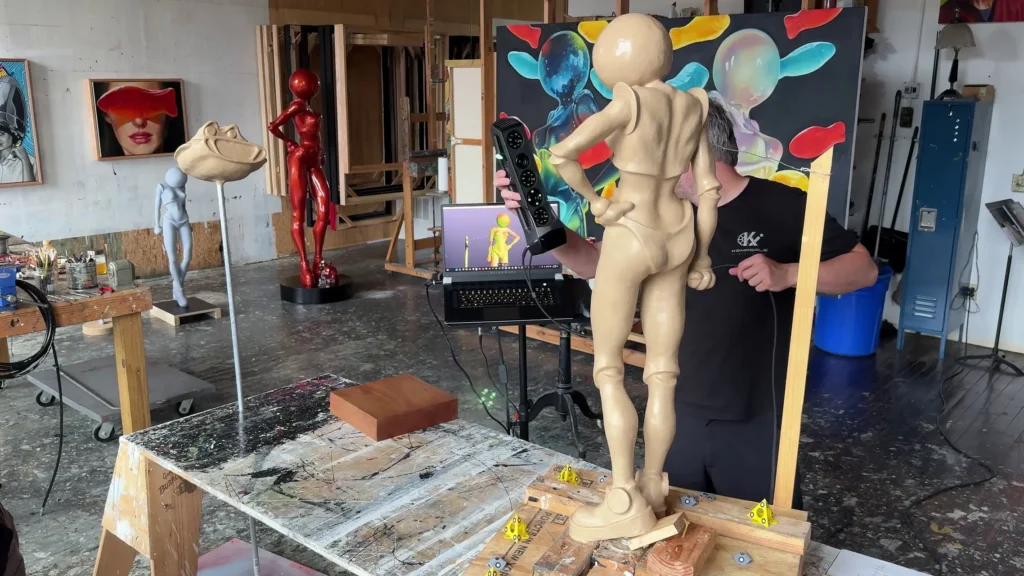
Turning the clay originals into finished sculptures meant solving several problems at once. The digital capture had to be precise enough to hold onto subtle surface details and proportions. The resulting models also had to be engineered for real-world handling: a solid, faithful digital copy is not automatically strong enough, light enough, or printable in one piece. We needed to figure out how to section complex figures for a 3D printer’s build volume, join those sections back together invisibly, and do all of it without the seams, supports, or structural reinforcement showing on the finished surface.
3D SCANNING THE CLAY ORIGINAL: Work began with a structured light scanner capable of capturing geometry and surface texture to within 0.050 mm. That level of precision meant every detail the artist had worked into the clay, down to subtle muscle definition and surface texture, carried through into the digital file.
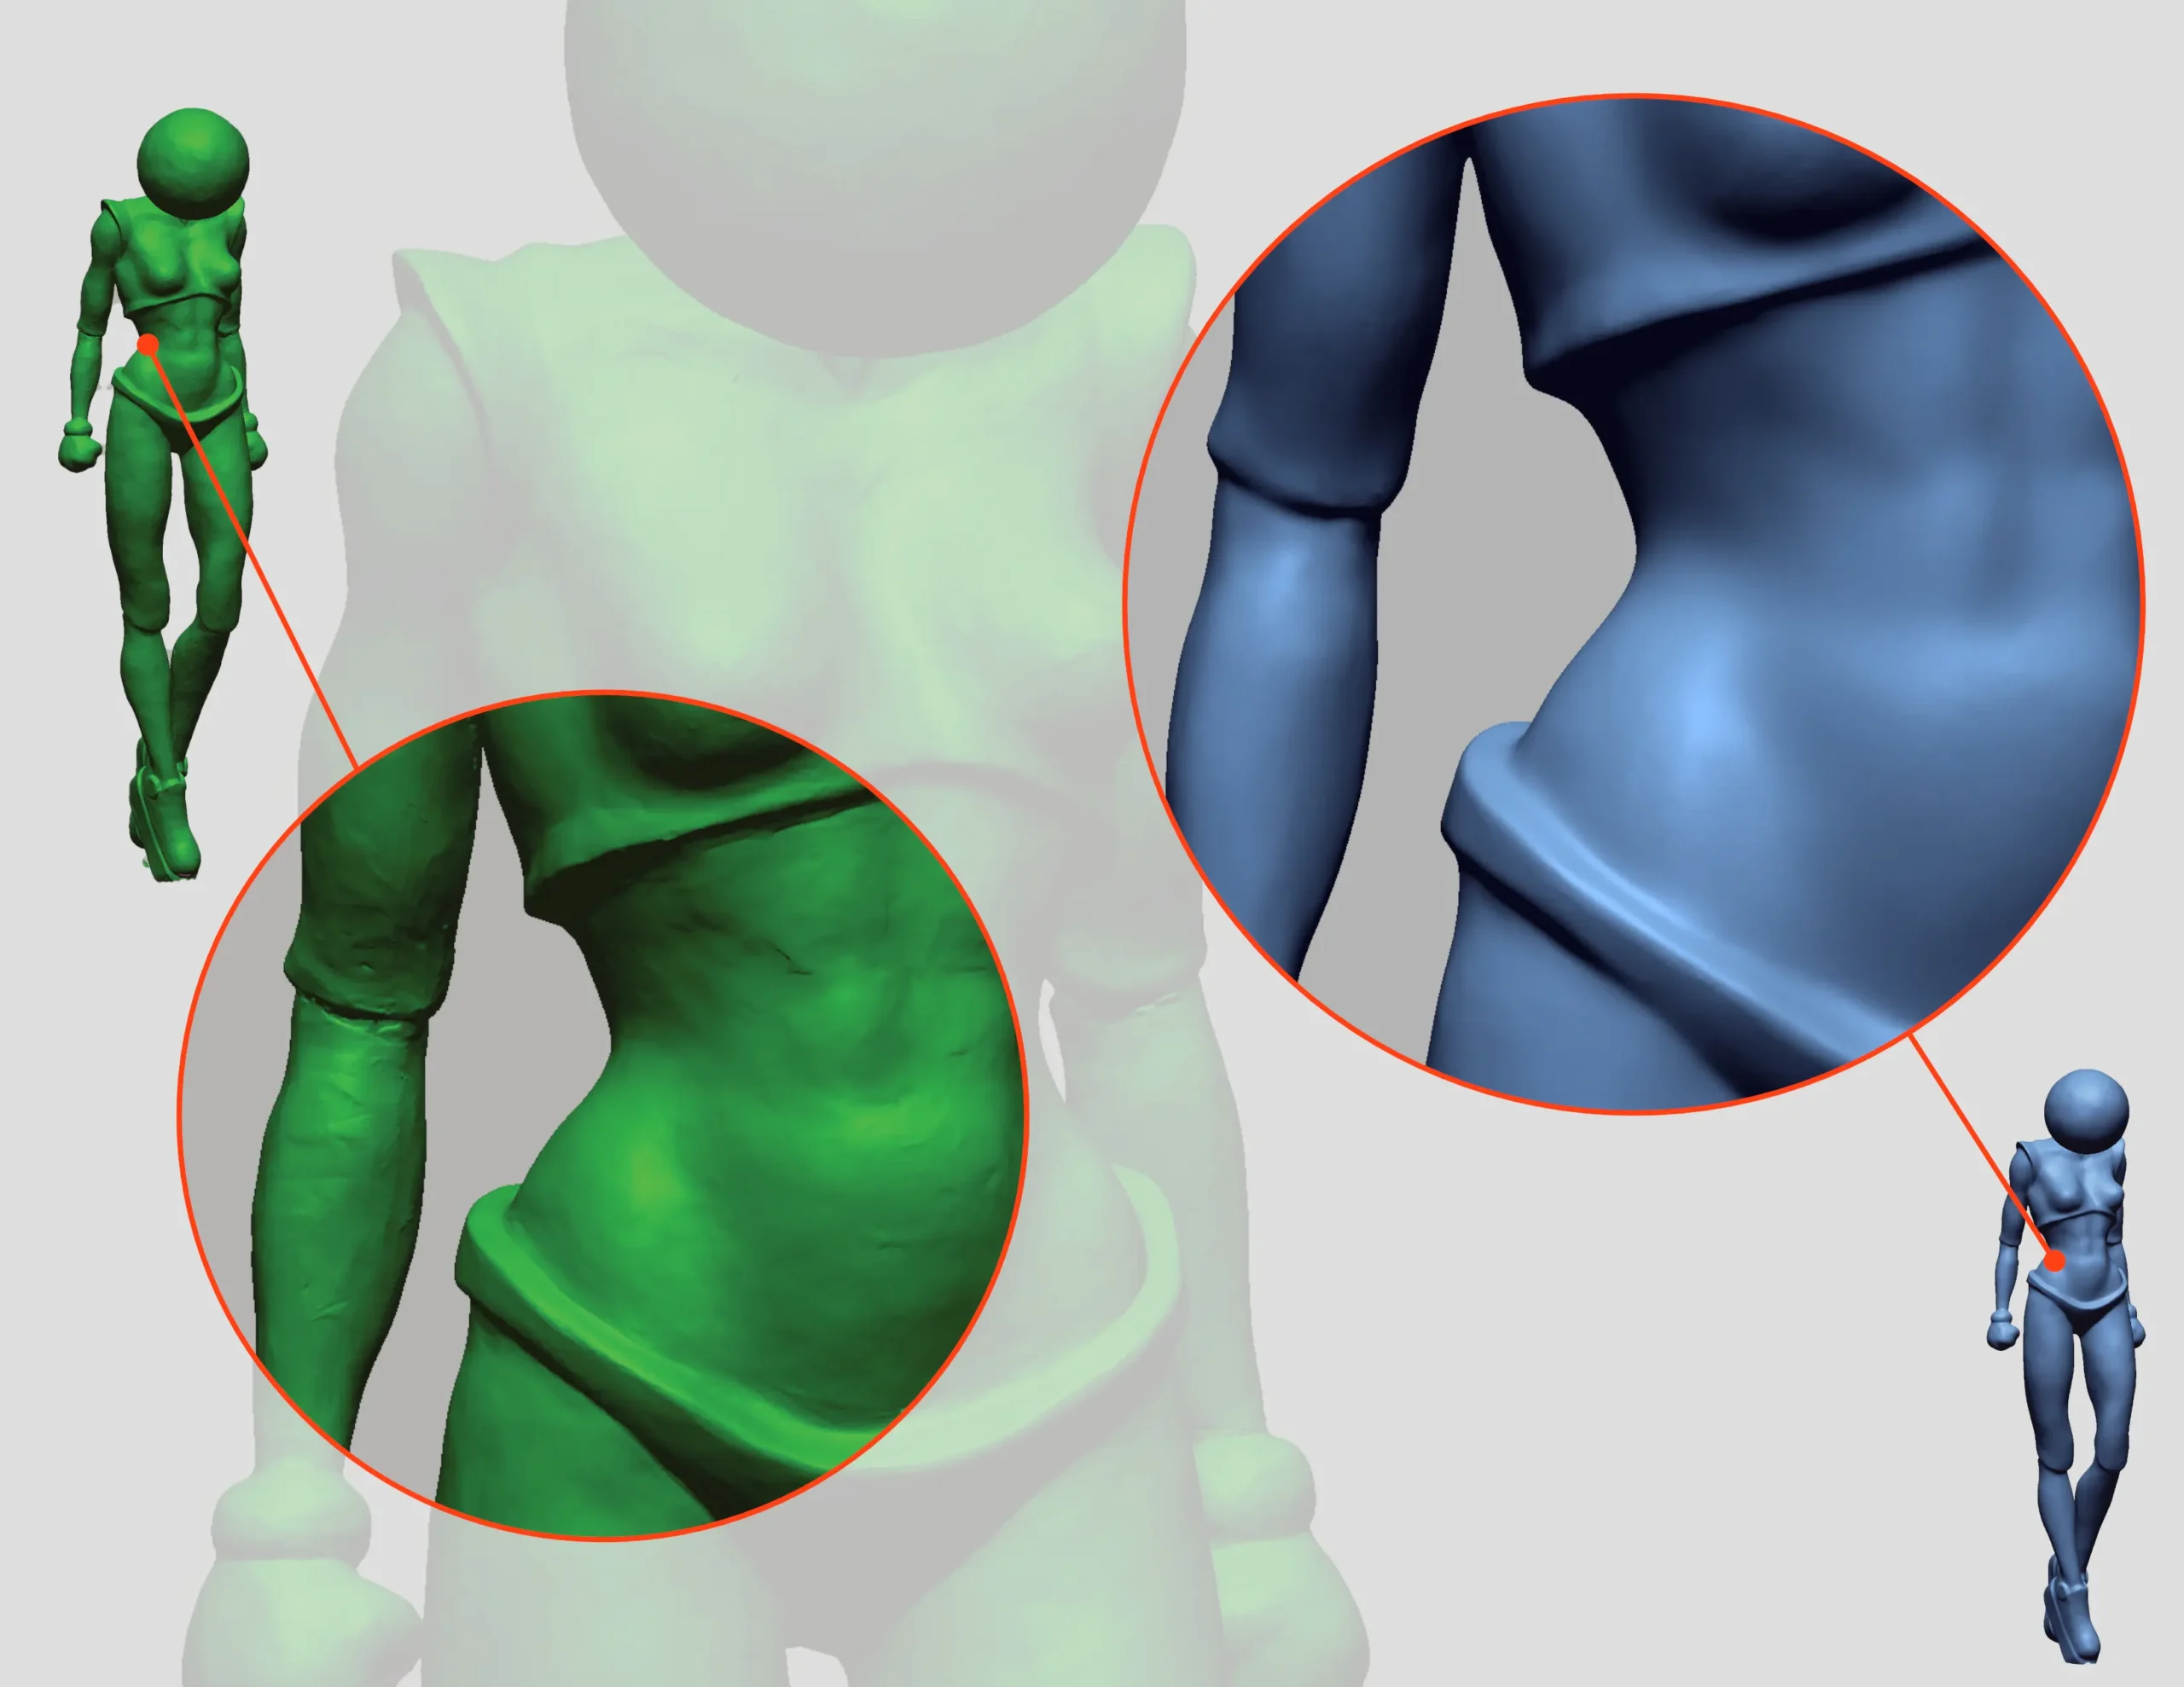
DIGITAL CLEANUP & REFINEMENT: The raw scan data was cleaned into a watertight mesh, removing stray data and closing gaps left by the capture process. From there, the surface was selectively smoothed to remove scanning artifacts while protecting the sculptor’s original details, producing a model that was both accurate to the clay and ready for engineering work.
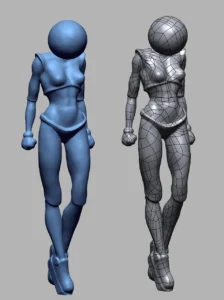
CONVERTING TO SOLID CAD: The cleaned mesh was rebuilt as a solid CAD model rather than left as a surface mesh. That conversion opened up real engineering options: internal walls could be added, weight could be redistributed, and the file could move cleanly into structural planning rather than staying a fixed, unworkable scan.
HOLLOWING OUT FOR WEIGHT & COST: The solid body was hollowed to an industry-standard 0.25 inch wall thickness, cutting material use and overall weight while keeping the structure strong enough to stand on its own.
SEGMENTATION & FASTENING: For the pieces moving through 3D printing, this was the most consequential engineering decision in the whole build. We mapped out how to divide the full figure into printable sections, placing seams where they would be least visible and where mechanical fastening features could reinforce the adhesive bonds between parts. Getting this step right determined how clean the final assembly would look and how sturdy the finished piece would be.
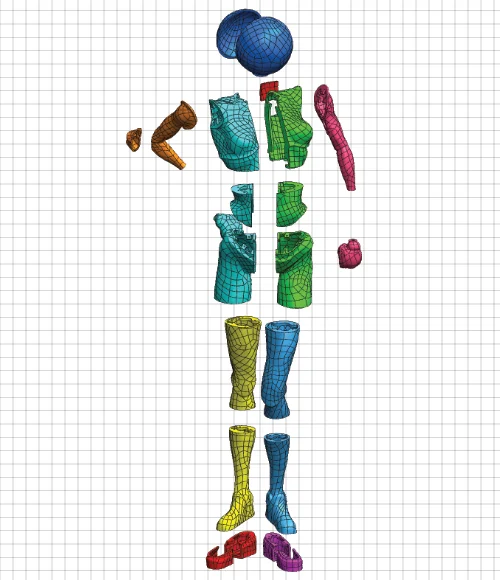
SLICING & PRINT ORIENTATION: Each segmented part was oriented to minimize support material and simplify the print itself, conserving material and reducing the chance of a failed print. Breaking the sculpture into sections also meant we could avoid the dense internal supports a single massive print would have required.
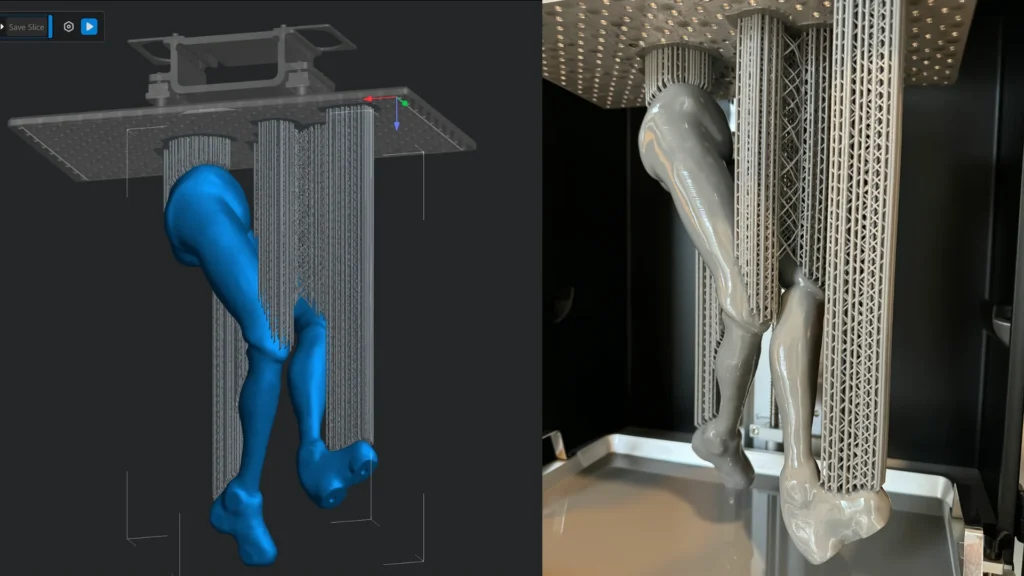
3D PRINTING IN SEQUENCE: Printing started at the base so assembly could begin before every part had finished printing. Material selection was matched to the piece itself, balancing durability, appearance, weight, and cost, and every printed part went through inspection for dimensional accuracy and surface quality before moving to assembly.
FABRICATION & ASSEMBLY: Once printed, the sections were joined and reinforced internally for long-term durability. Surfaces were sanded and seams chased smooth, eliminating any visible line between segments. The finished form was then primed and painted, with color and texture matched carefully to bring the piece to its final look while staying true to the artist’s original vision.
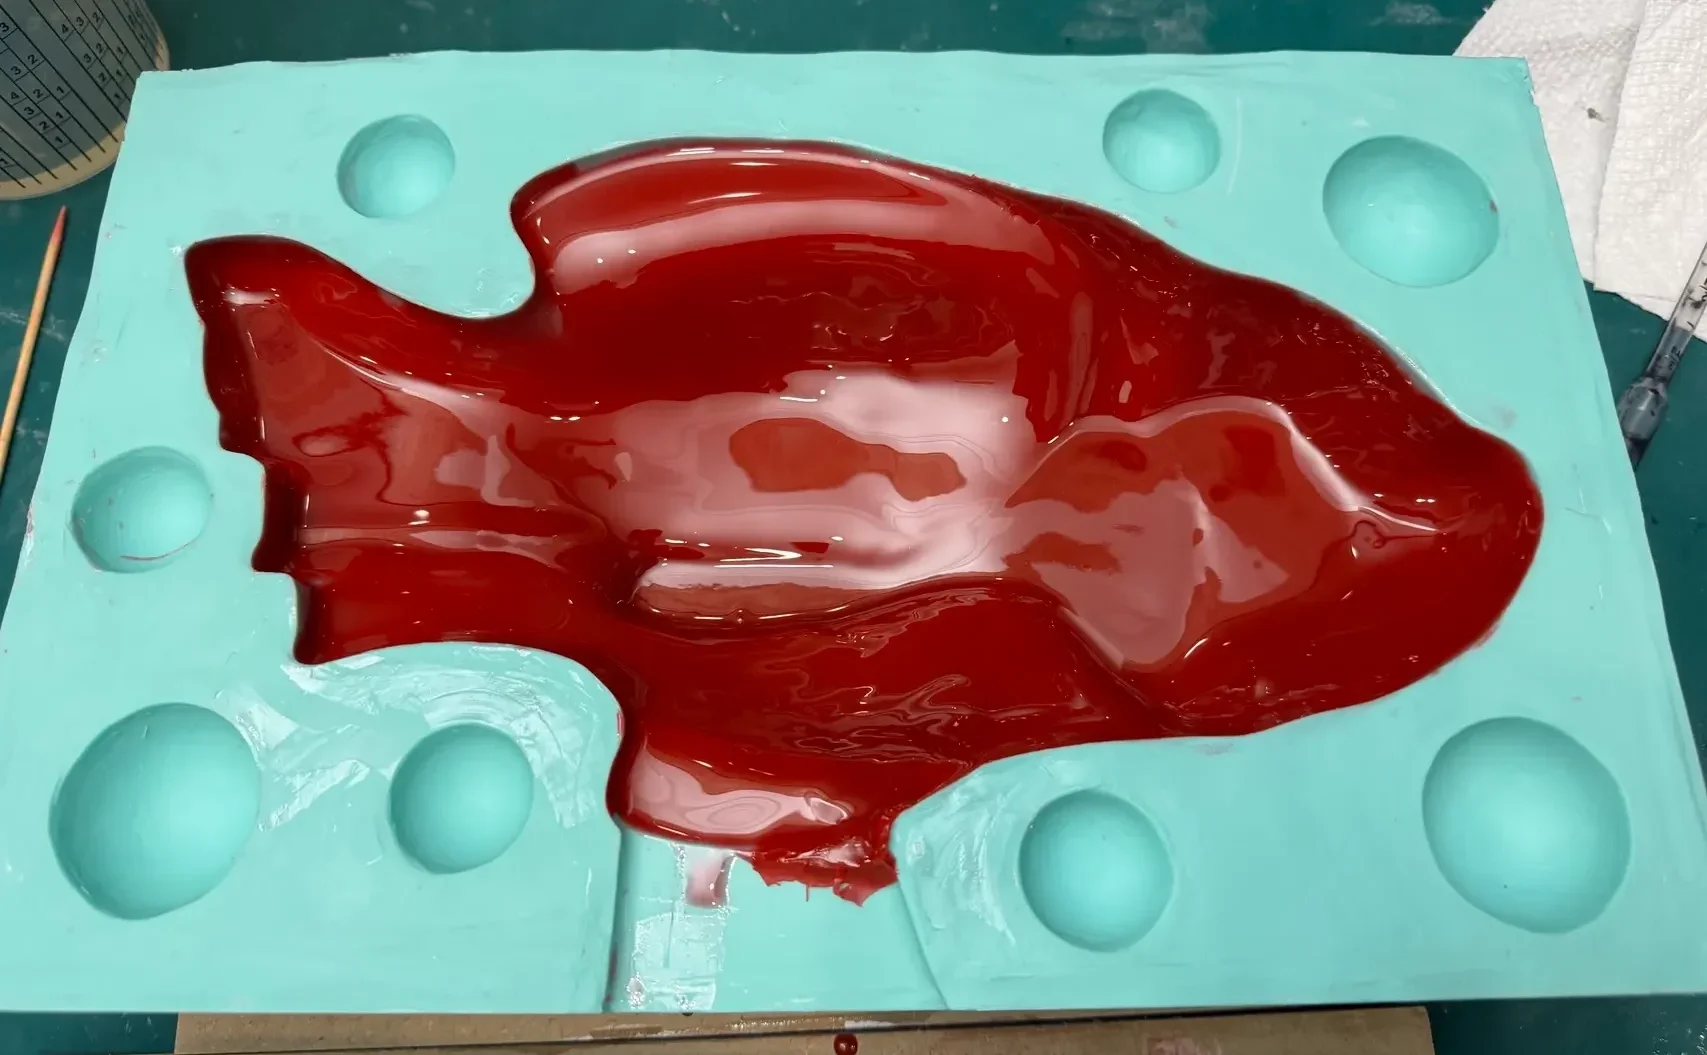
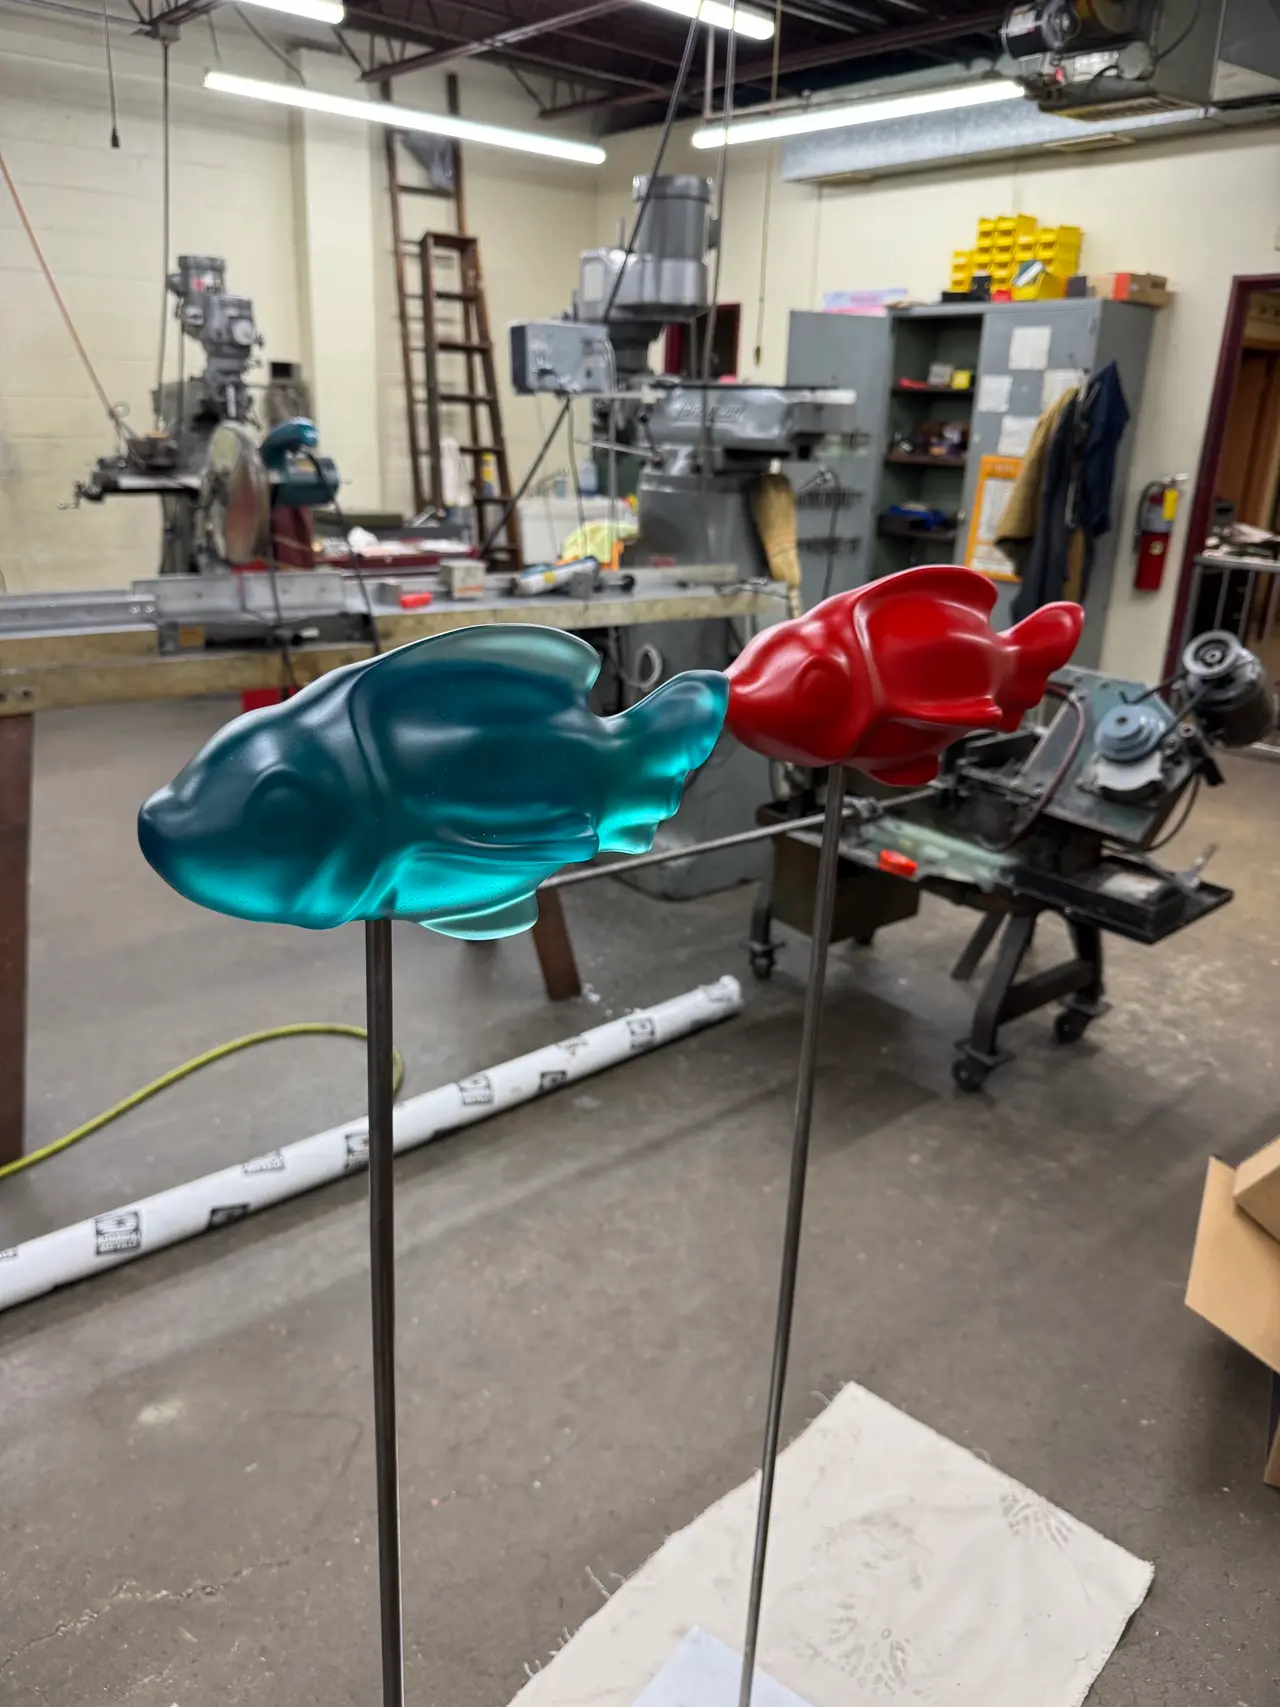
MOLDING & RESIN CASTING: Not every piece in the series was 3D printed as the finished part. For some pieces, the CAD model was used to 3D print a master pattern instead, which was then used to produce a mold. The final piece was cast in resin from that mold rather than printed directly, a route that suited certain forms better while still starting from the exact same scanned and engineered digital file.
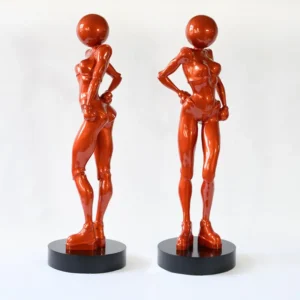
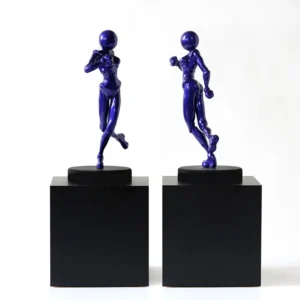
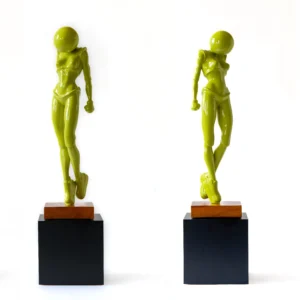
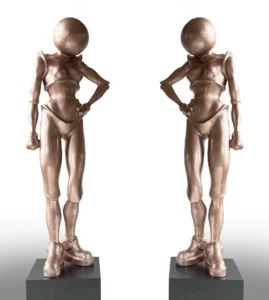
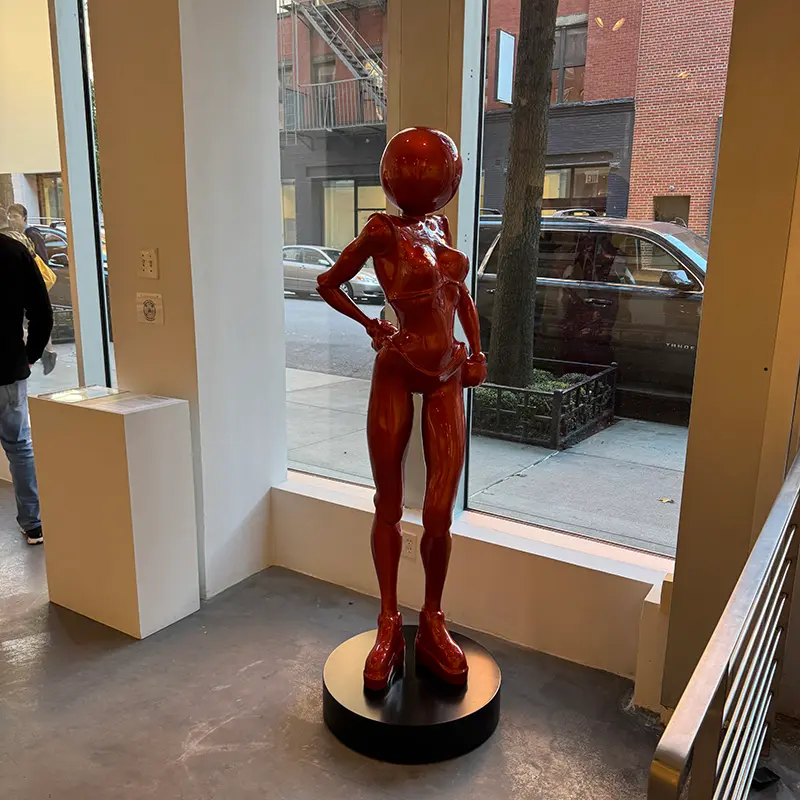
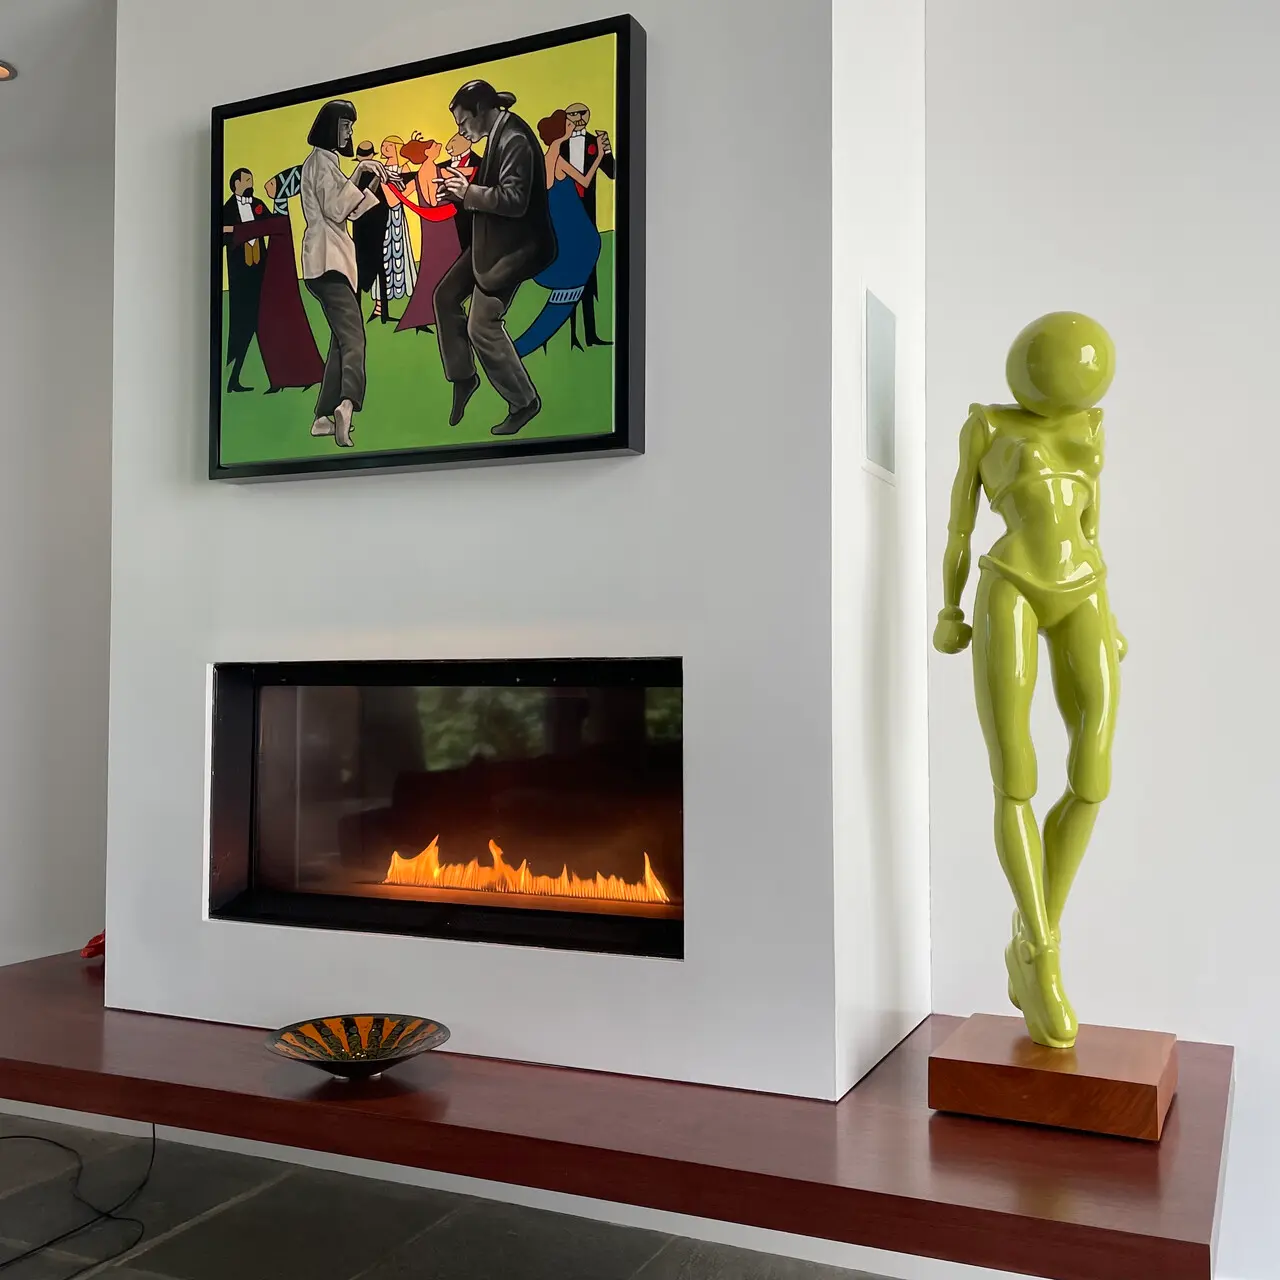
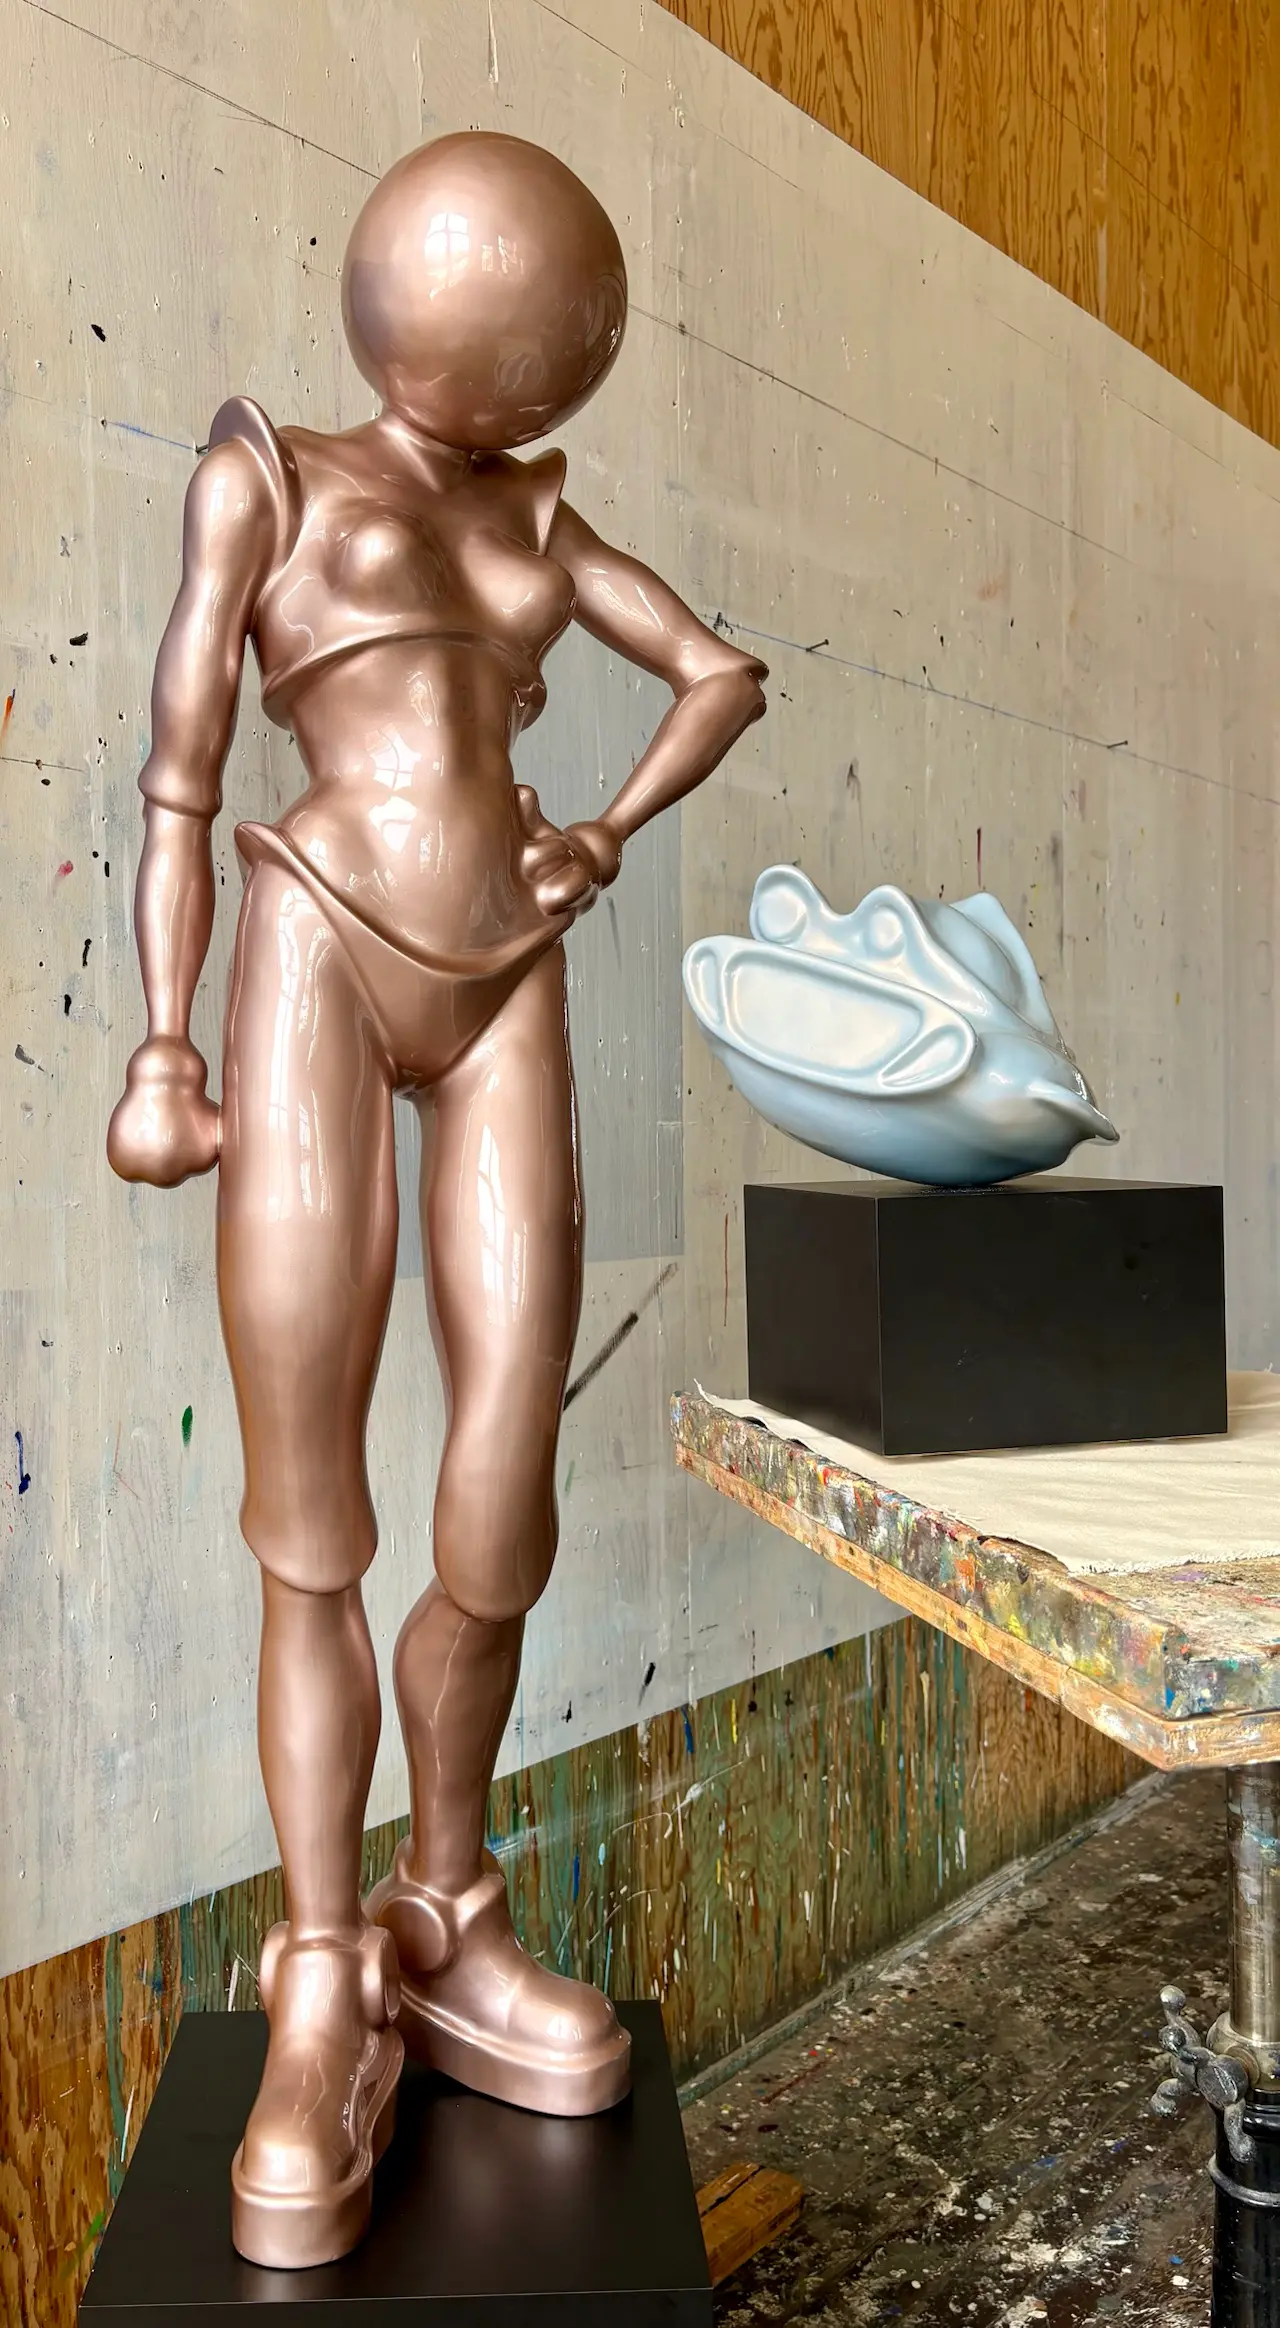
The finished series totals seven sculptures split across two fabrication paths: 3D-printed pieces were sent out for specialty finishes in automotive paint; molded pieces were cast in-house in solid acrylic resin. Both finishes were color and texture matched by hand to the artist’s original vision, so the fabrication method disappears into the final piece.
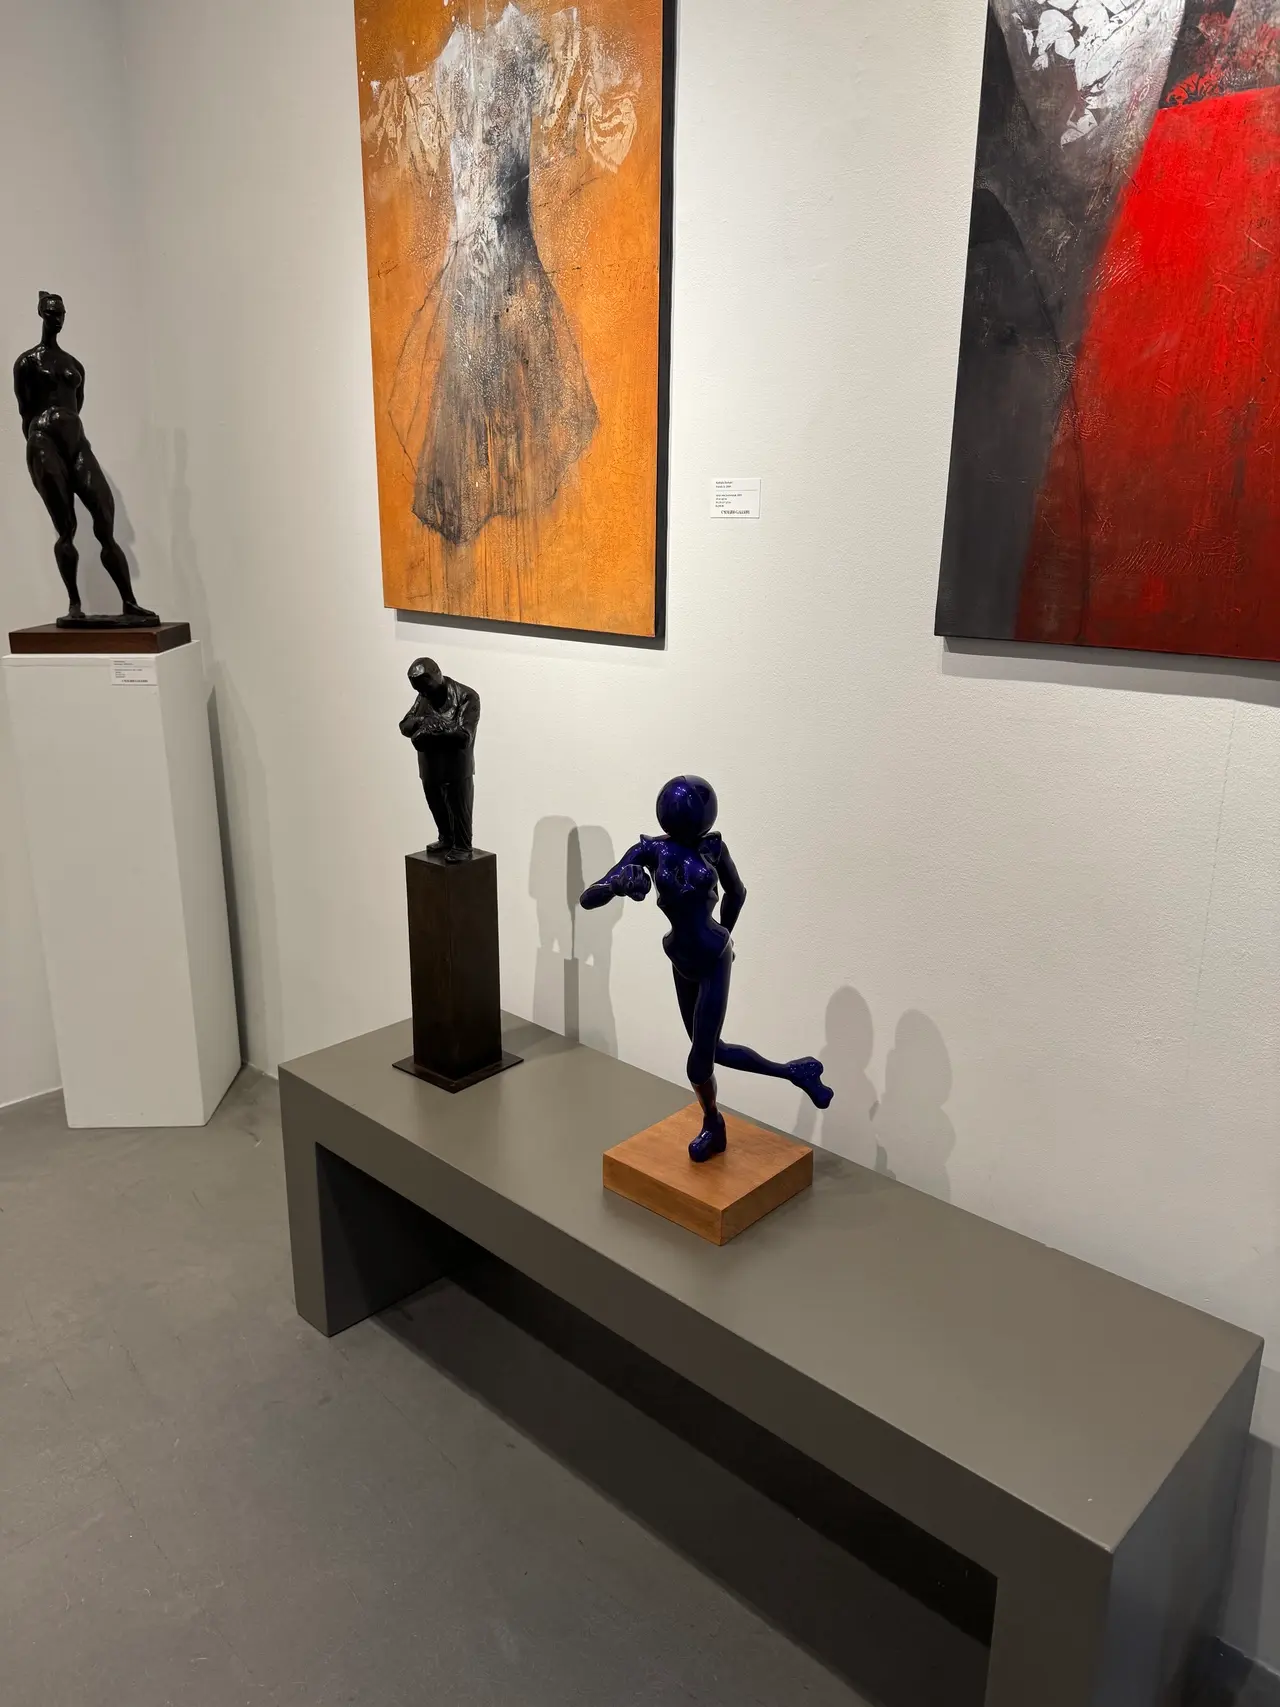
The sculptures have traveled to various contemporary art fairs and select pieces are now installed at their final destinations, including Cavalier Galleries in New York City as well as collectors’ private residences.