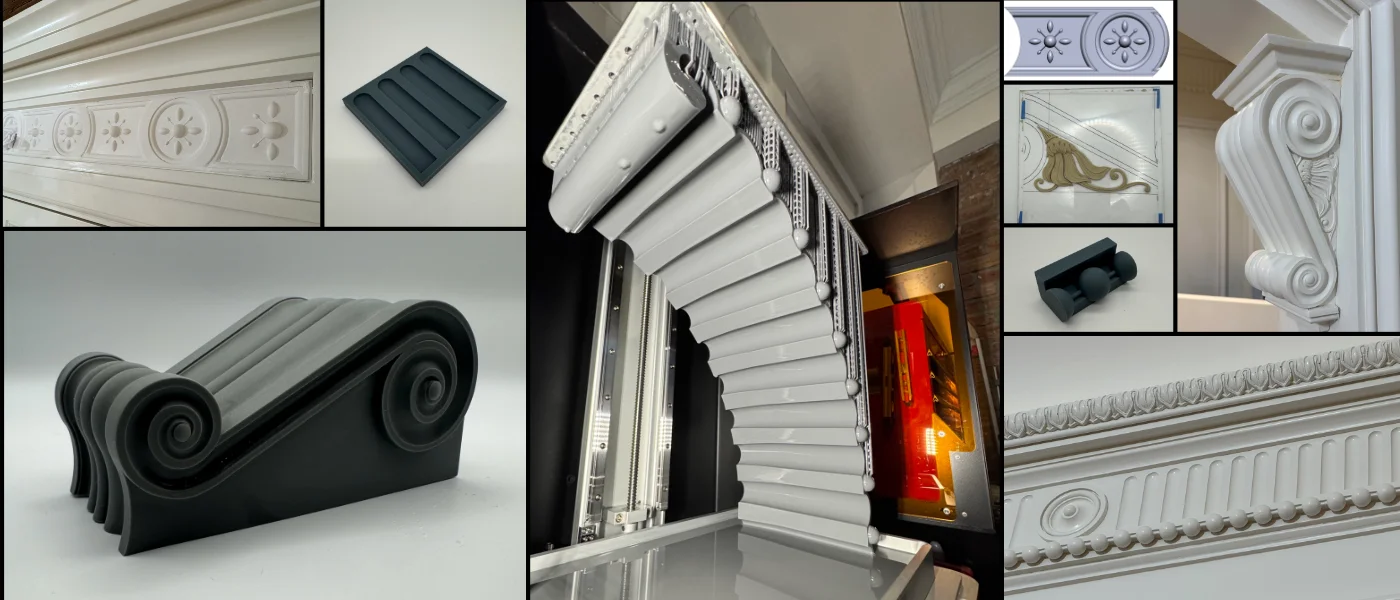
Custom Ornamental Plaster
We were provided with 2D drawings for a set of custom ornamental plaster elements destined for a single-family brownstone in New York City’s West Village. Our part ran from the drawings to the molds: CAD modeling, a 3D scan of the corbel’s clay ornament, SLA 3D printing of every master pattern, and mold making.
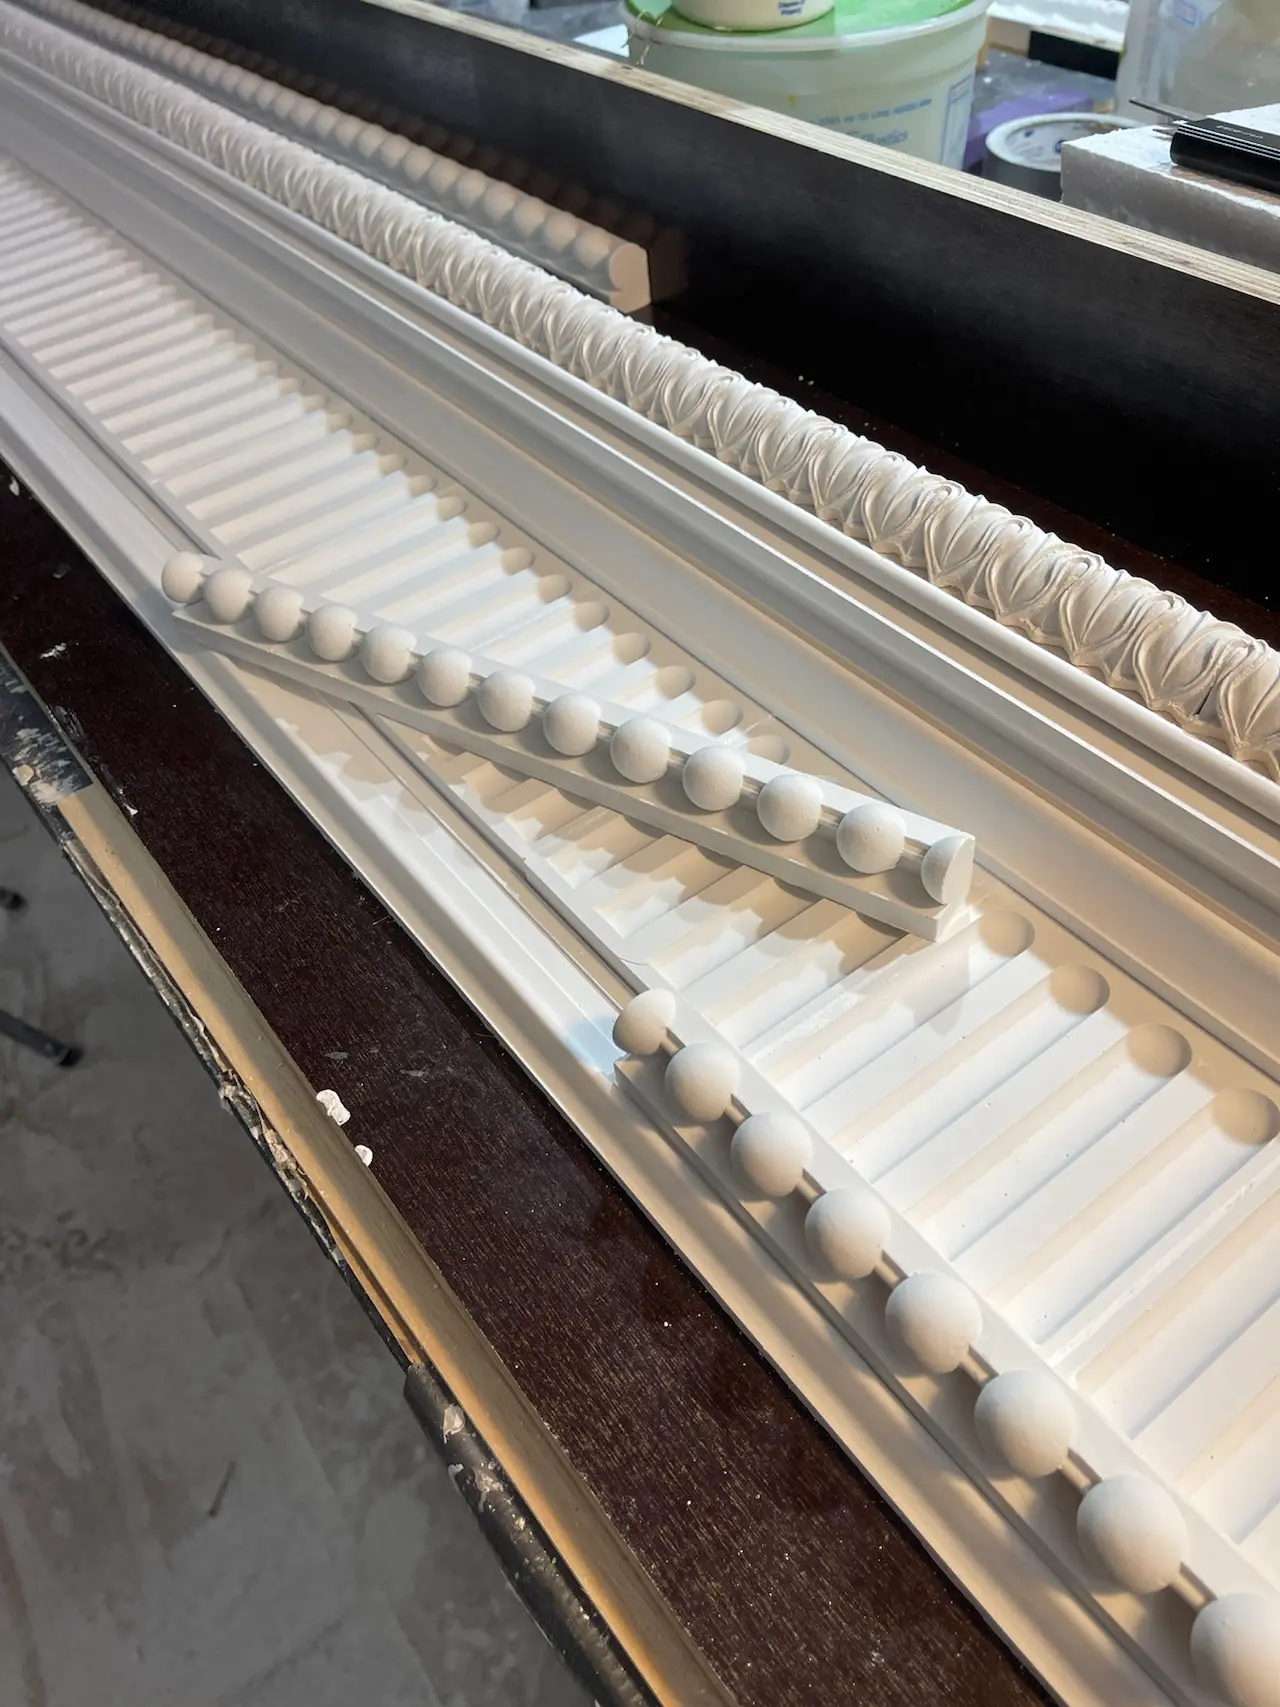
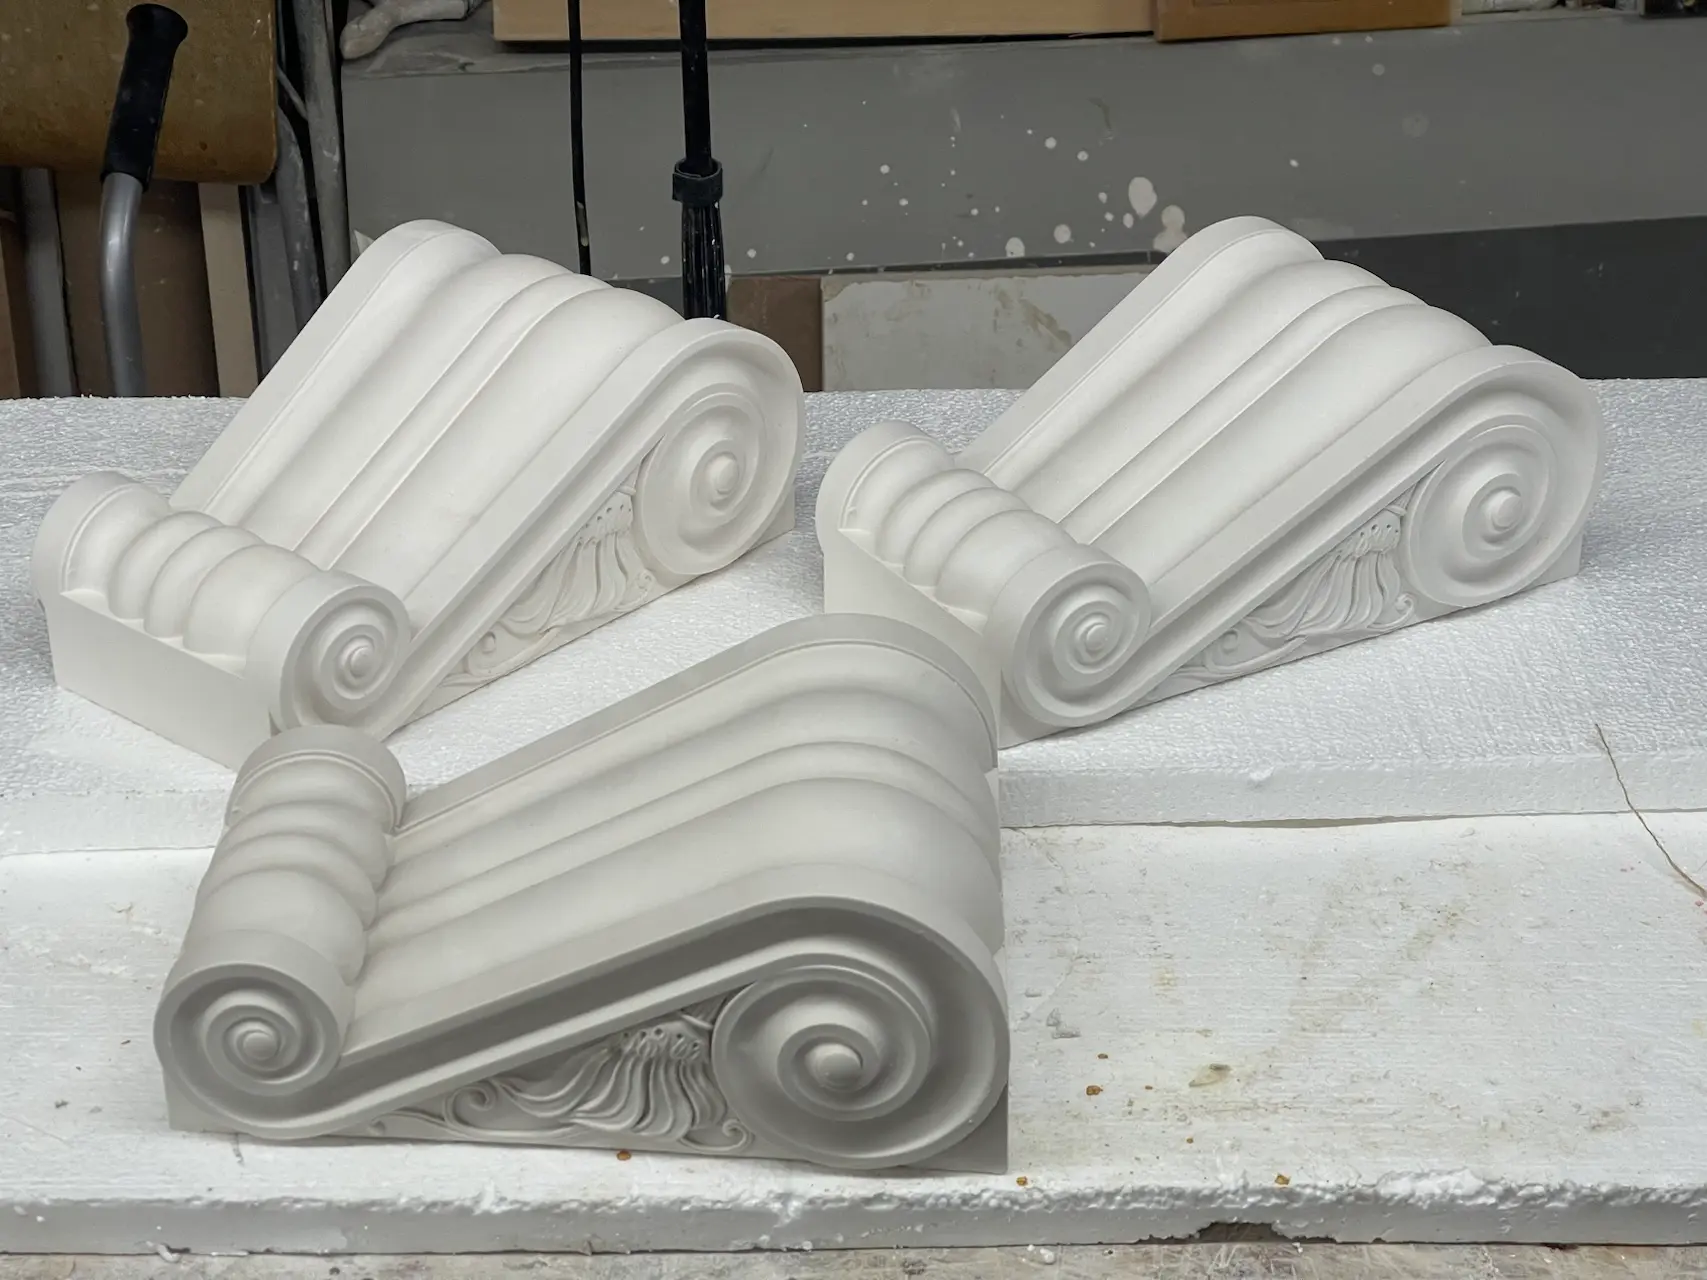
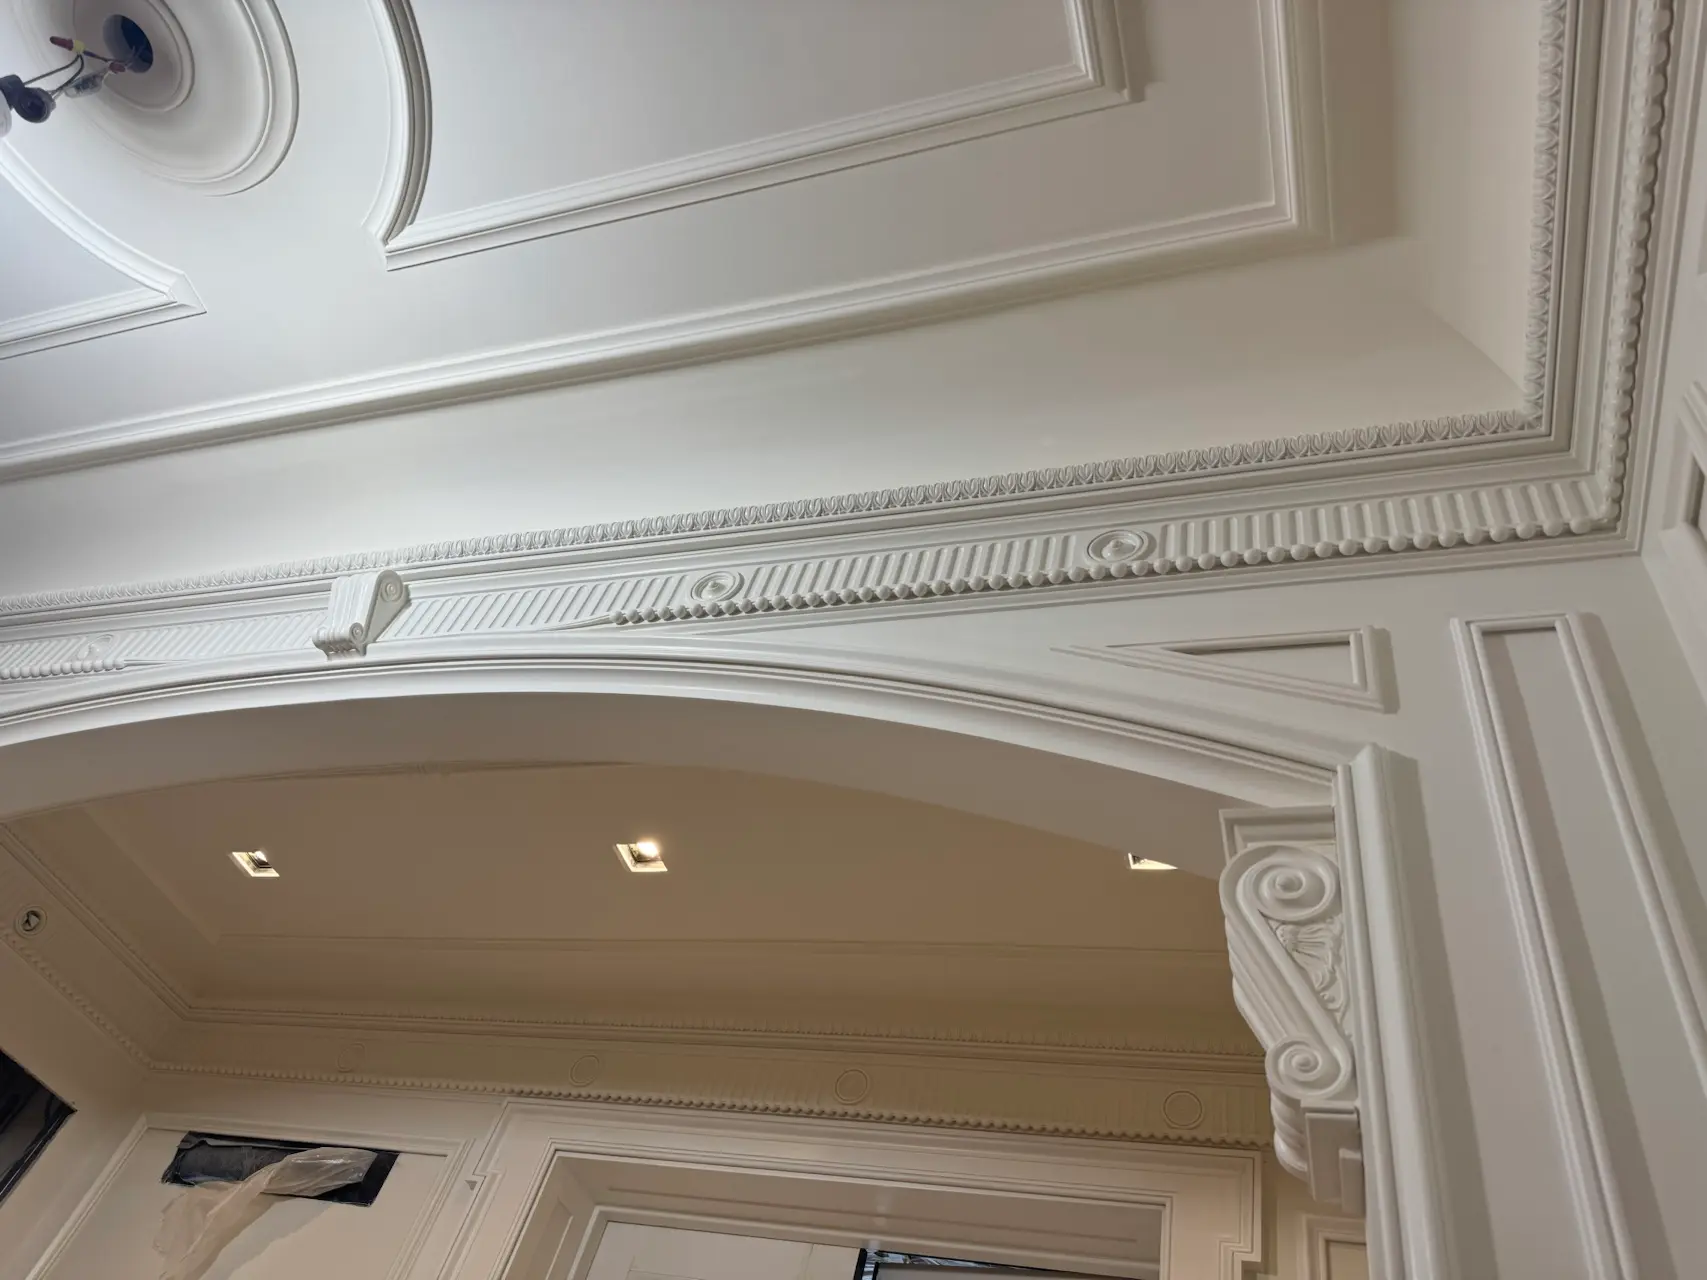
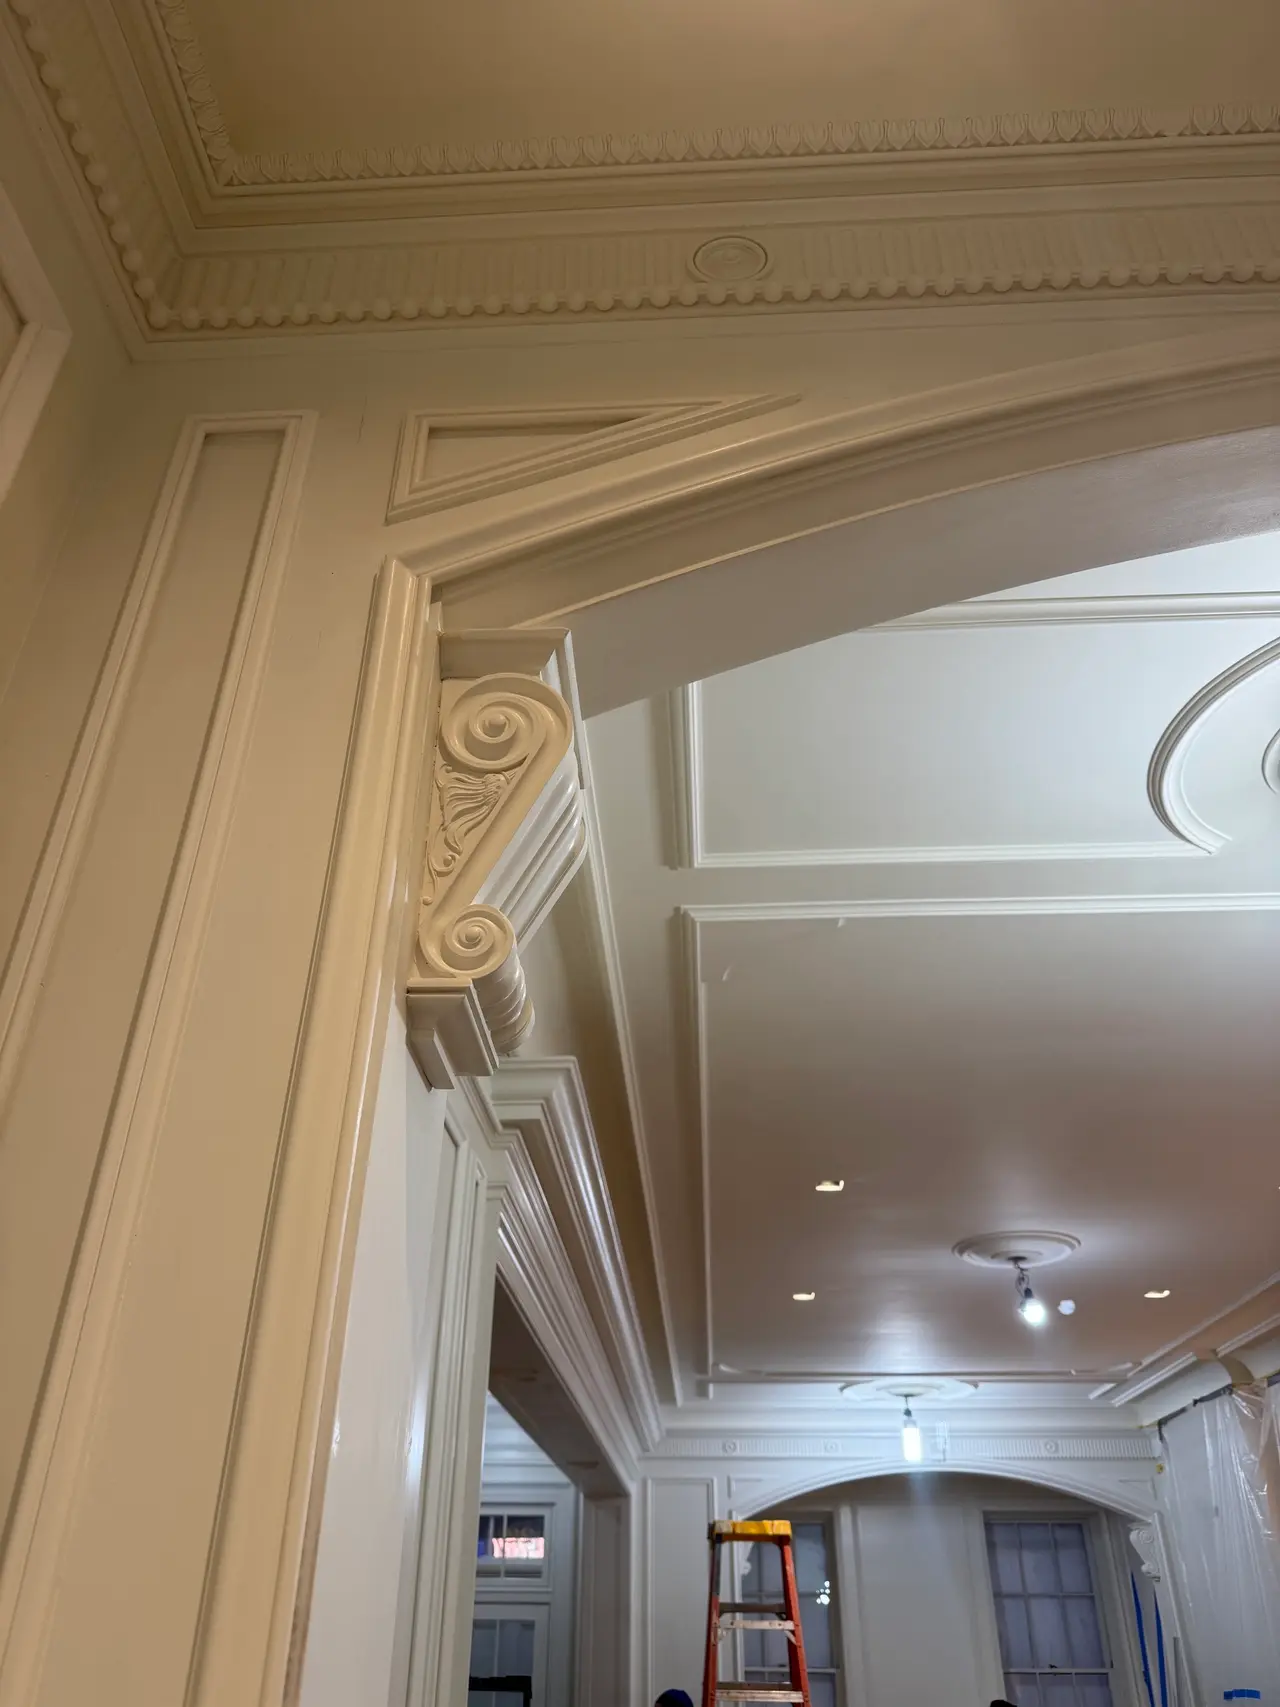
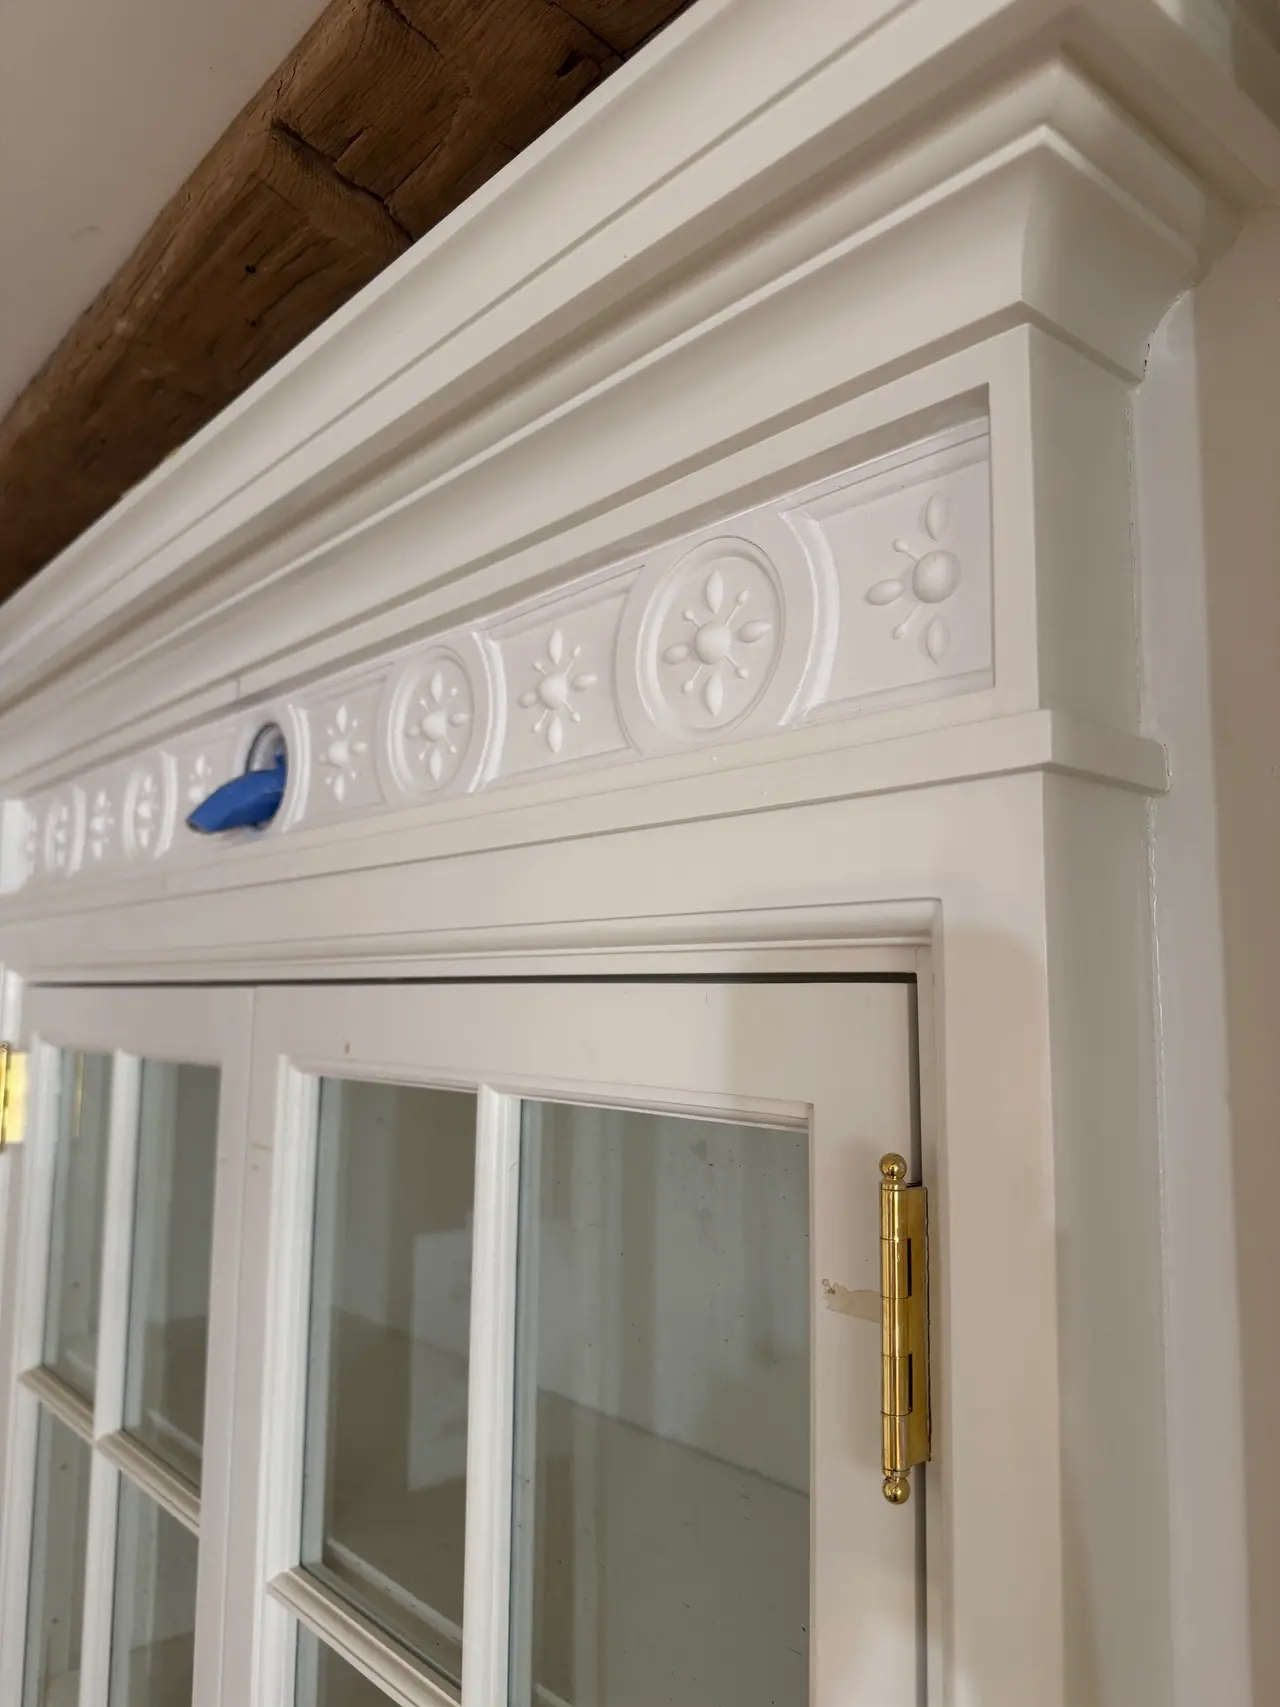
The job covered nine types of element: a corbel, a keystone, a frieze, a half dome, a custom AC (air conditioning) vent cover, flutes, bead and ball, and two types of small medallion. The full frieze measured 40.375 inches long by 3.5 inches tall. We printed only two pieces of it, and castings from those made up the entire length. The half dome, our largest element at 2 feet 3.75 inches wide and 1 foot 1.87 inches tall, was made for a custom bar.
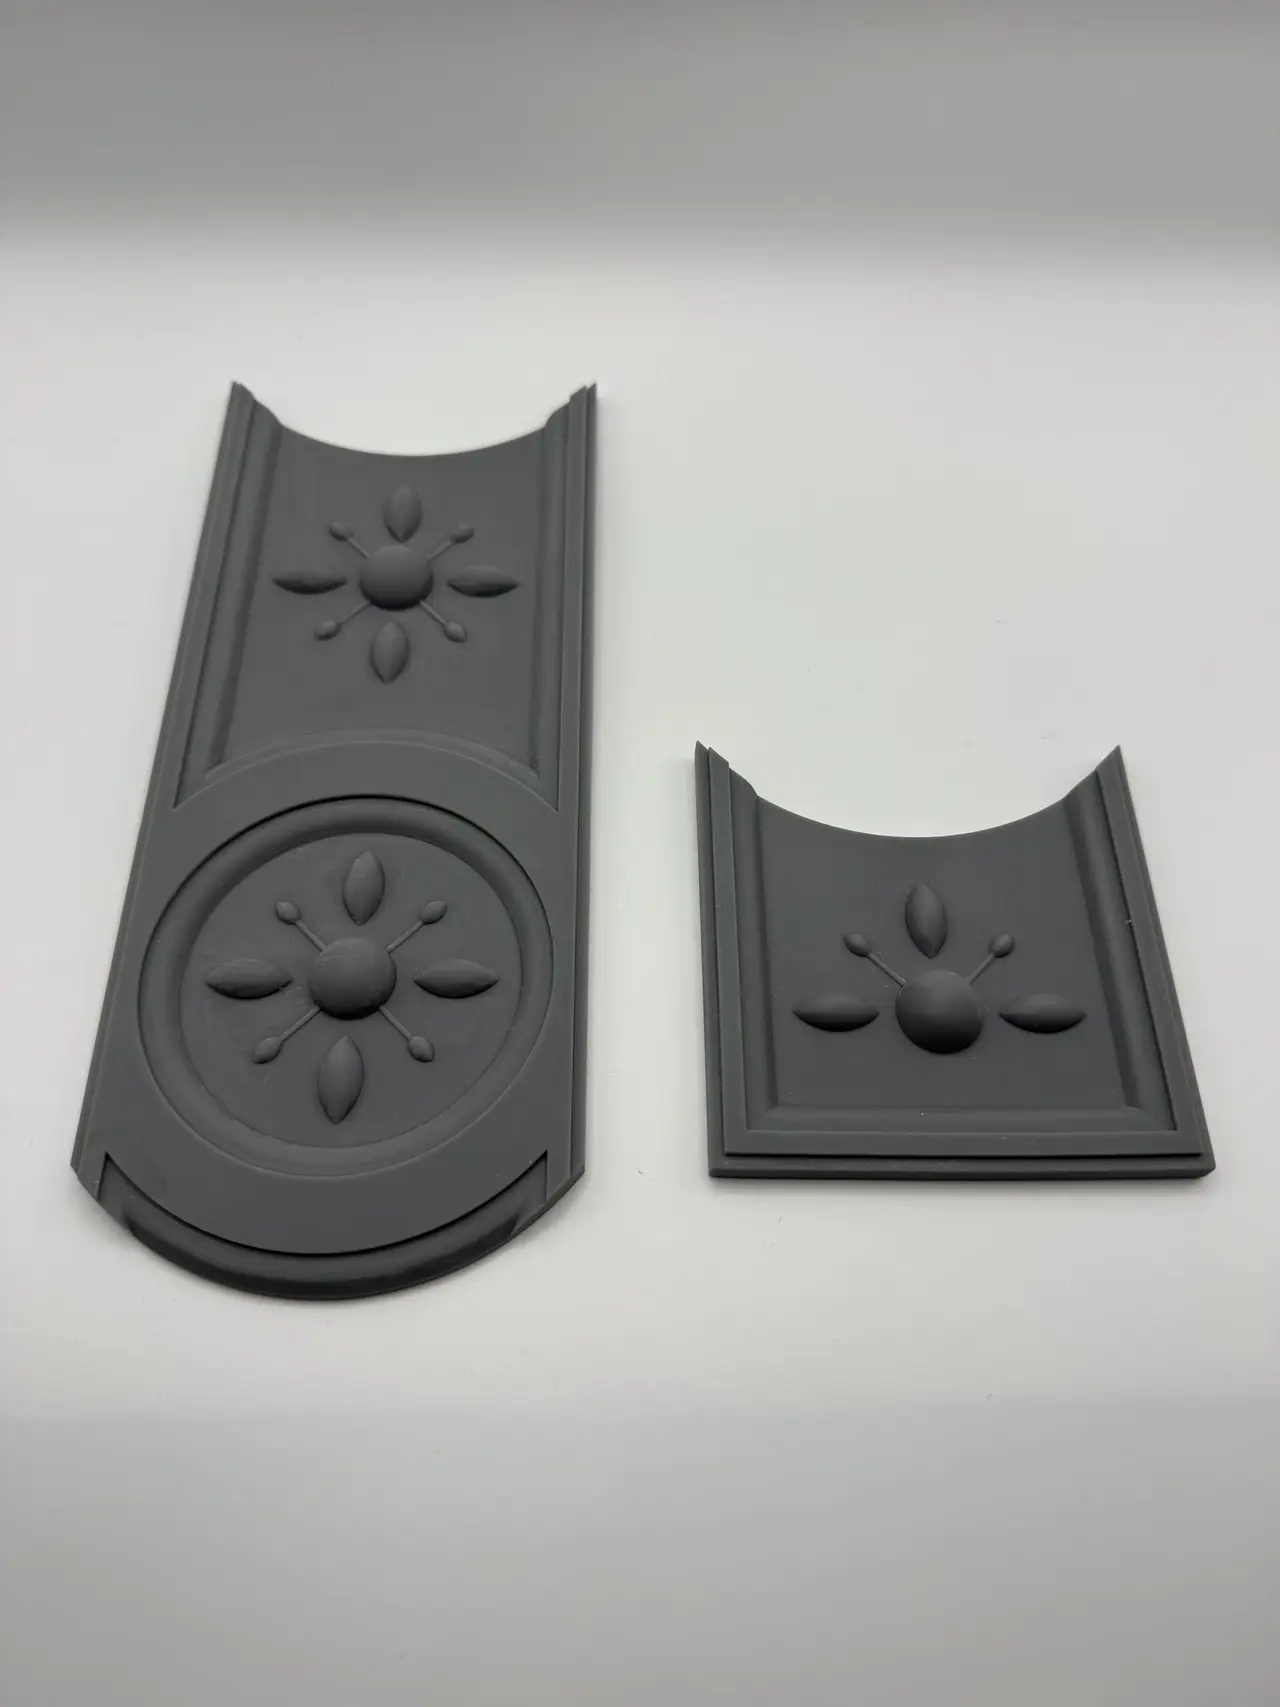
The two medallion types measured 1.31 inches and 3.24 inches in diameter, and the larger one had a square base added to it that measured 4 inches by 4 inches. The AC vent cover was the larger medallion with its center cut out, and otherwise had the same dimensions. The bead and ball section was 2 inches wide by 0.83 inches tall, and the flute section was 3.94 inches long by 3.58 inches tall. The keystone had the same overall shape as the corbel at about half the size.
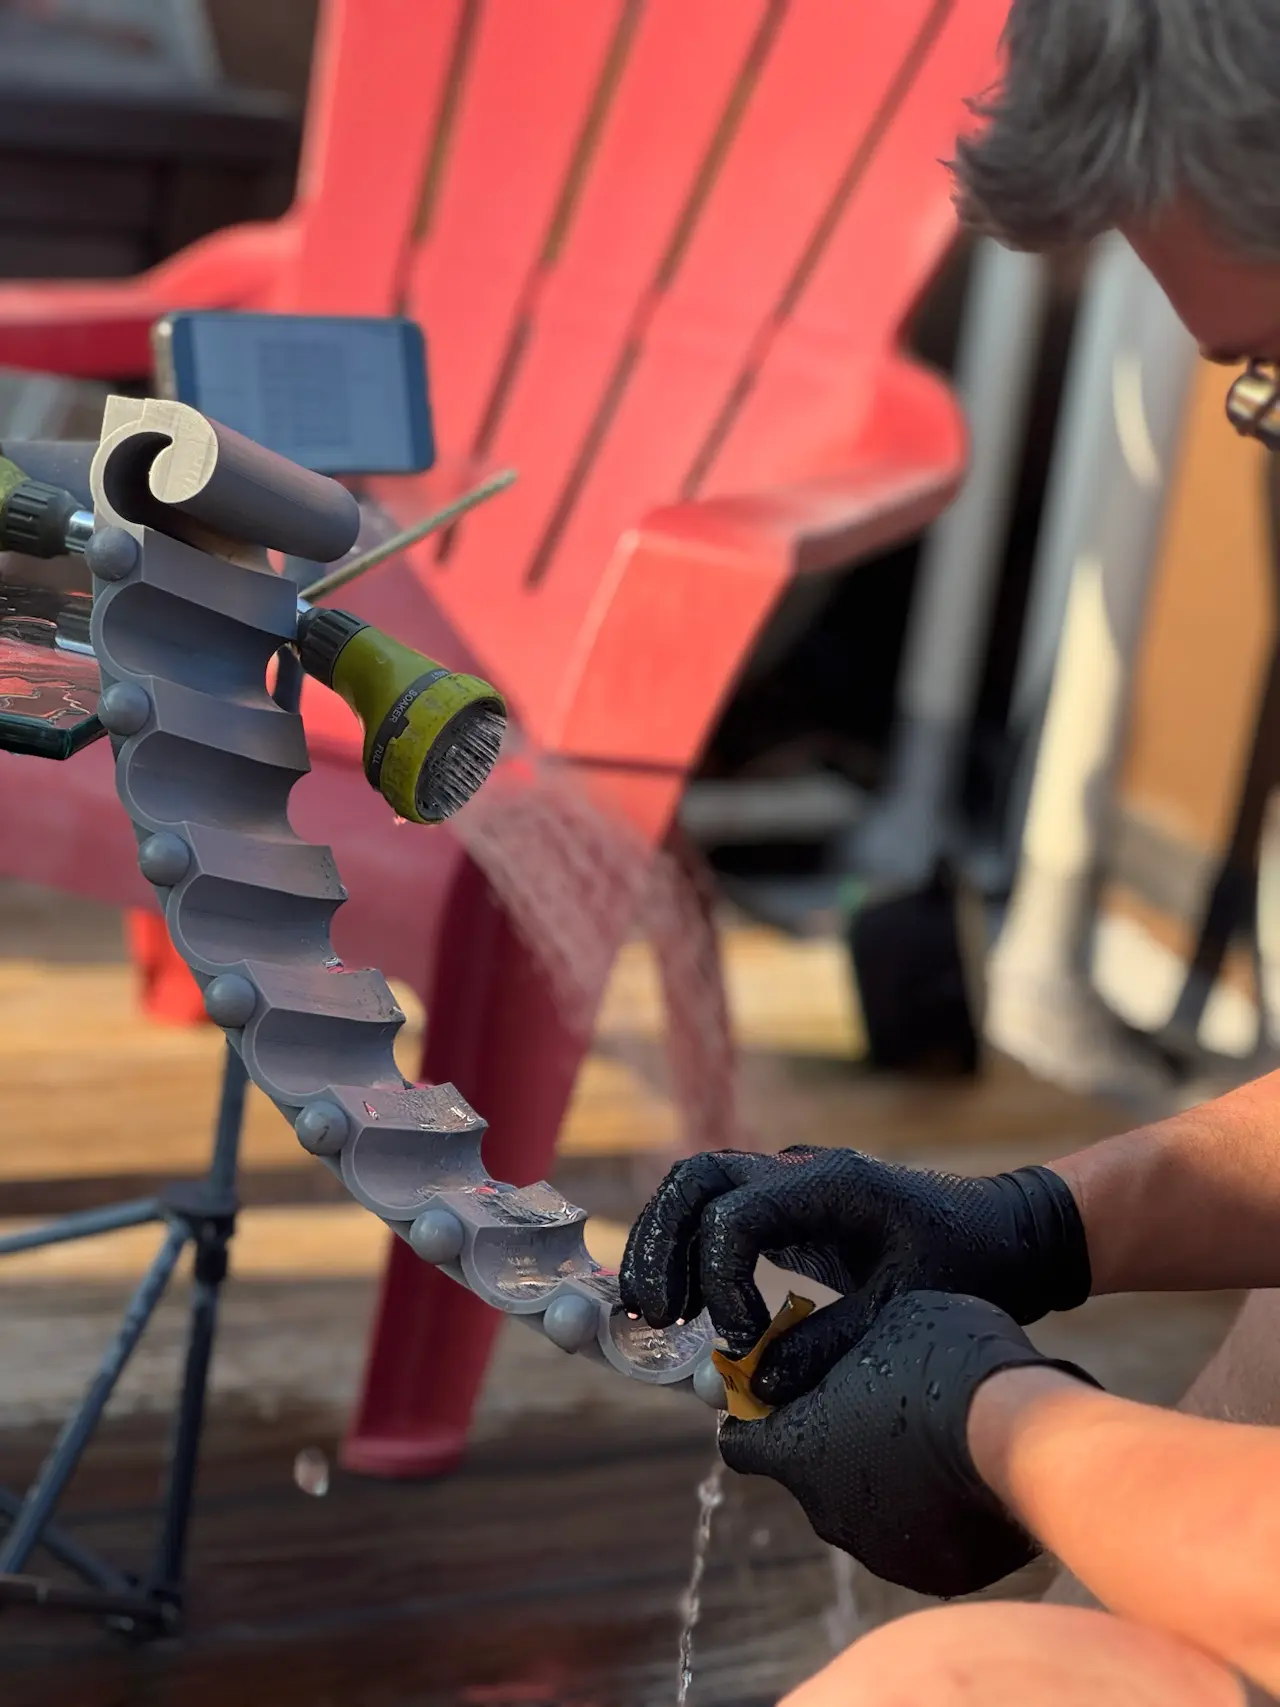
A master pattern is a high-quality original used to make a mold, and each piece had one. Once our urethane rubber molds were done, the elements were cast and installed across the parlor floor and the ground-level dining room and kitchen. A few of the small medallion patterns were scattered throughout the house, and the AC vent covers had a pattern of their own that was used throughout the home.
2D drawings of the elements and, for the corbel, a hand-sculpted clay ornament.
We 3D scanned the one sculpted side so its detail could be mirrored and carried into the CAD model.
Most elements were designed in CAD directly from the 2D drawings, and the corbel combined solid bodies and surface bodies. The mirrored scan was attached to the corbel model, which put the ornament on both sides.
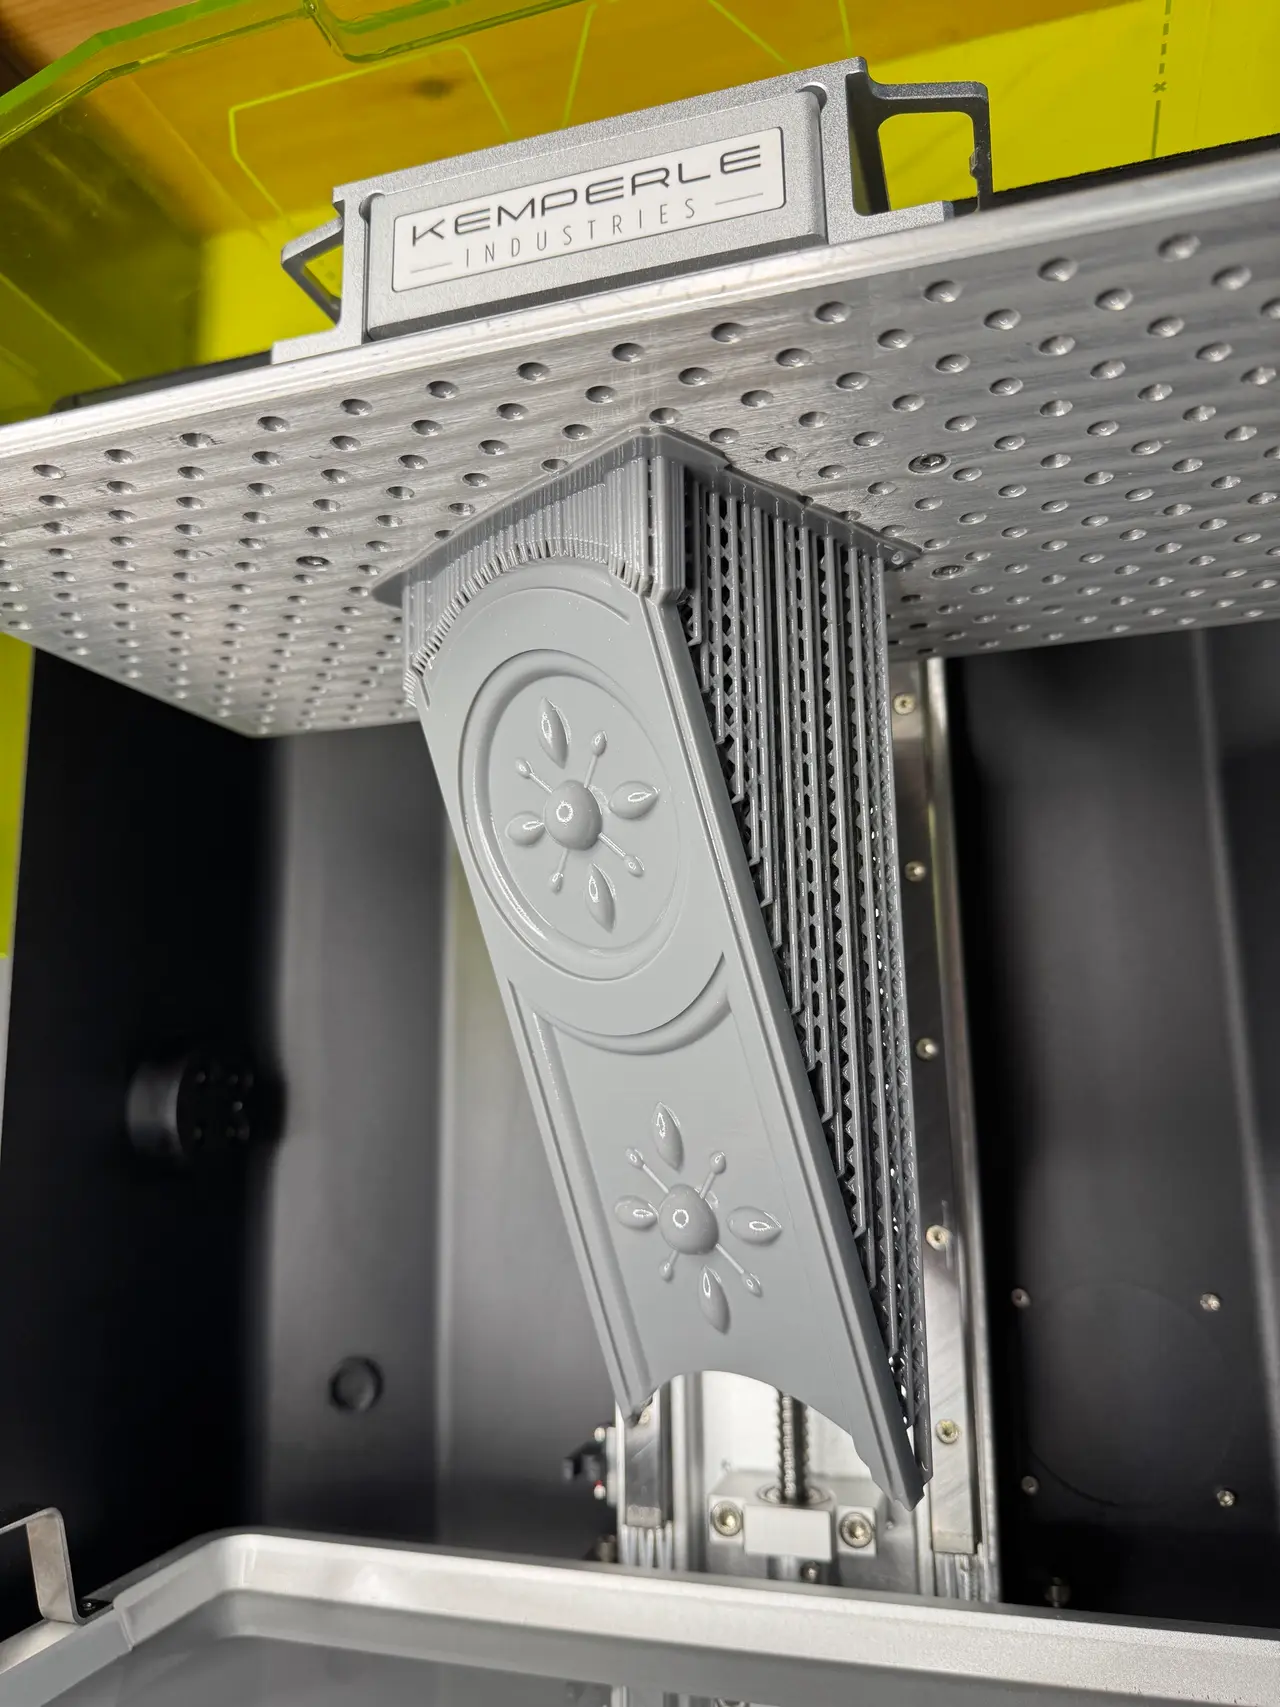
Every element was printed in SLA in an ABS-like resin, one master pattern for each piece, and went straight to molding with no separate test piece. Most took one to two days from drawing to master pattern, and the corbel and half dome took about a week each. The half dome was printed in six sections and assembled.
We made one urethane rubber mold from each master. The elements were then cast and installed.
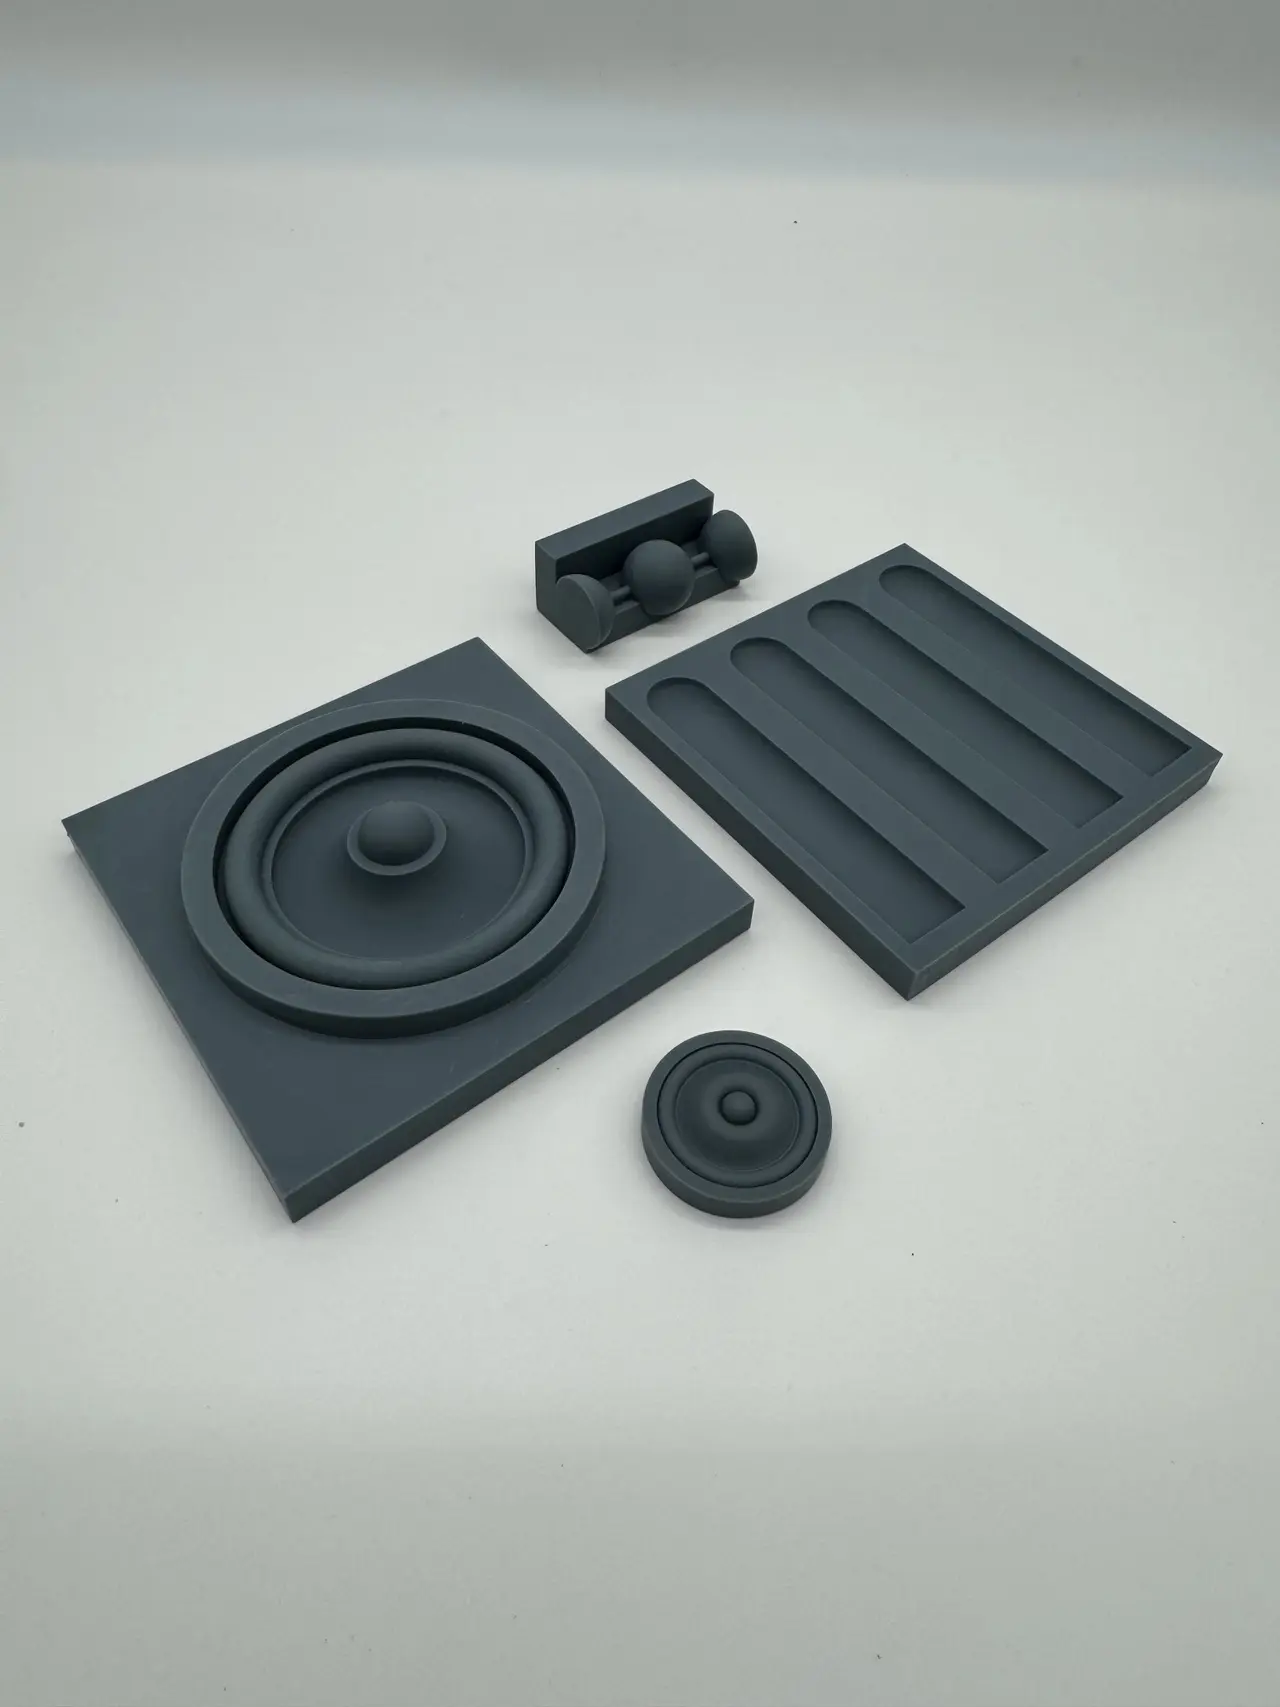
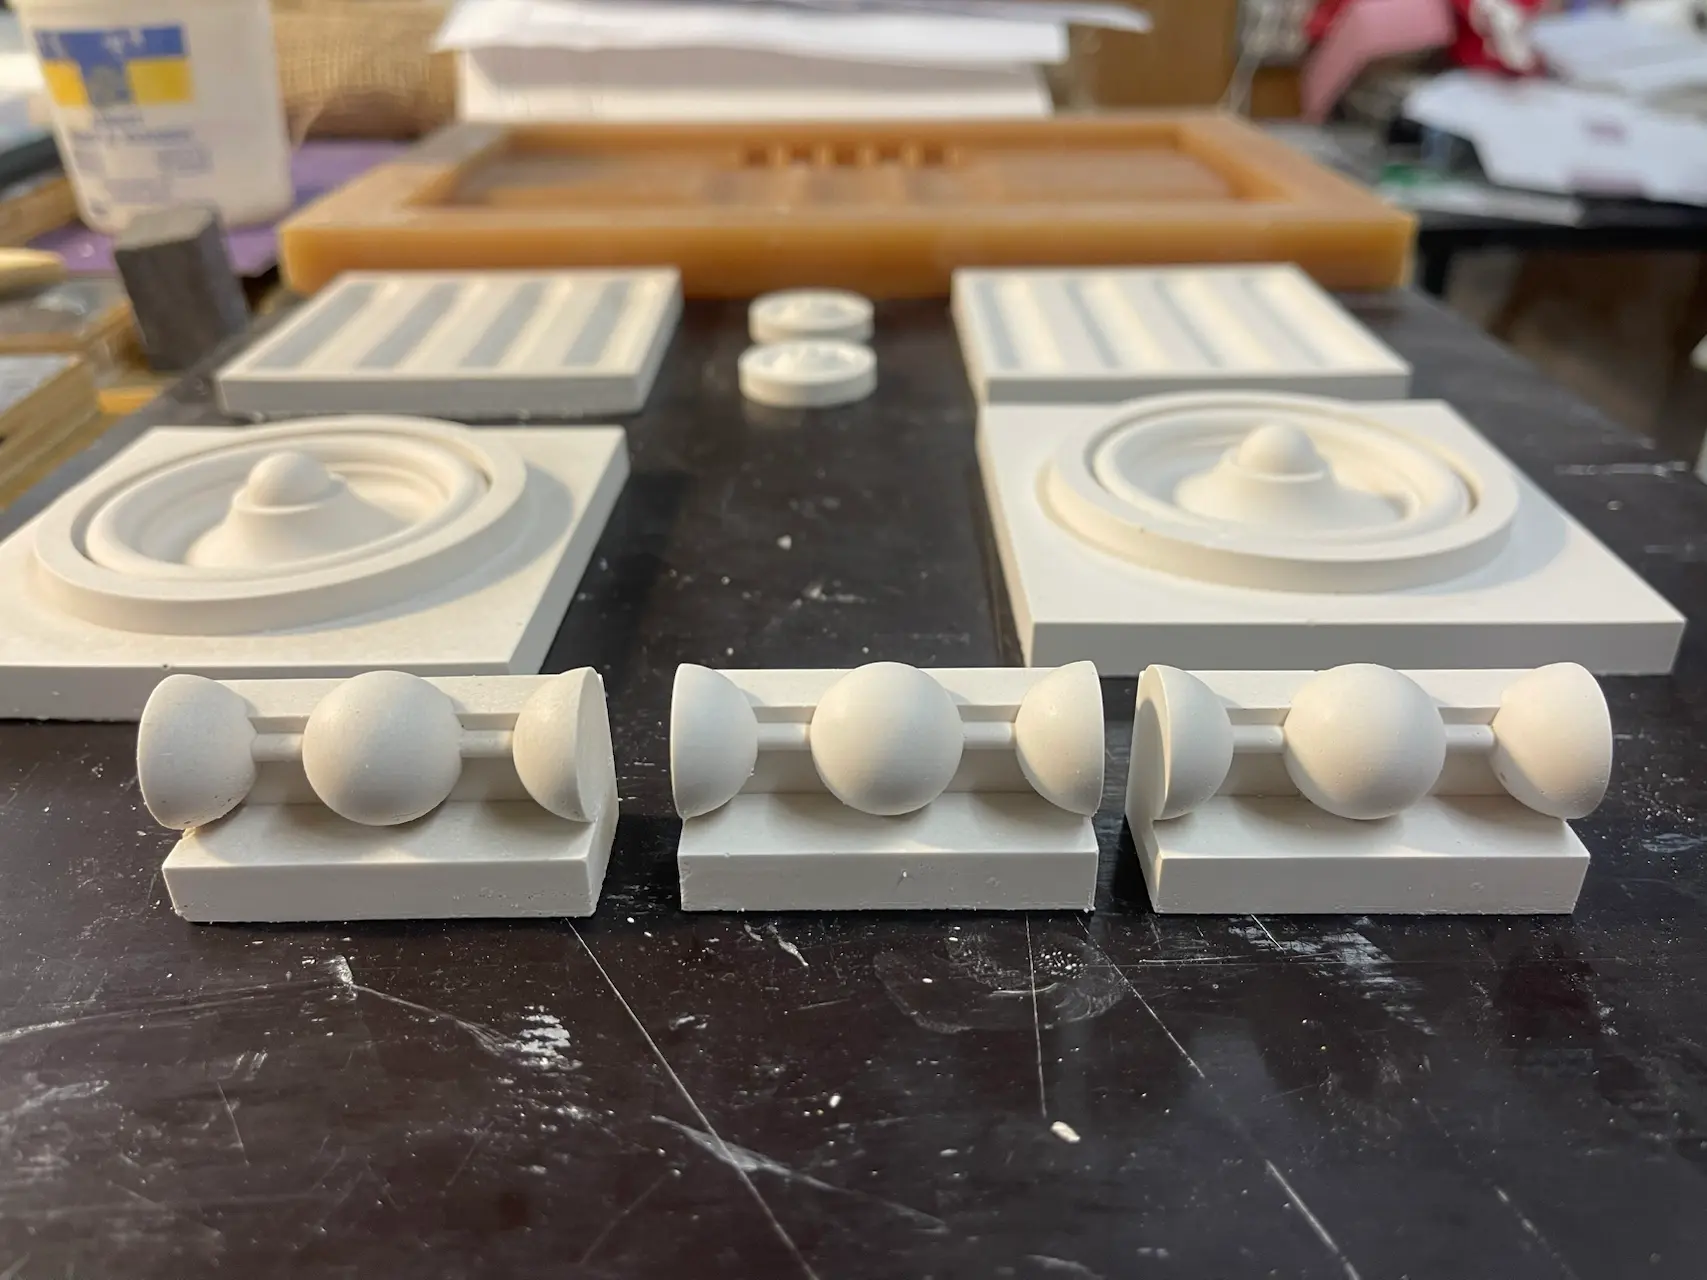
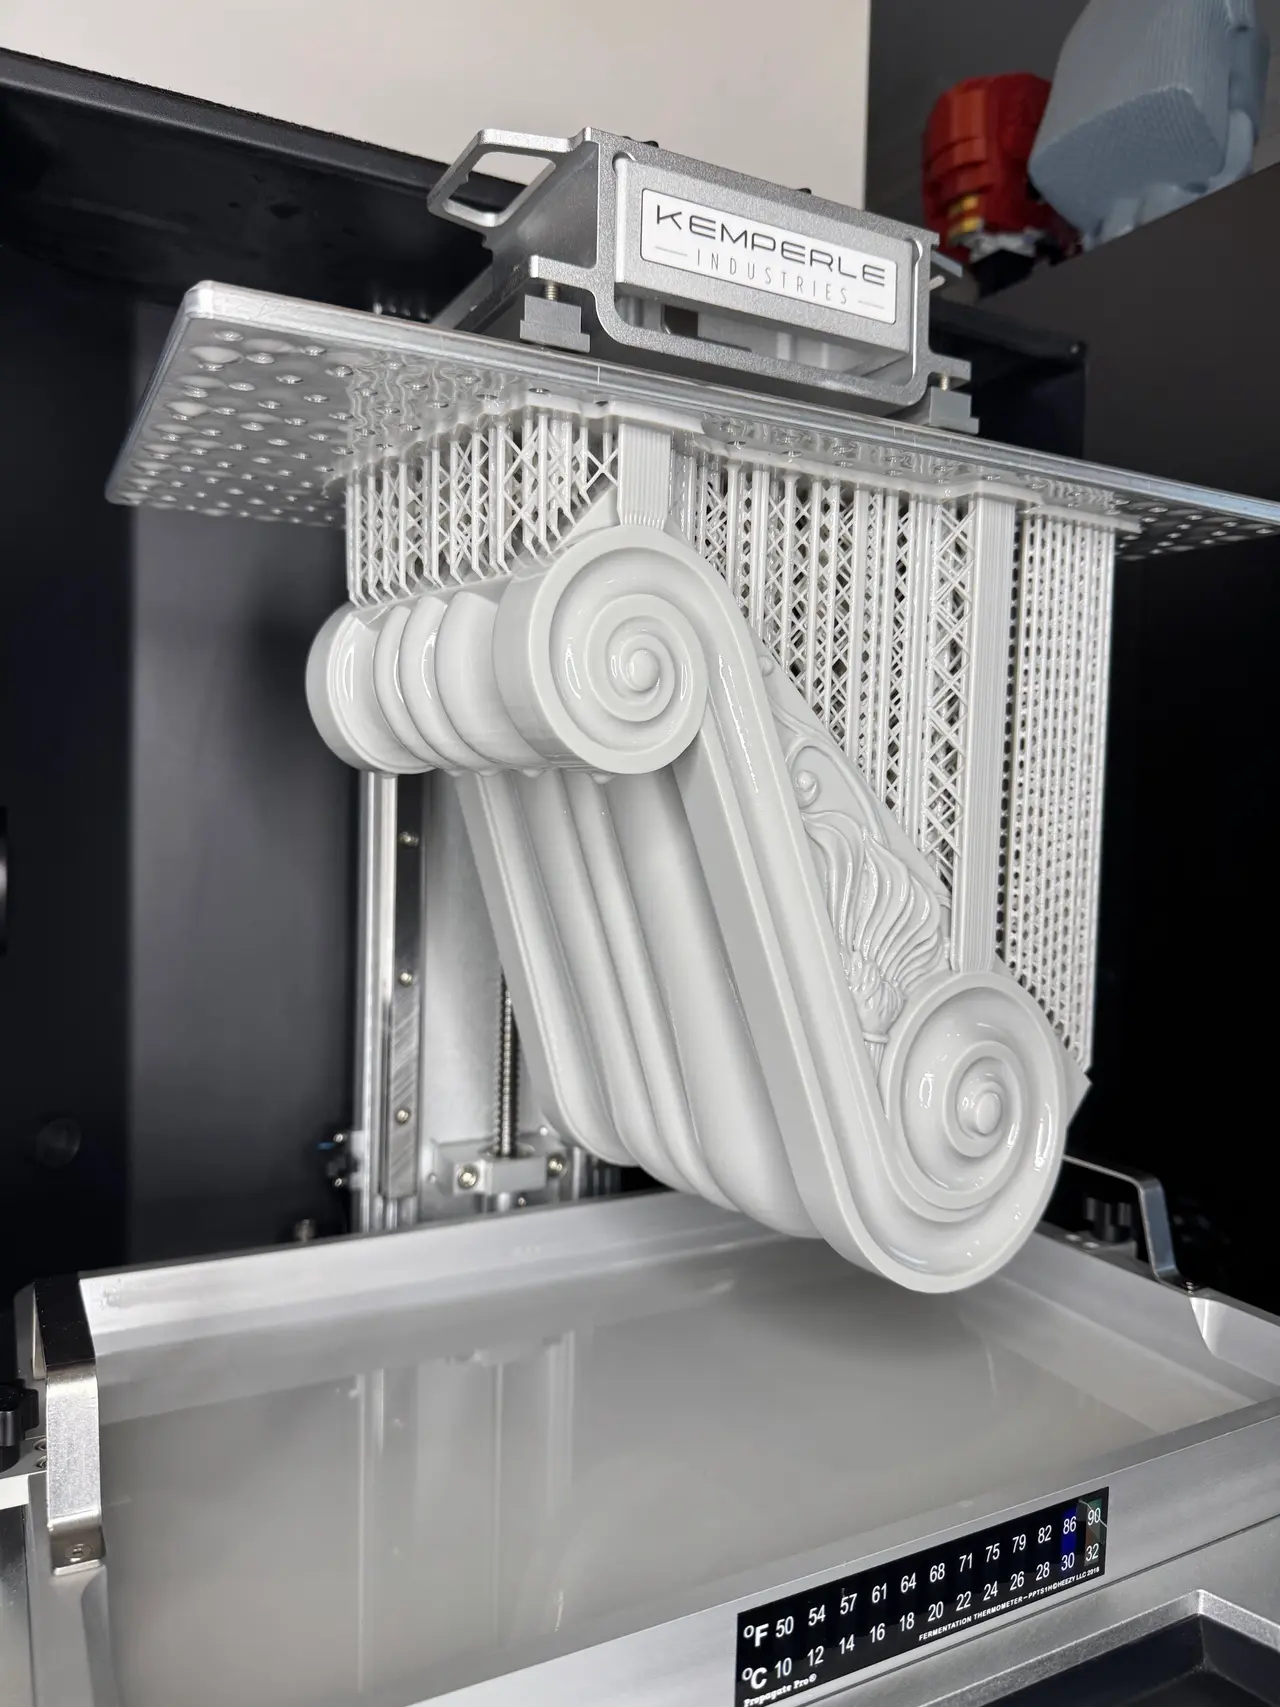
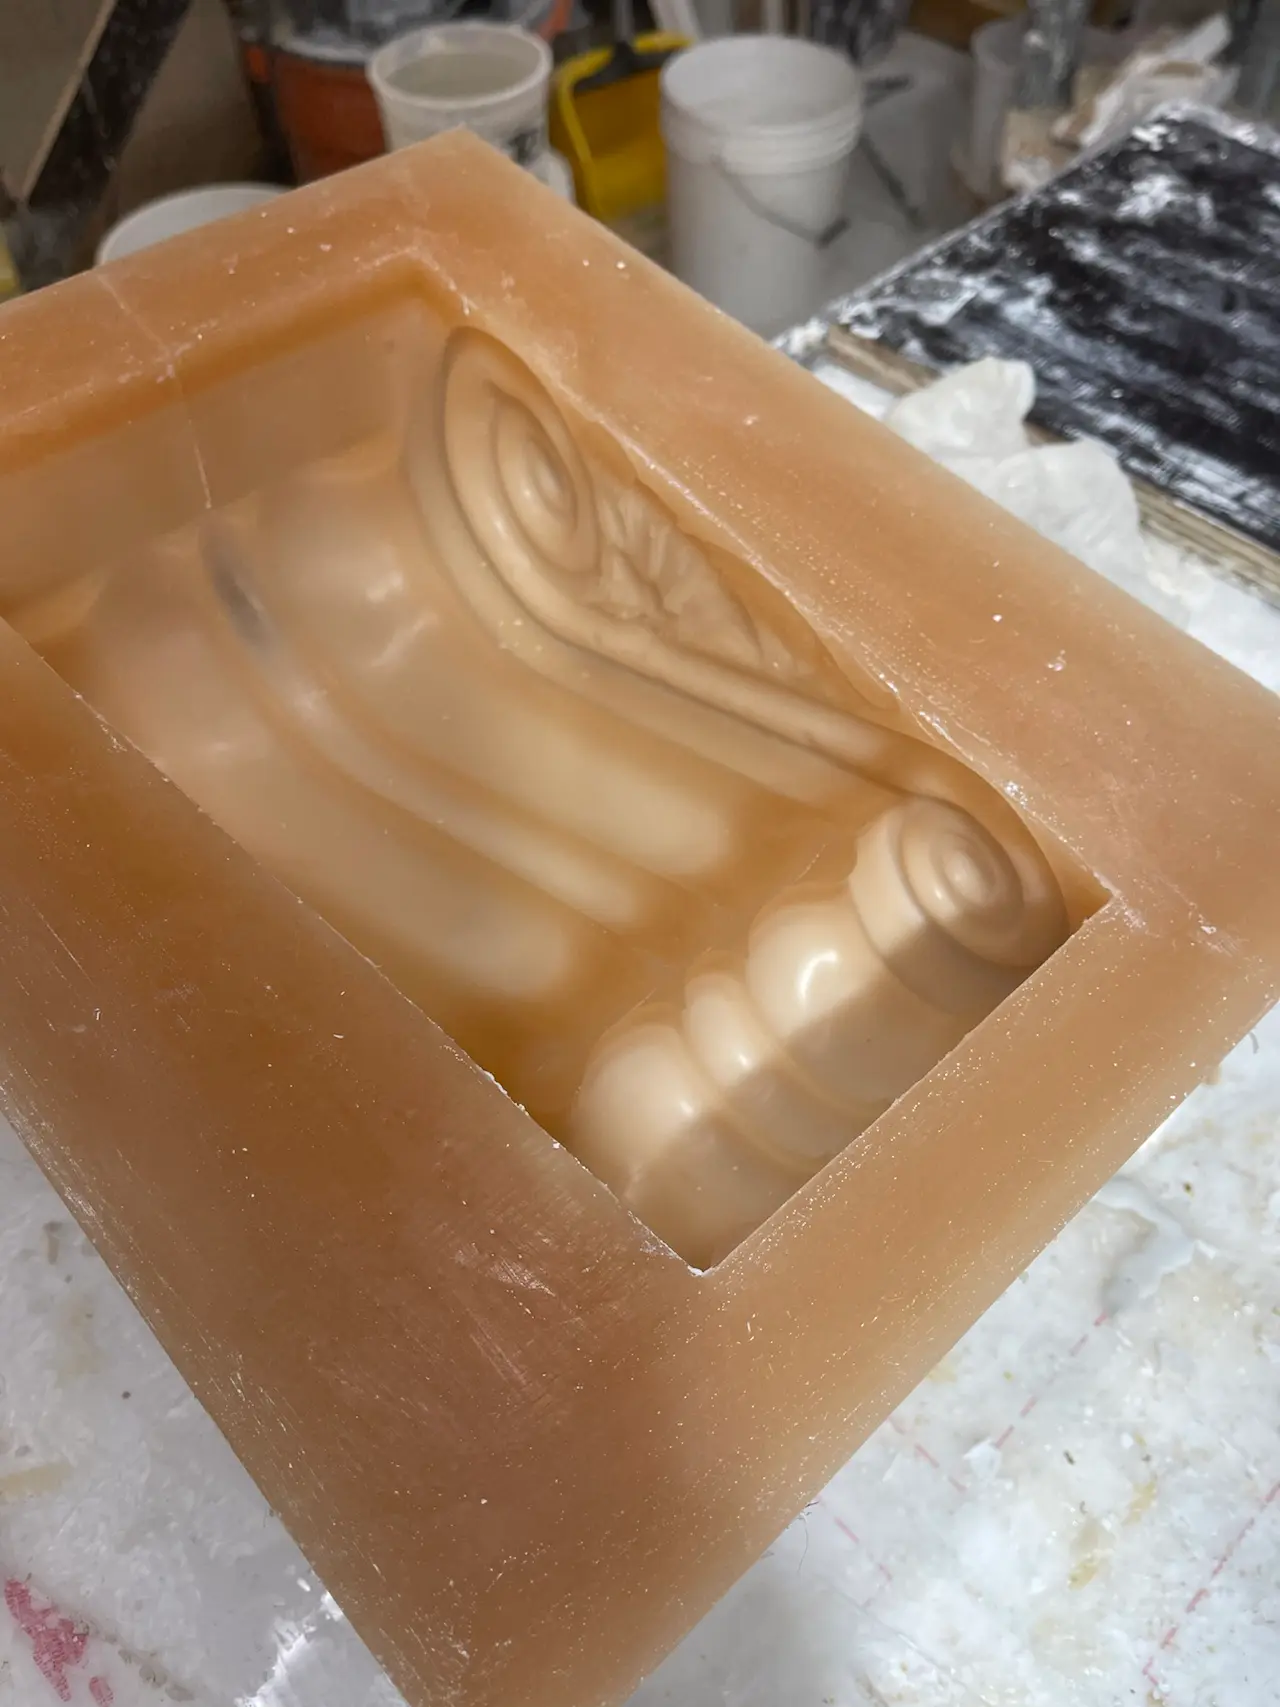
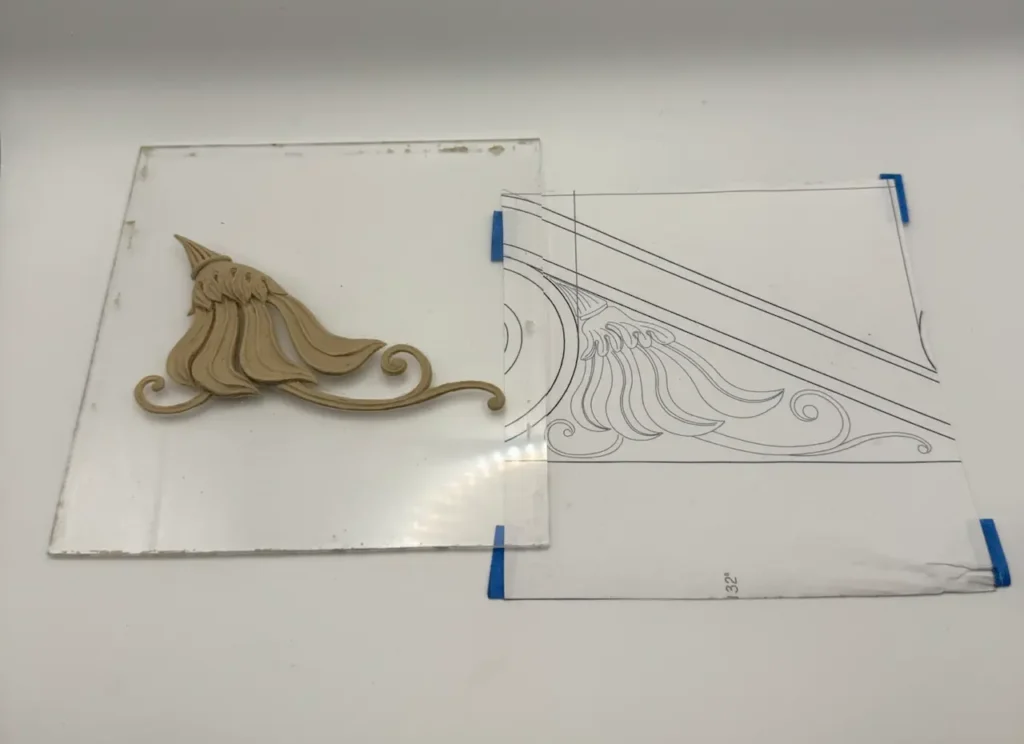
The corbel is intricate, and modeling it took a combination of solid bodies and surface bodies. The half dome, made for a custom bar, was the largest print and had to be sectioned and assembled. The corbel is 10.146 inches tall and tapers from 6.7 inches wide and 4.09 inches deep at the top to 5.03 inches wide and 2.6 inches deep at the bottom.
Most of the plaster elements started as flat drawings, so the full shape had to be built in CAD. The masters then went straight from printing to molding with no separate test piece, so every model had to be right before anything was printed.
Most elements were designed in CAD directly from the drawings. The corbel also carried a hand-sculpted clay ornament that needed to appear on both sides, but only one side had been sculpted. We 3D scanned that side using our Creaform Go!SCAN SPARK, which Creaform rates at up to 0.050 mm accuracy, then mirrored the scan and attached it to the CAD model.
Every element was then printed in SLA in an ABS-like resin, one master pattern for each piece. The half dome was printed in six sections and assembled. Most elements took one to two days each to go from drawing to CAD to master pattern, while the corbel and the half dome took about a week each.
Master patterns are always printed in SLA, to keep their quality as high as possible. We made one urethane rubber mold from each master.
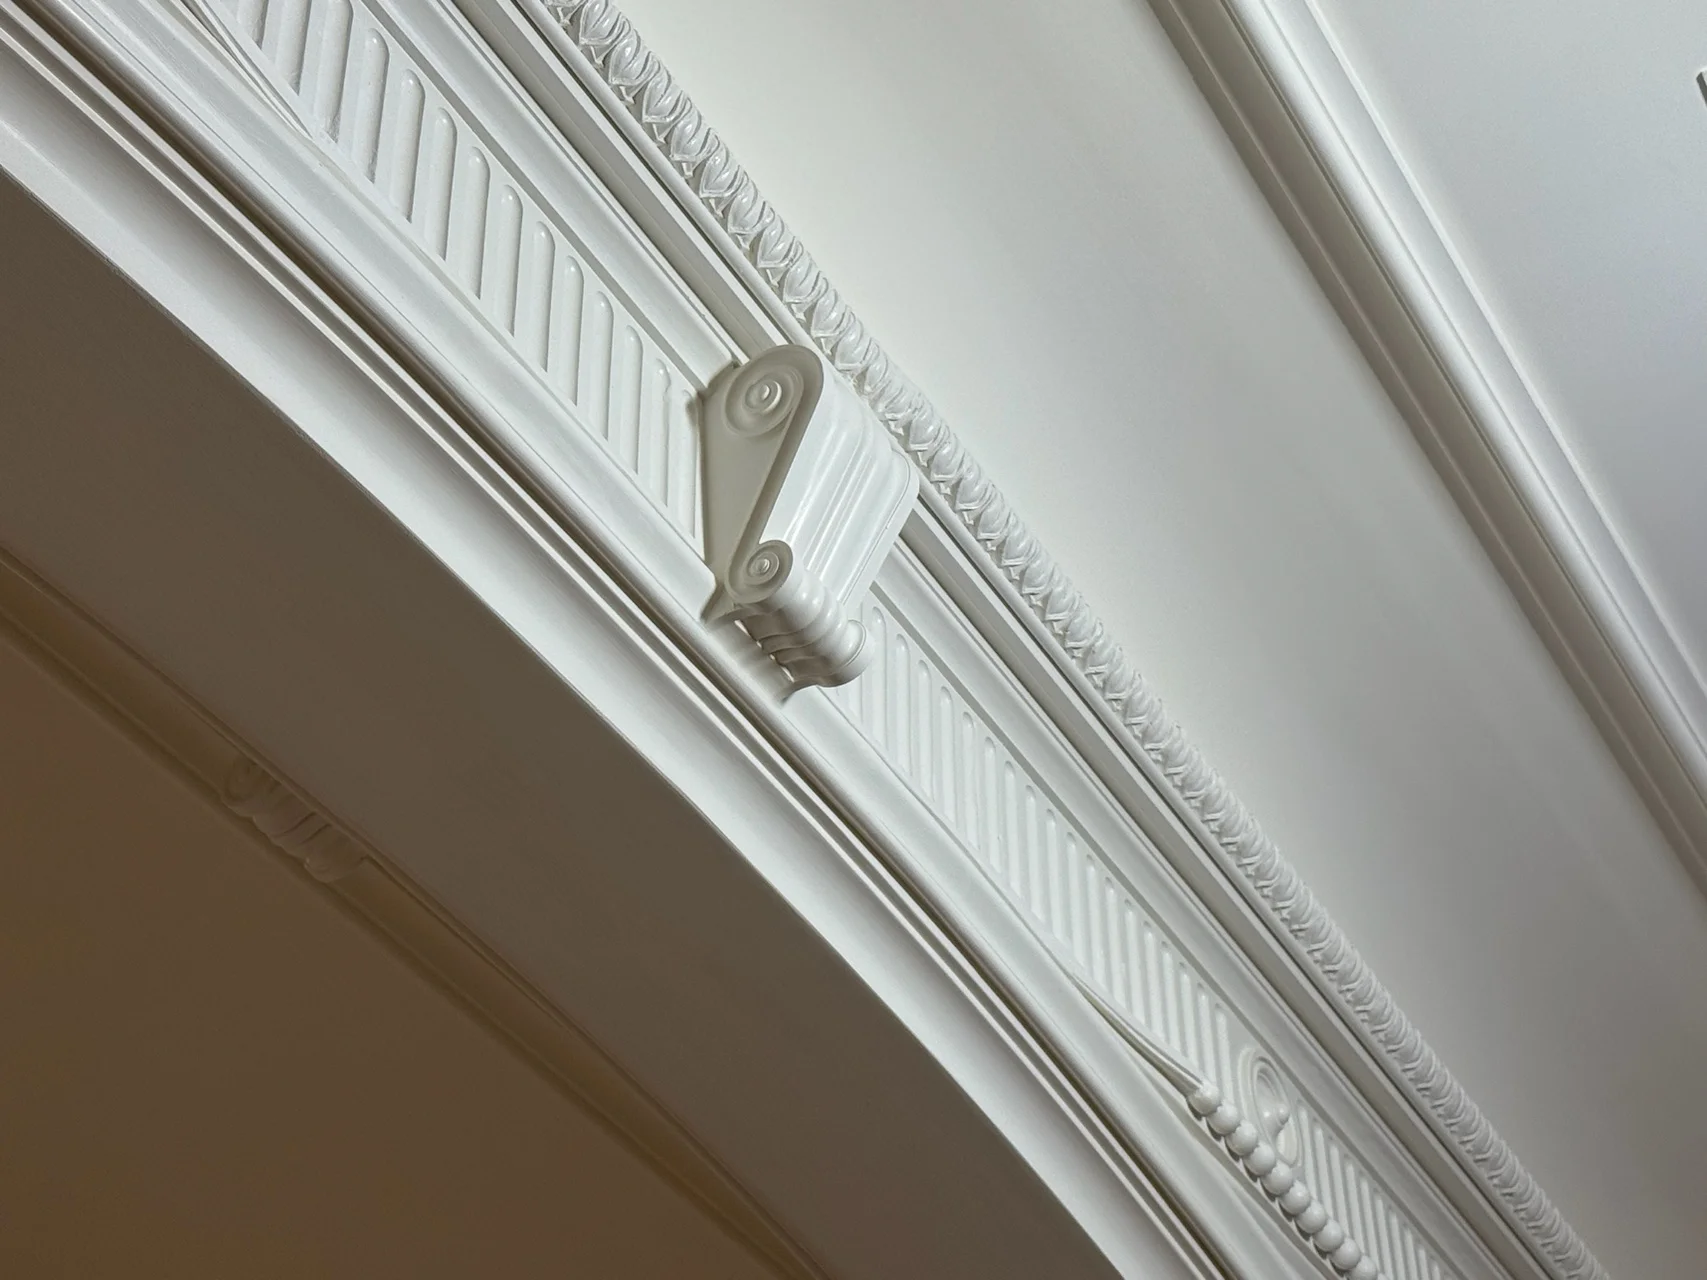
The elements fit on the first attempt. The timeline held, and there was less on-site adjustment during installation.
Elements that repeat came out consistent with one another. We handled the scanning, CAD, SLA printing, and mold making, and the work went from drawings to finished molds.