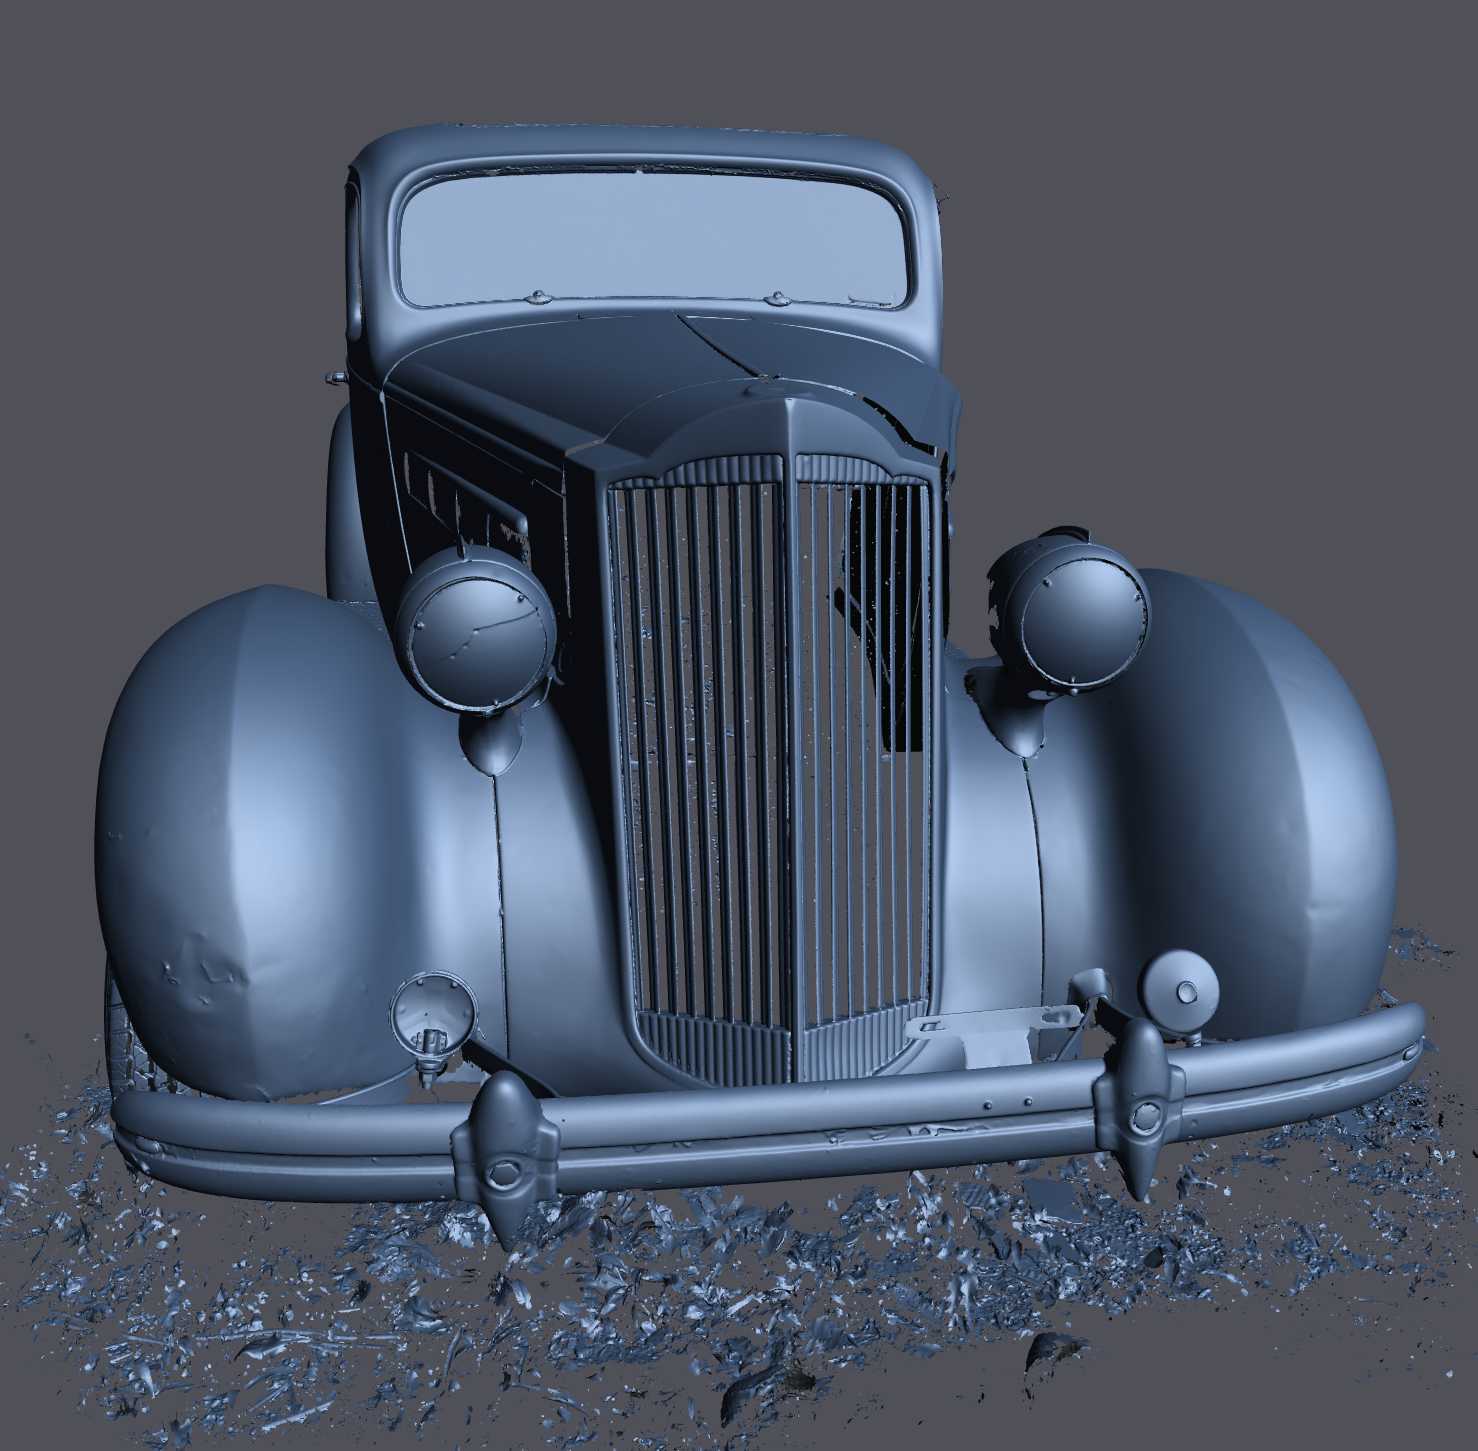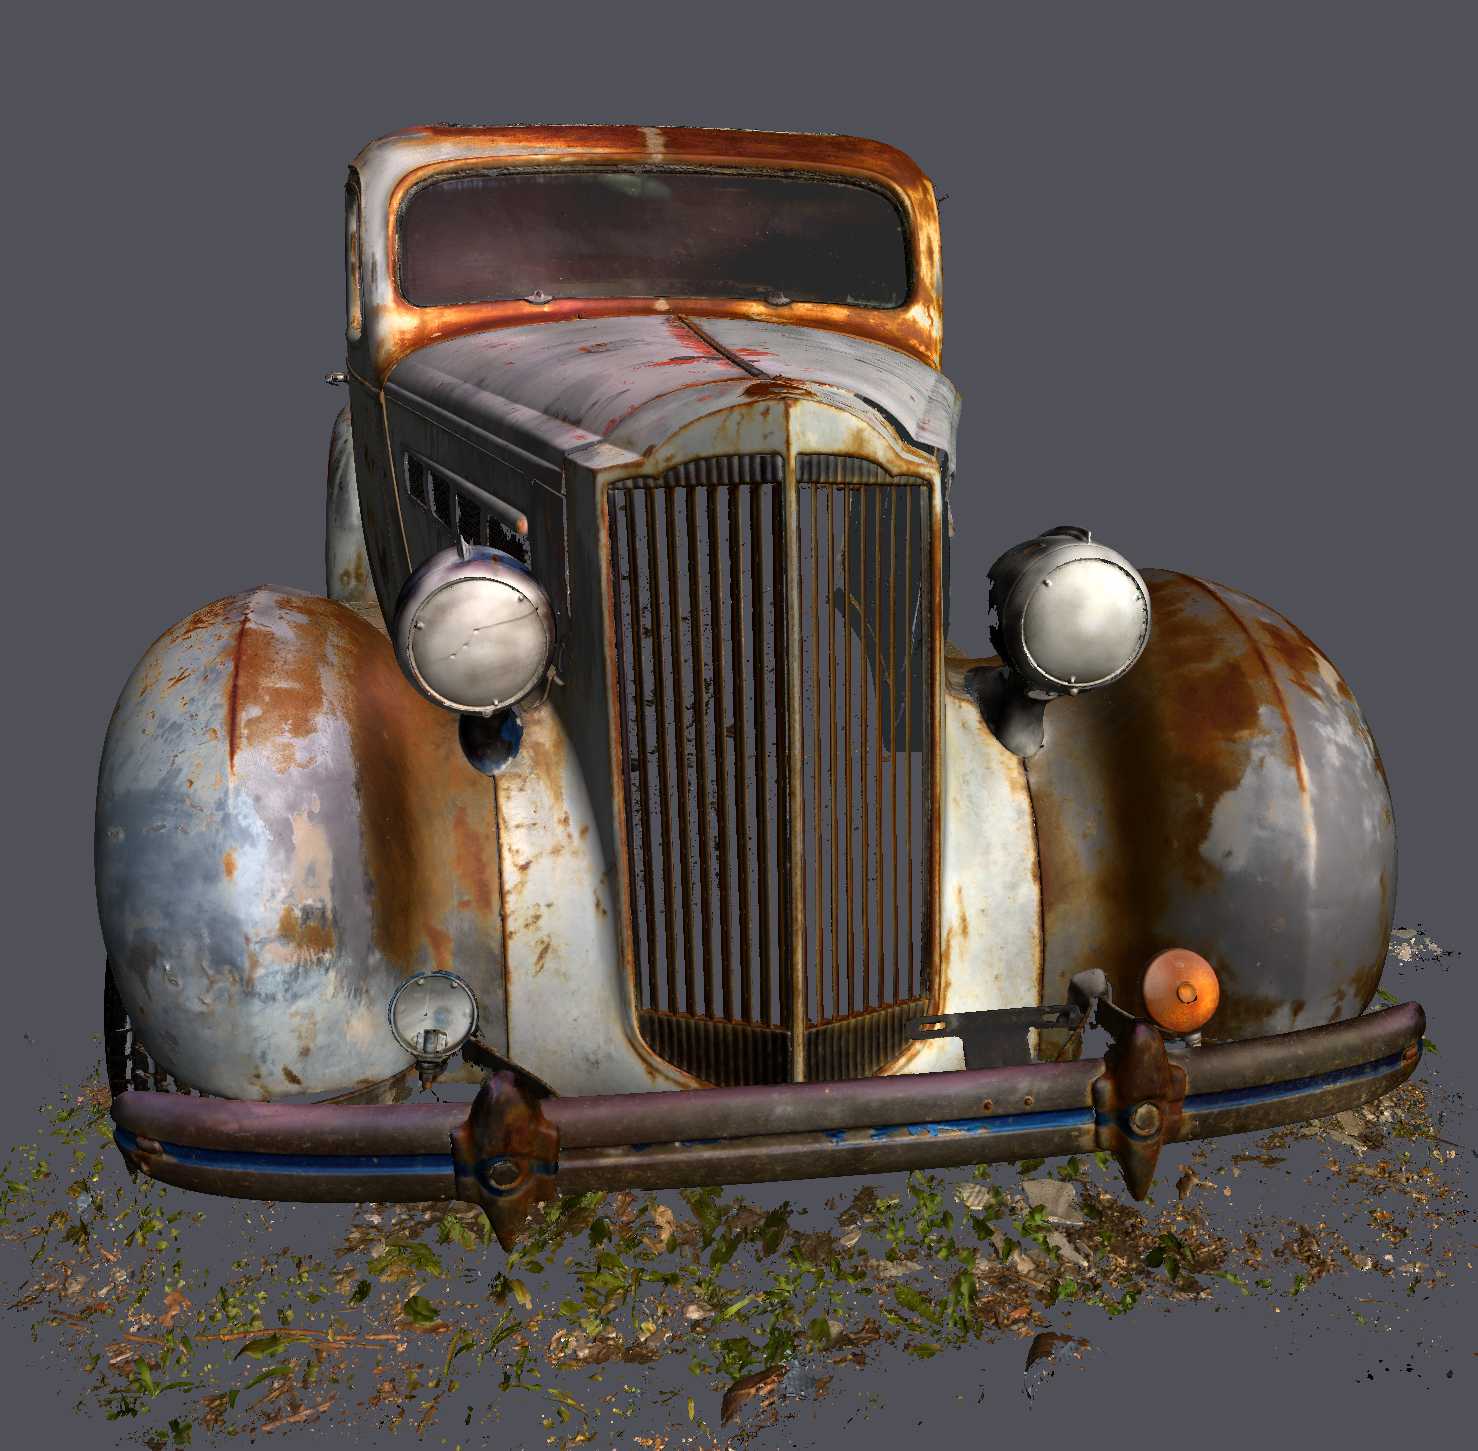

3D Scanning Services in New York City
Kemperle Industries is a trusted expert in NYC for advanced 3D scanning and digital engineering. We serve clients across automotive, maritime, architecture, fine art, engineering, and entertainment sectors.
We specialize in structured light and 3D laser scanning, scan-to-CAD conversion, digital twin creation, reverse engineering, and production-ready 3D modeling.
Start A Project
3D Scanning Services Tailored To Your Needs
Kemperle Industries provides 3D scanning services in NYC and the Northeast for a wide range of applications. We treat every project as a unique solution. We combine accuracy, creativity, and technical skill to help our clients make their ideas real.
Here are some of the things you can do with our 3D scanning services.
- Aftermarket automotive and maritime customization — precision scanning for body panels, interiors, and performance components, enabling custom fabrication and reverse engineering.
- Design for Manufacturing (DFM) and prototyping — translating complex geometries into manufacturable solutions, streamlining engineering and production cycles.
- Fine art fabrication — capturing intricate forms and surface detail to reproduce or scale artworks.
- Architectural restoration — digitizing moldings and ornamental details for accurate documentation and reconstruction.
- Digital archiving for cultural institutions — creating high-resolution 3D records of artifacts and historical objects for preservation, research, and interactive display.
- Digital assets for VFX, film, and virtual production — providing realistic 3D models and textures for cinema, AR/VR, and immersive media pipelines.
How our 3D scanning services work
Many of our projects are multi-process and require custom solutions combining scan-to-CAD, 3D printing, molding and casting, or CNC machining. We provide end-to-end service or we can supplement your existing workflow as needed. Start by getting in touch with us.
What do you want to scan?
Use our project inquiry form below to provide us with the initial details. Please include pictures or diagrams if possible.
At Kemperle Industries, we specialize in translating physical objects into print-ready 3D models with exceptional accuracy. Our scanning systems capture fine surface geometry down to sub-millimeter detail. We produce watertight meshes with no overlapping triangles, islands (floating triangles), or internal tunnels that could compromise print integrity.
Once a model is captured, we optimize for your chosen printing process — FDM, SLA, or SLS, with the goal of balancing polygon density, surface finish, and structural accuracy. Our team then fine-tunes mesh detail accordingly to ensure the best possible print quality.
If no object modification is required, a clean scan can often go directly to print with minimal digital cleanup. The result: rapid turnaround, precise duplication, and almost limitless scalability, whether you’re producing a prototype, restoring a part, or manufacturing limited-run components.
At Kemperle Industries, we use high-precision 3D scanning to reverse engineer parts, components, and assemblies with exceptional accuracy. Our process begins by assessing each object’s geometry to identify potential problem areas. Since not every surface can be captured perfectly, we plan in advance how to address occlusions or incomplete data to ensure the highest fidelity results.
Before scanning, we take time to understand the client’s objective. Are we replicating a component exactly as-is, or modifying geometry to improve fit, performance, or manufacturability? This clarity guides how we approach modeling and reconstruction.
Once data is captured, we translate the scan into a clean, parametric CAD model that accurately reflects the original part or incorporates the desired changes. The result: precise digital documentation ready for machining, remanufacturing, or design iteration.
Our structured light 3D scanning systems capture high-resolution data with sub-millimeter accuracy, producing precise point clouds, polygon meshes, and CAD-ready models. Whether you’re restoring a vintage automotive component, digitizing a sculpture, or iterating prototypes for product development, we deliver clean, watertight models optimized for fabrication, CNC machining, or 3D printing.
Non-contact & Safe: Our scanning process is completely non-invasive, capturing fine details without ever touching the surface. This makes it safe for fragile artifacts, delicate artwork, and equally effective for precision-engineered automotive parts.
Accuracy: Our scanners capture data accurately to 0.050 mm. This makes us an ideal partner for projects where fit and function are critical. Every scan reflects the true dimensions of the original, eliminating costly guesswork.
Color Acquisition: Our scanners capture full surface texture at 50–200 DPI resolution with 24-bit color depth. This level of detail ensures accurate reproduction of surface finishes, patterns, and colors.
Mercedes-Benz AMG G-Class G63
3D scanning a Mercedes-Benz AMG G-Class to design custom aftermarket body parts and accessories.
Mexican Clay Pot
3D Scanning an old Mexican clay pot with color texture for digital manipulation.
Waldorf Astoria Ornamental Plaster
3D scanning an ornamental plaster panel from the Waldorf Astoria in New York City, for digital restoration and preservation.